Tornado Child Terror

Never before has a costume personified a 7 year old better. The added features of light and storm audio made it interactive, precisely the capabilities it needed to raise the buying power for any kid. Make it a toy. He filled the role perfectly. Here he has gathered his tornado terror power and summoned, by the strength of his sheer will, the mighty storm you see before you.

Supplies needed:

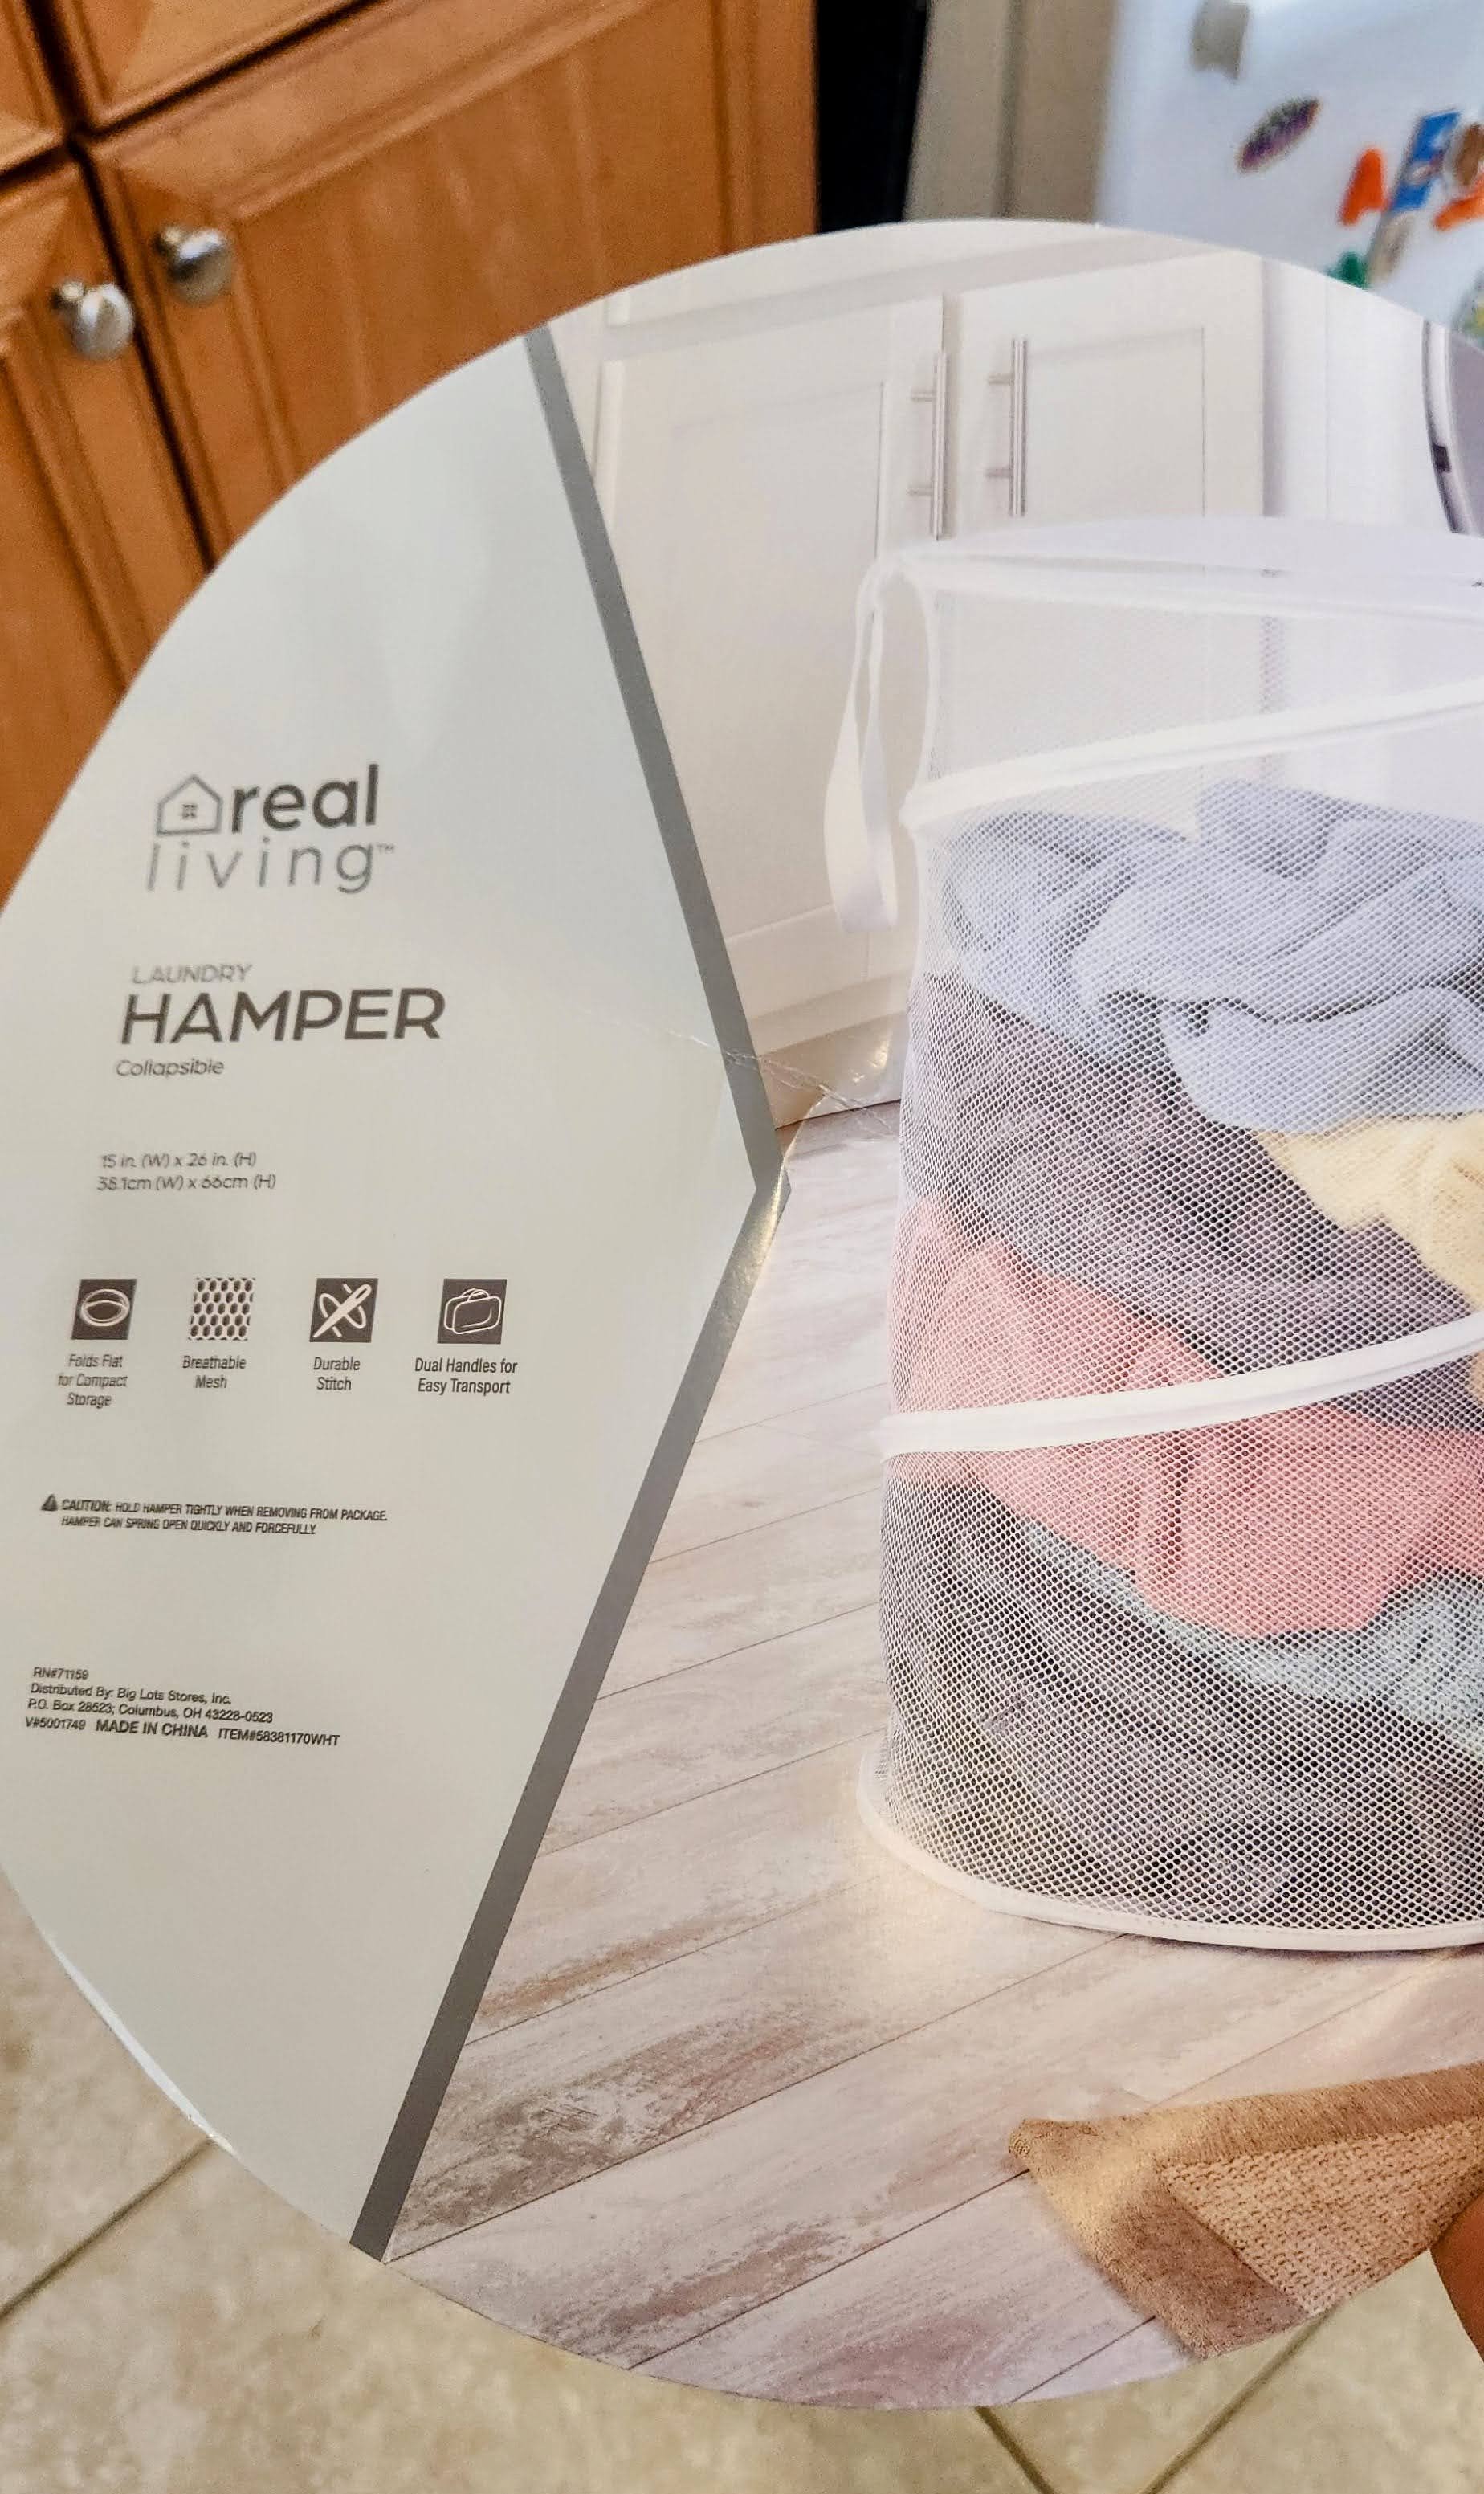
  • Cylindrical pop-up hamper (partial to this ‘Real Living’ brand I found at Big Lots for a few bonus features)

  • Batting

  • Stuffing

  • Grey tulle

  • Hot Glue (partial to Gorilla Glue sticks)

  • Embroidery thread

  • Metal wiring

  • Circuit Playground Bluefruit

boy tornado halloween costume lightning storm rural landscape

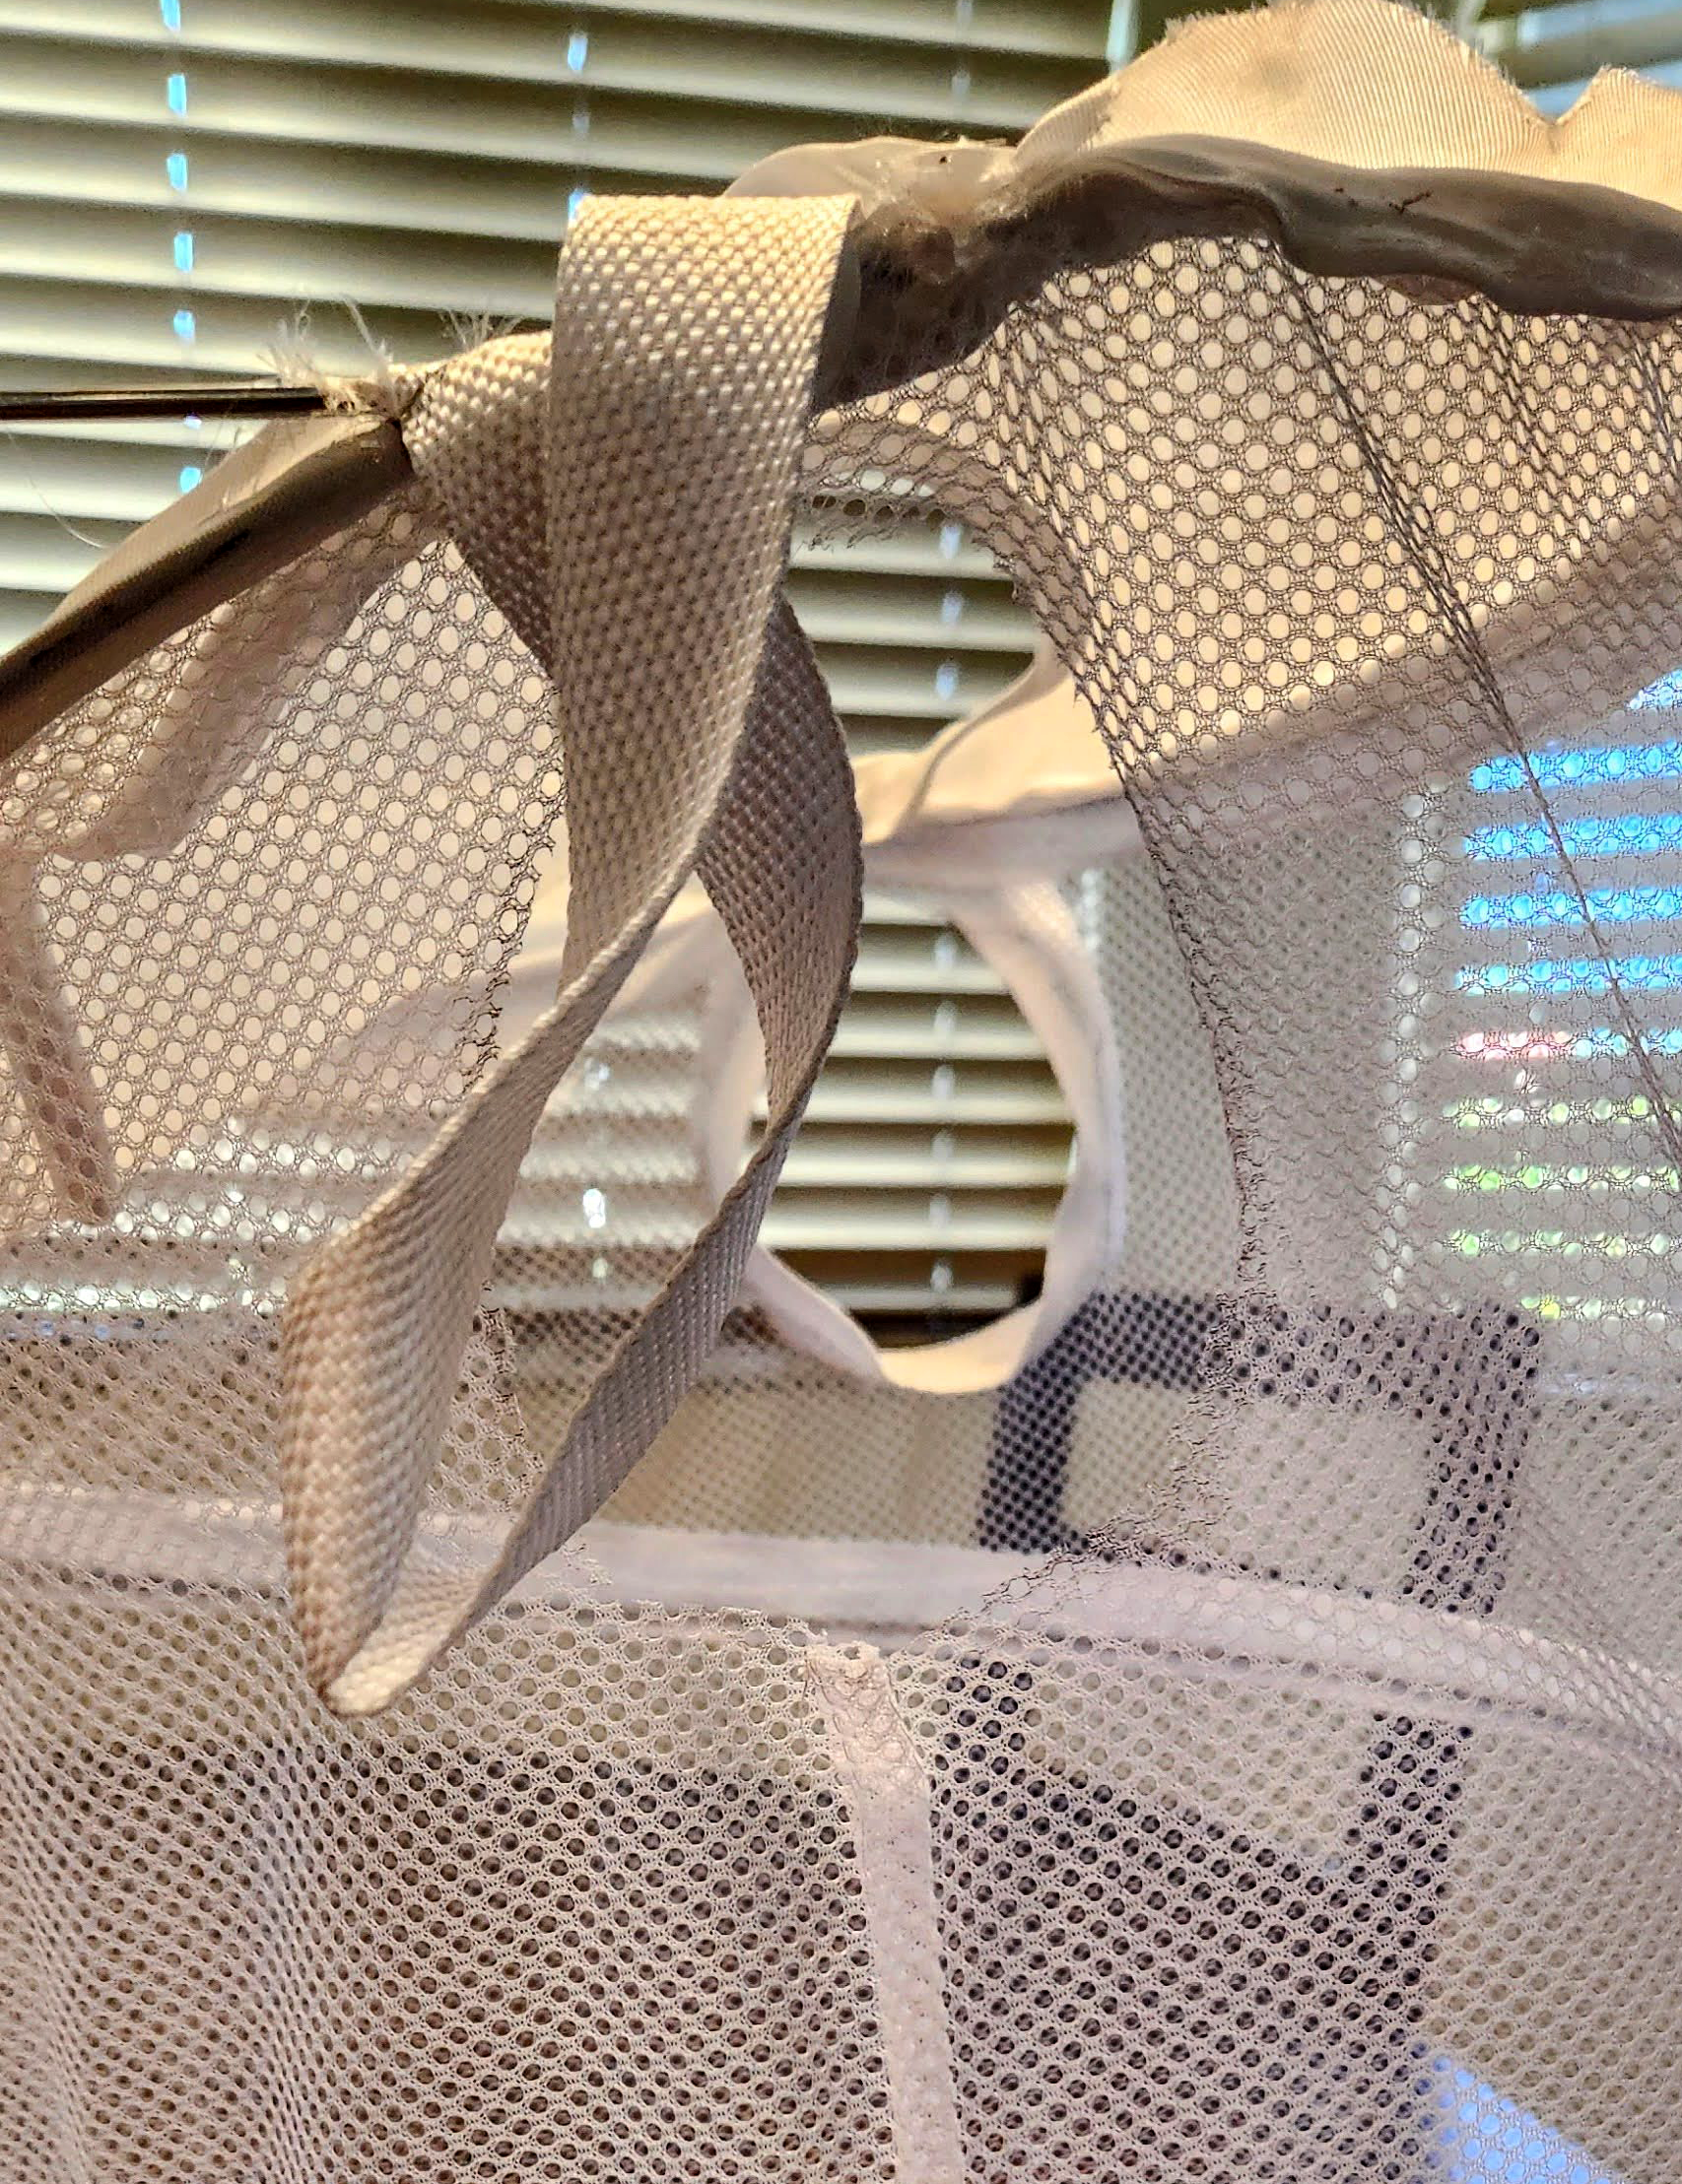
I’m so glad I came upon this because it coincidentally came with a couple of really handy features like, handles (repurposed as armholes), and a Velcro strap to adjust the collapsible height.


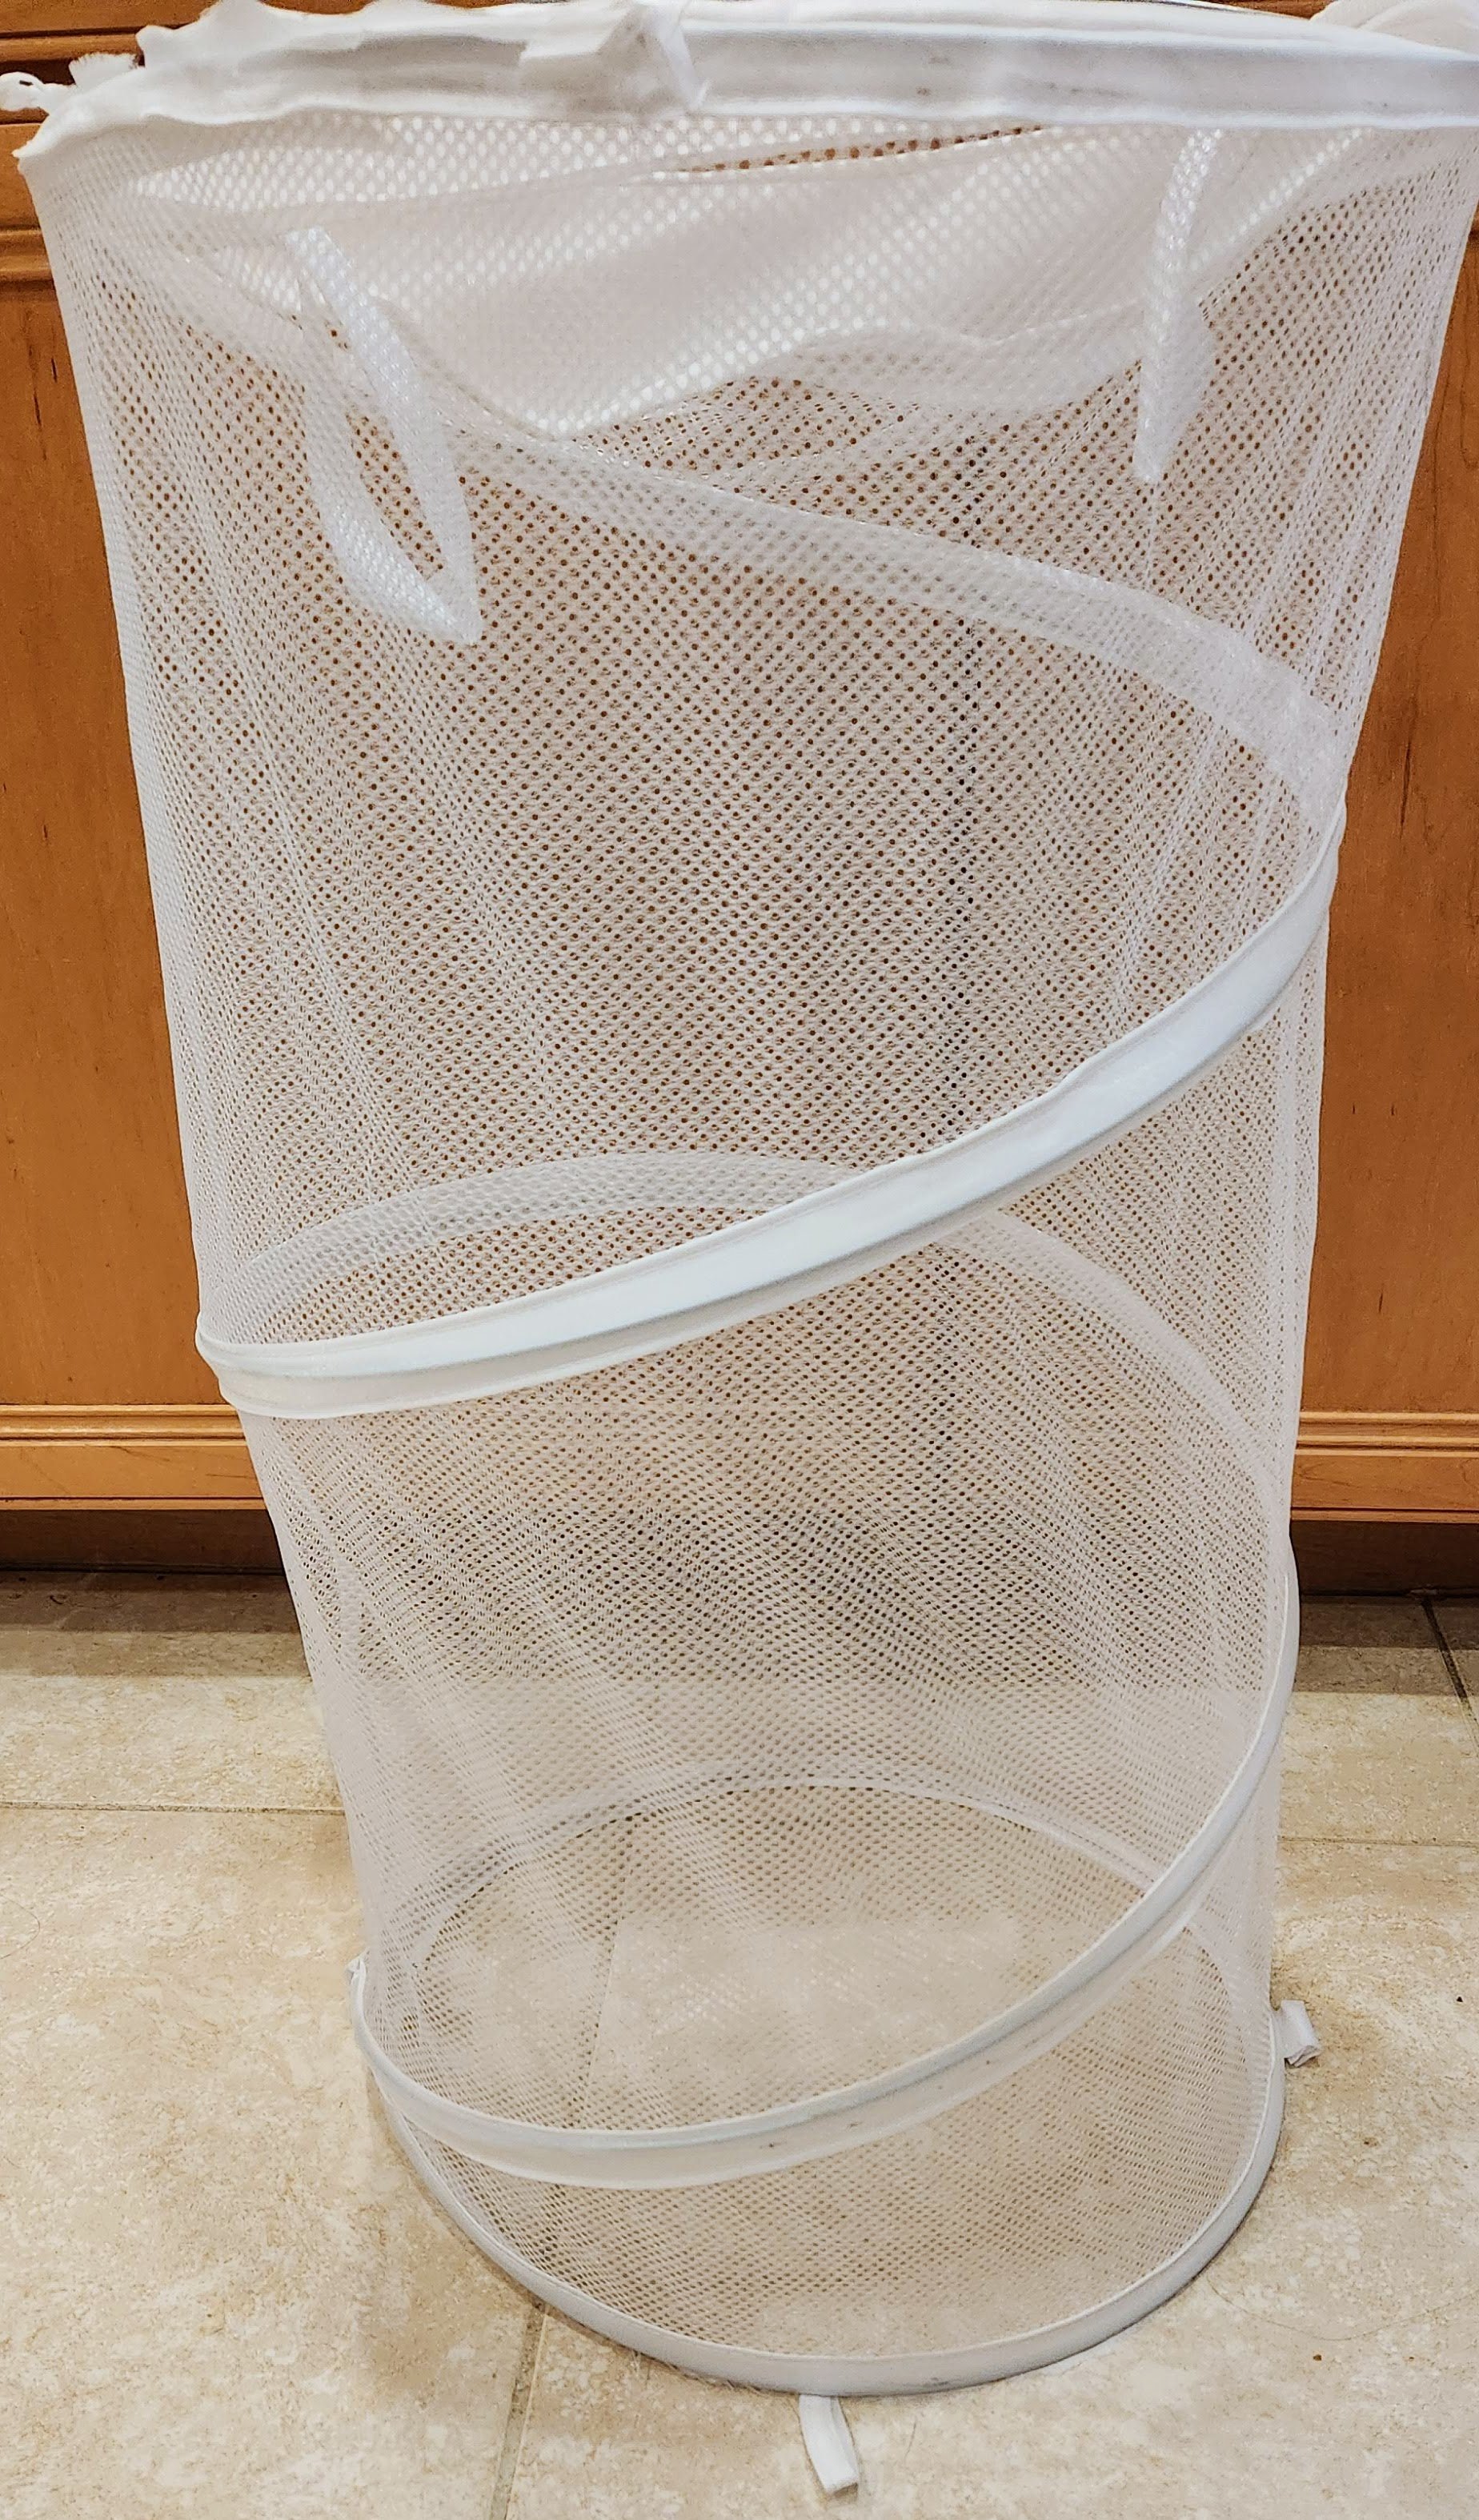
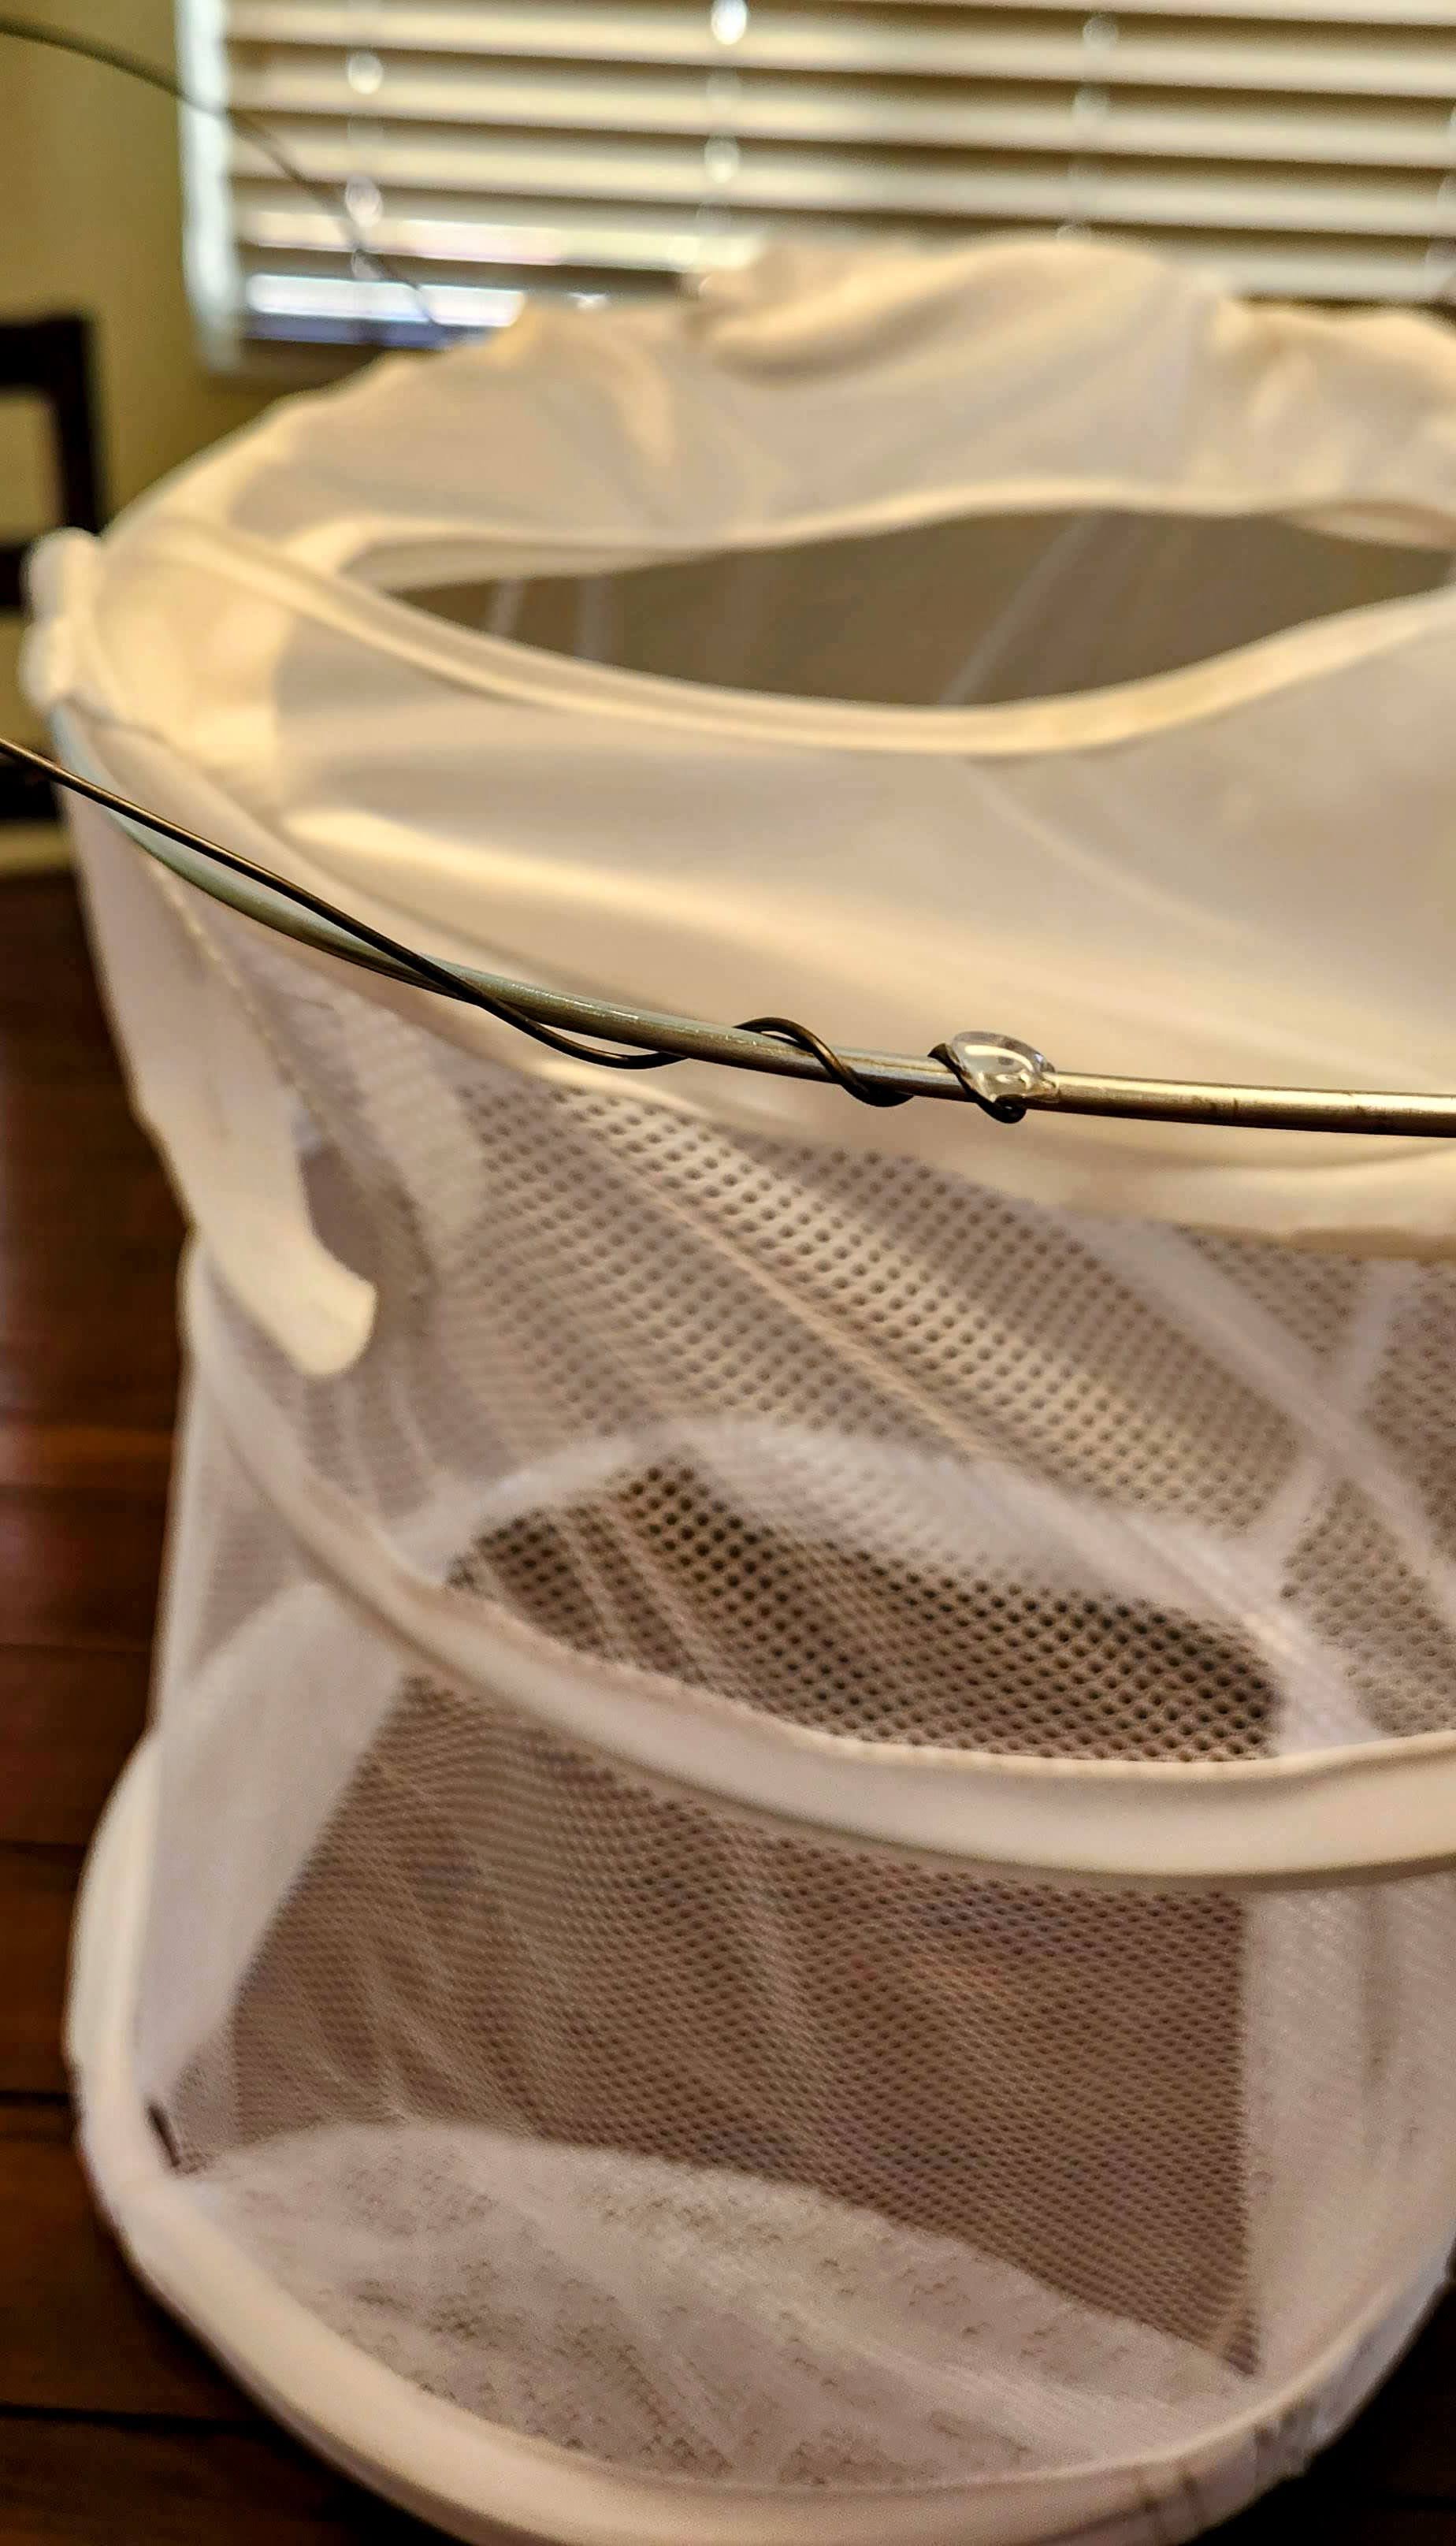
pop-up cylindrical hamper upright top wire exposed

Released half of the wiring in the top structure, but did not remove it from the seam completely. Cut out the flooring panel for the torso to fit. The opening is already perfectly structured to fit a head as it would for a T-shirt opening. However, it did end up slipping a little bit on a 7 year old. I recommend sewing closed the head opening slightly at the shoulders and place elastic or spandex by the neck.


pop-up hamper upright slightly collapsed pinned at base circles drawn on top left and right

Safety pin the base to the appropriate torso height. Mark the opening for the arm holes toward the top of the mesh. I put mine underneath the handles to repurpose later.


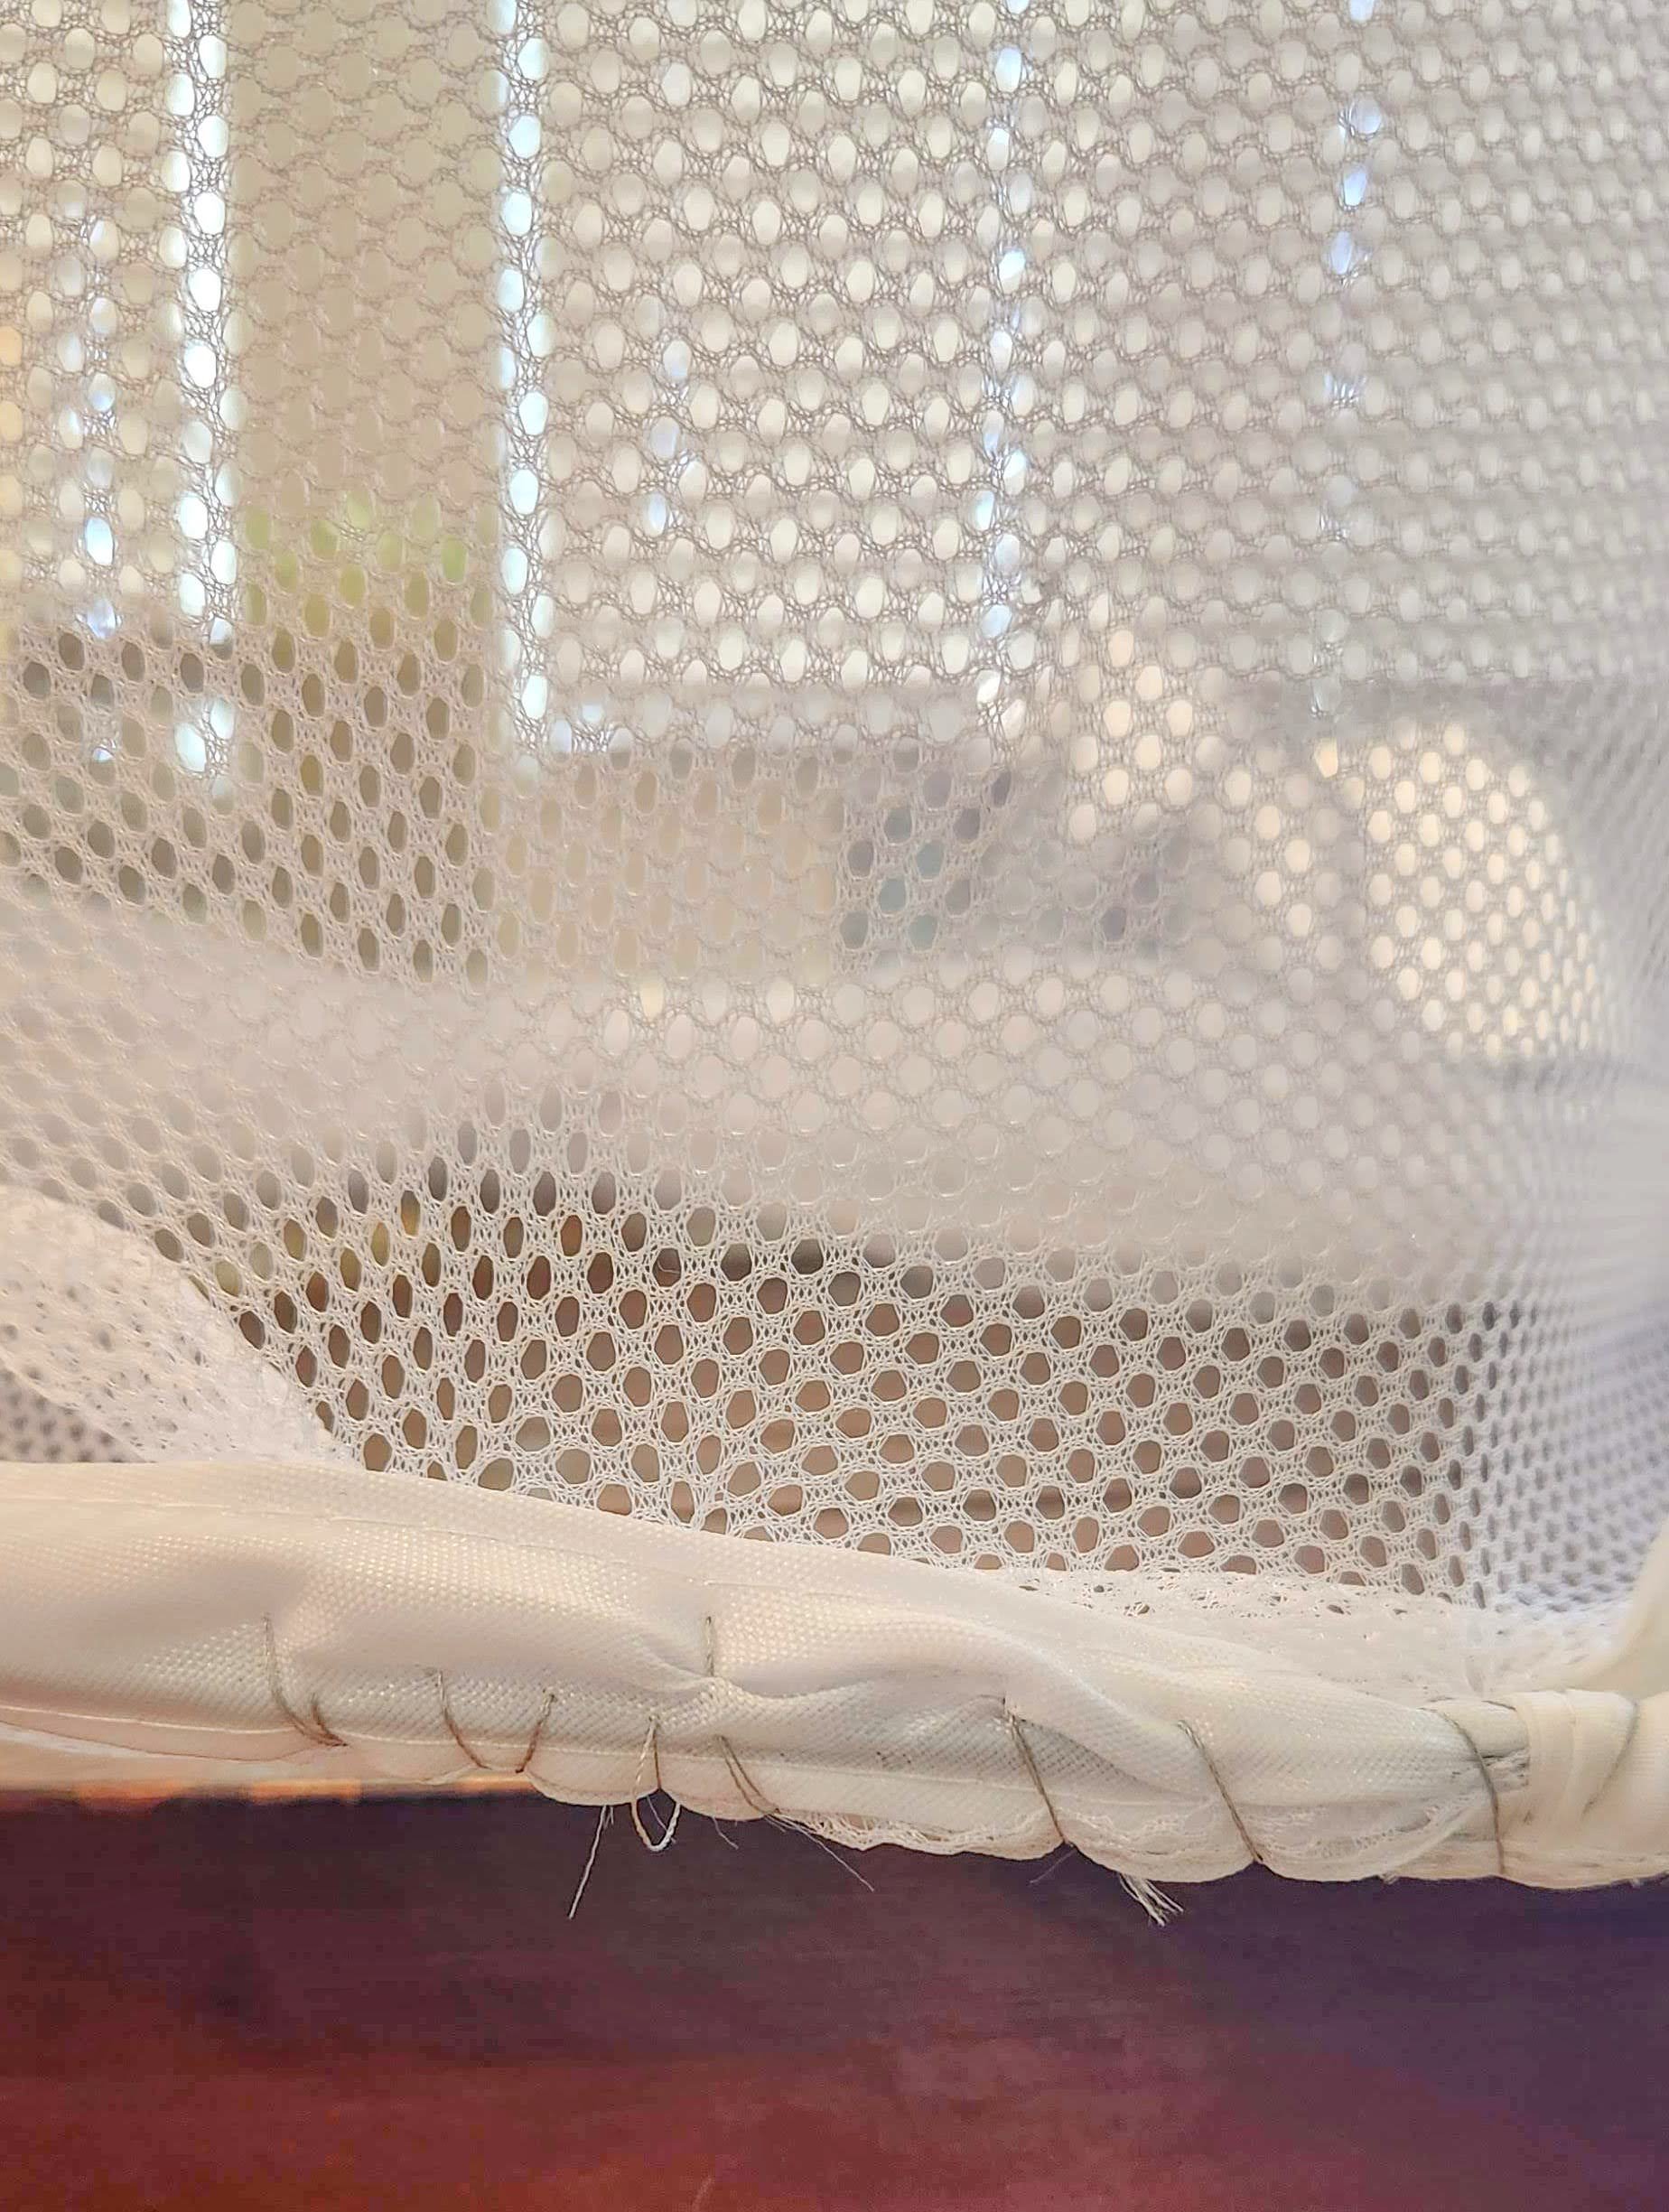
Embroidery thread had the staying power to hold in this bottom. I raised the base to where it needed to land on his body so he could still walk and enjoy trick-or-treating (been there, done that), and cut a slit in the mesh by the Velcro fasteners (this brand happened to already come with) to hold its collapsing height together.


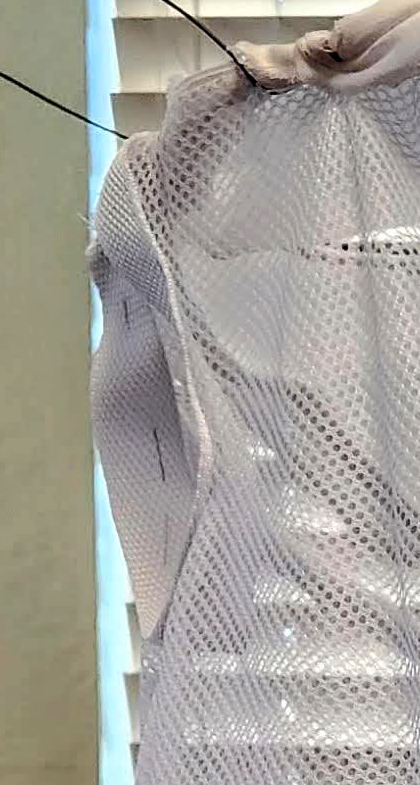
Cut circles for armholes, and flip the handles under to sew along the mesh holes.


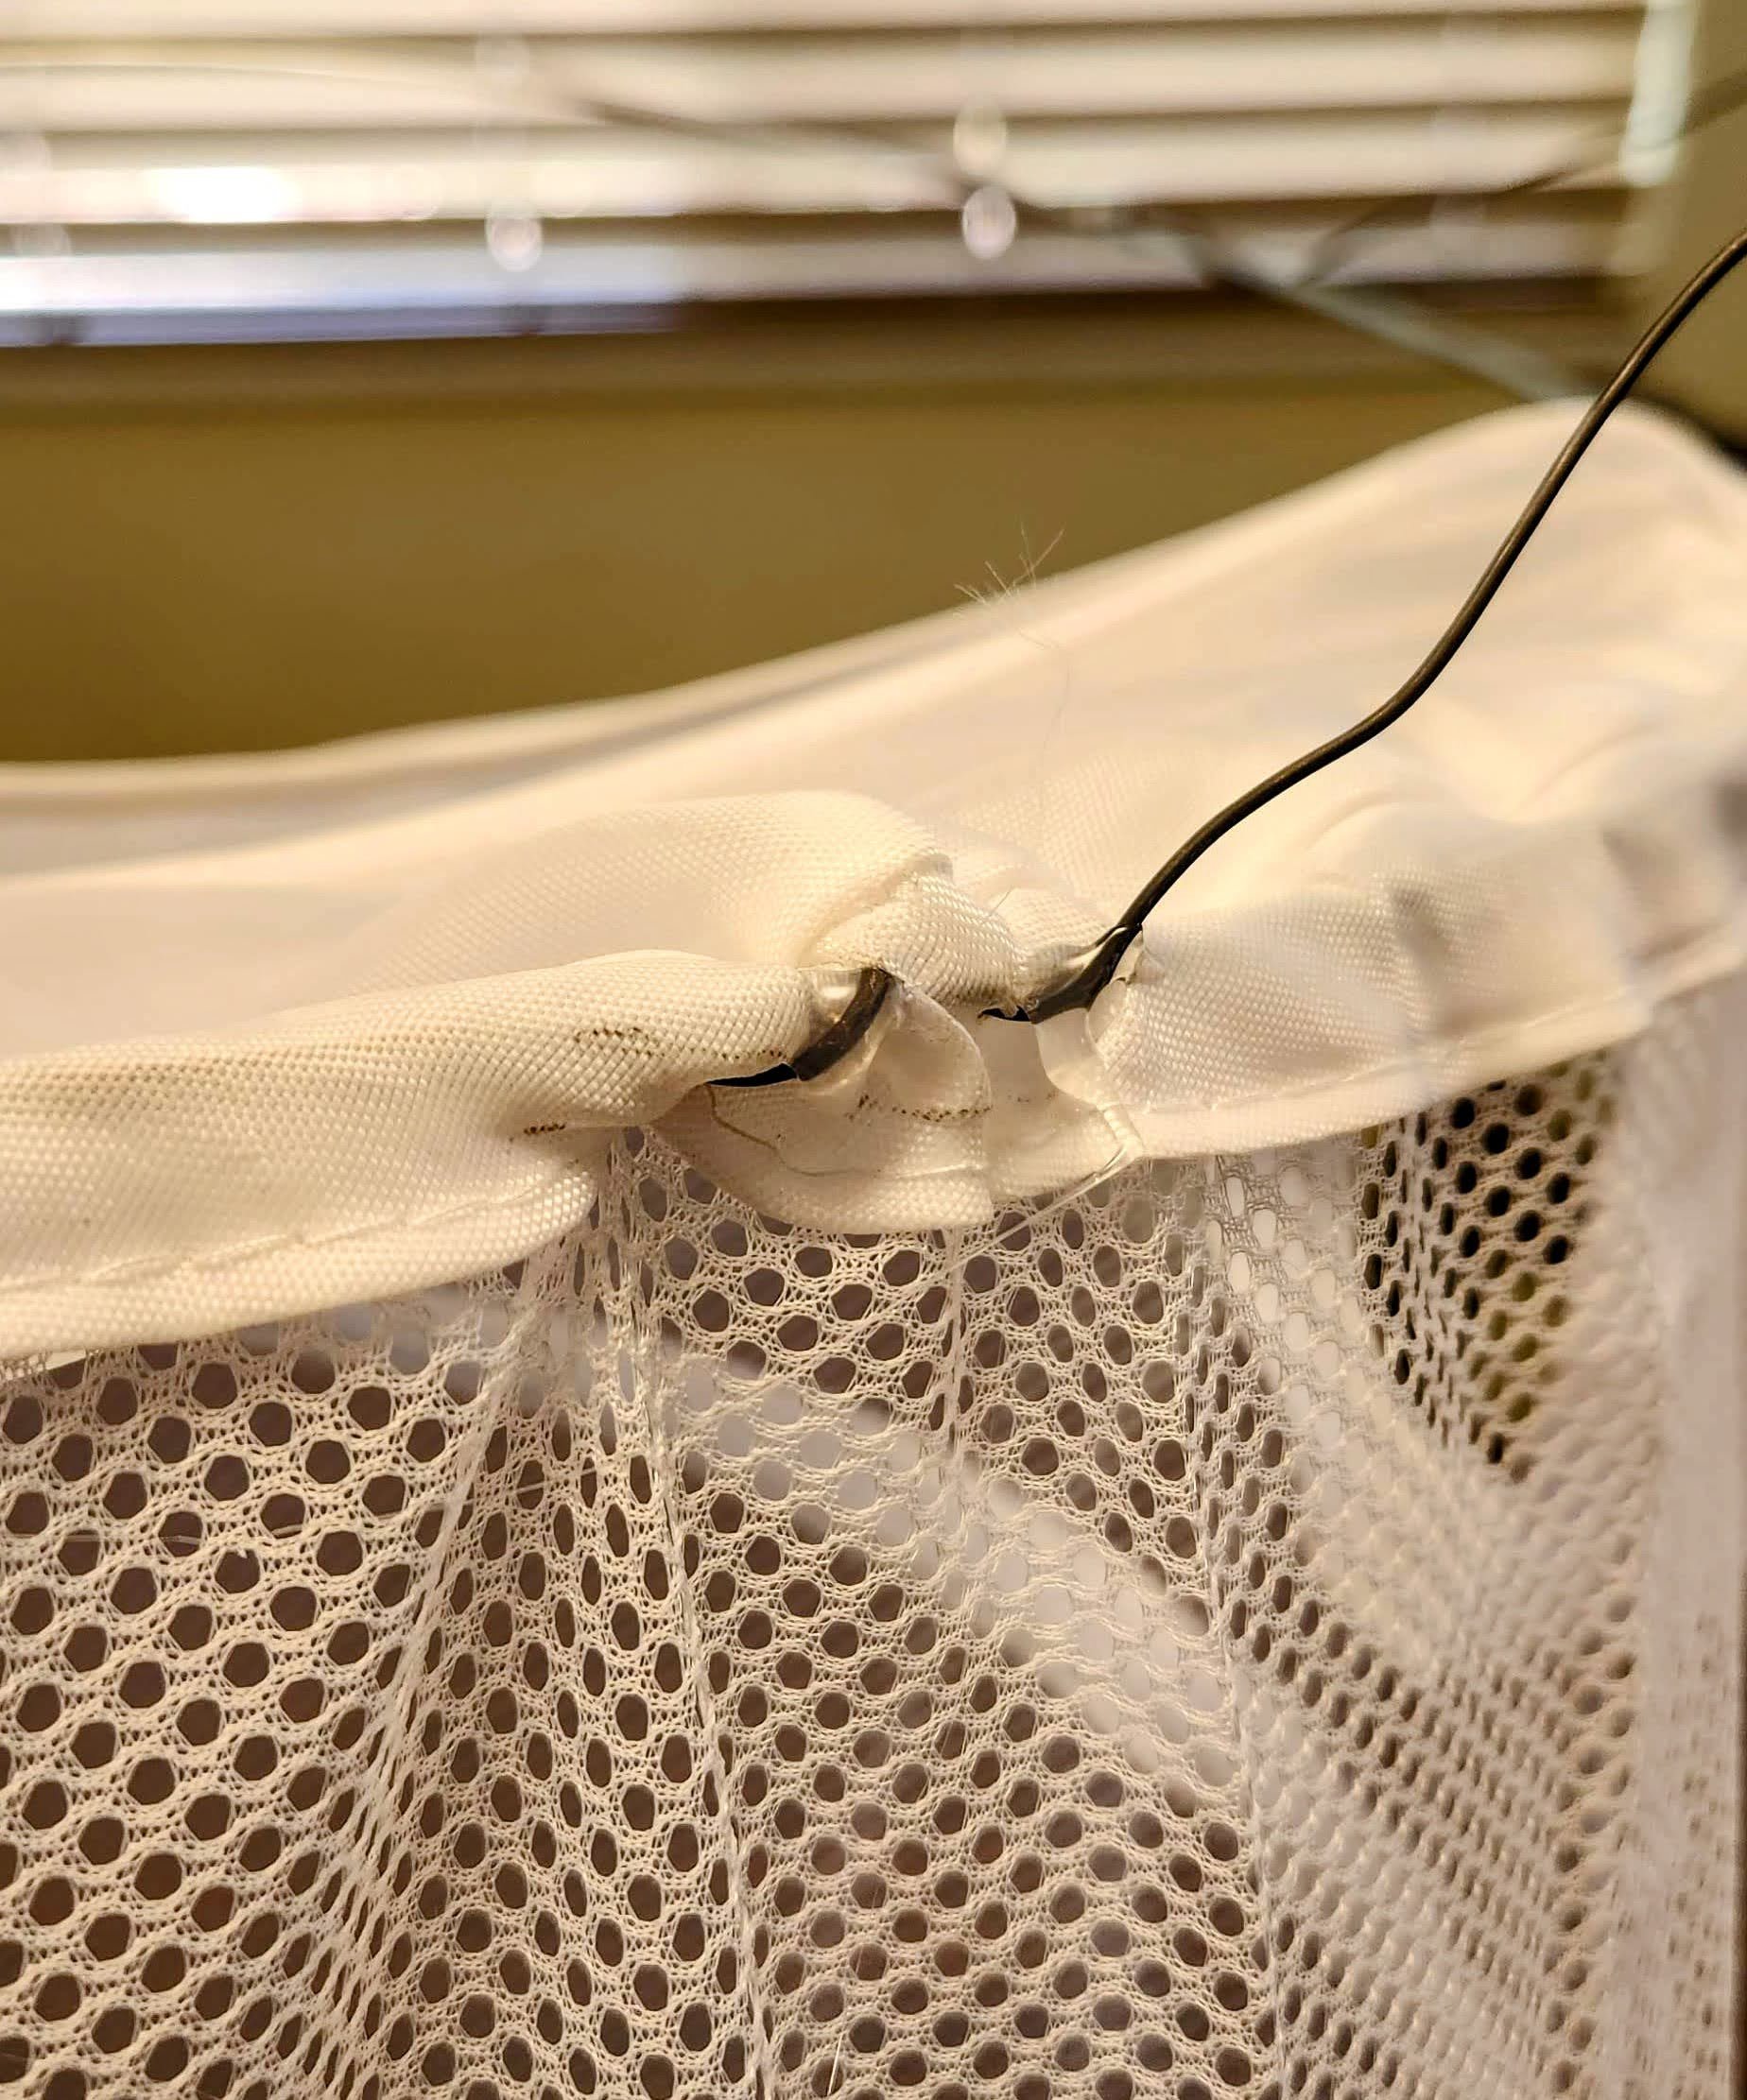
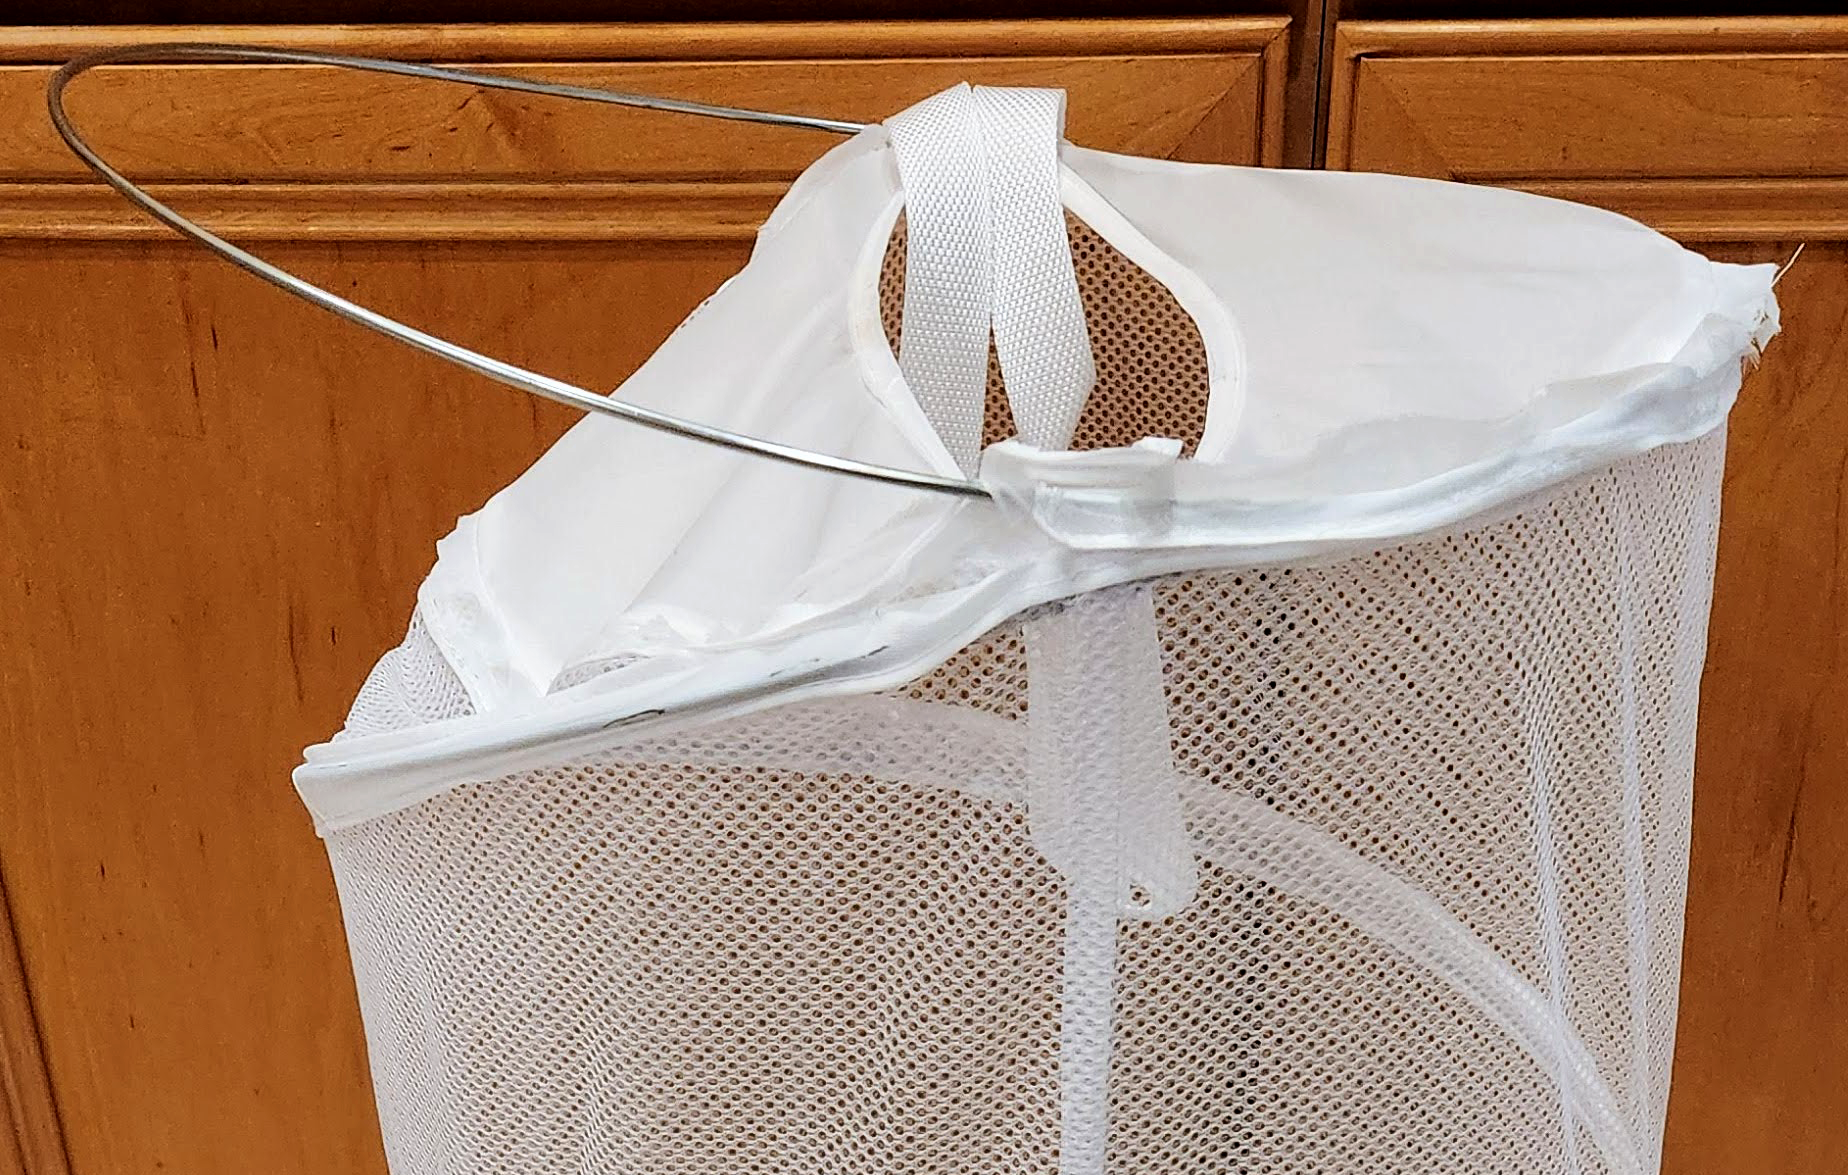
The released wire at the top needed to be adjusted to accommodate a wider-mouthed funnel shape. Using the end cap on the wire to lock it into place, I pulled the wire out as wide as it would allow, and locked both end cap and wire together in their new position under the seam with embroidery thread and hot glue. This didn’t give enough of a dramatic shape so I added a sweeping shape on either side with additional wiring. Secure these pieces to the main wire on top by looping the ends of the sweeping shapes to the main wire and hot gluing that connection to keep from slipping.


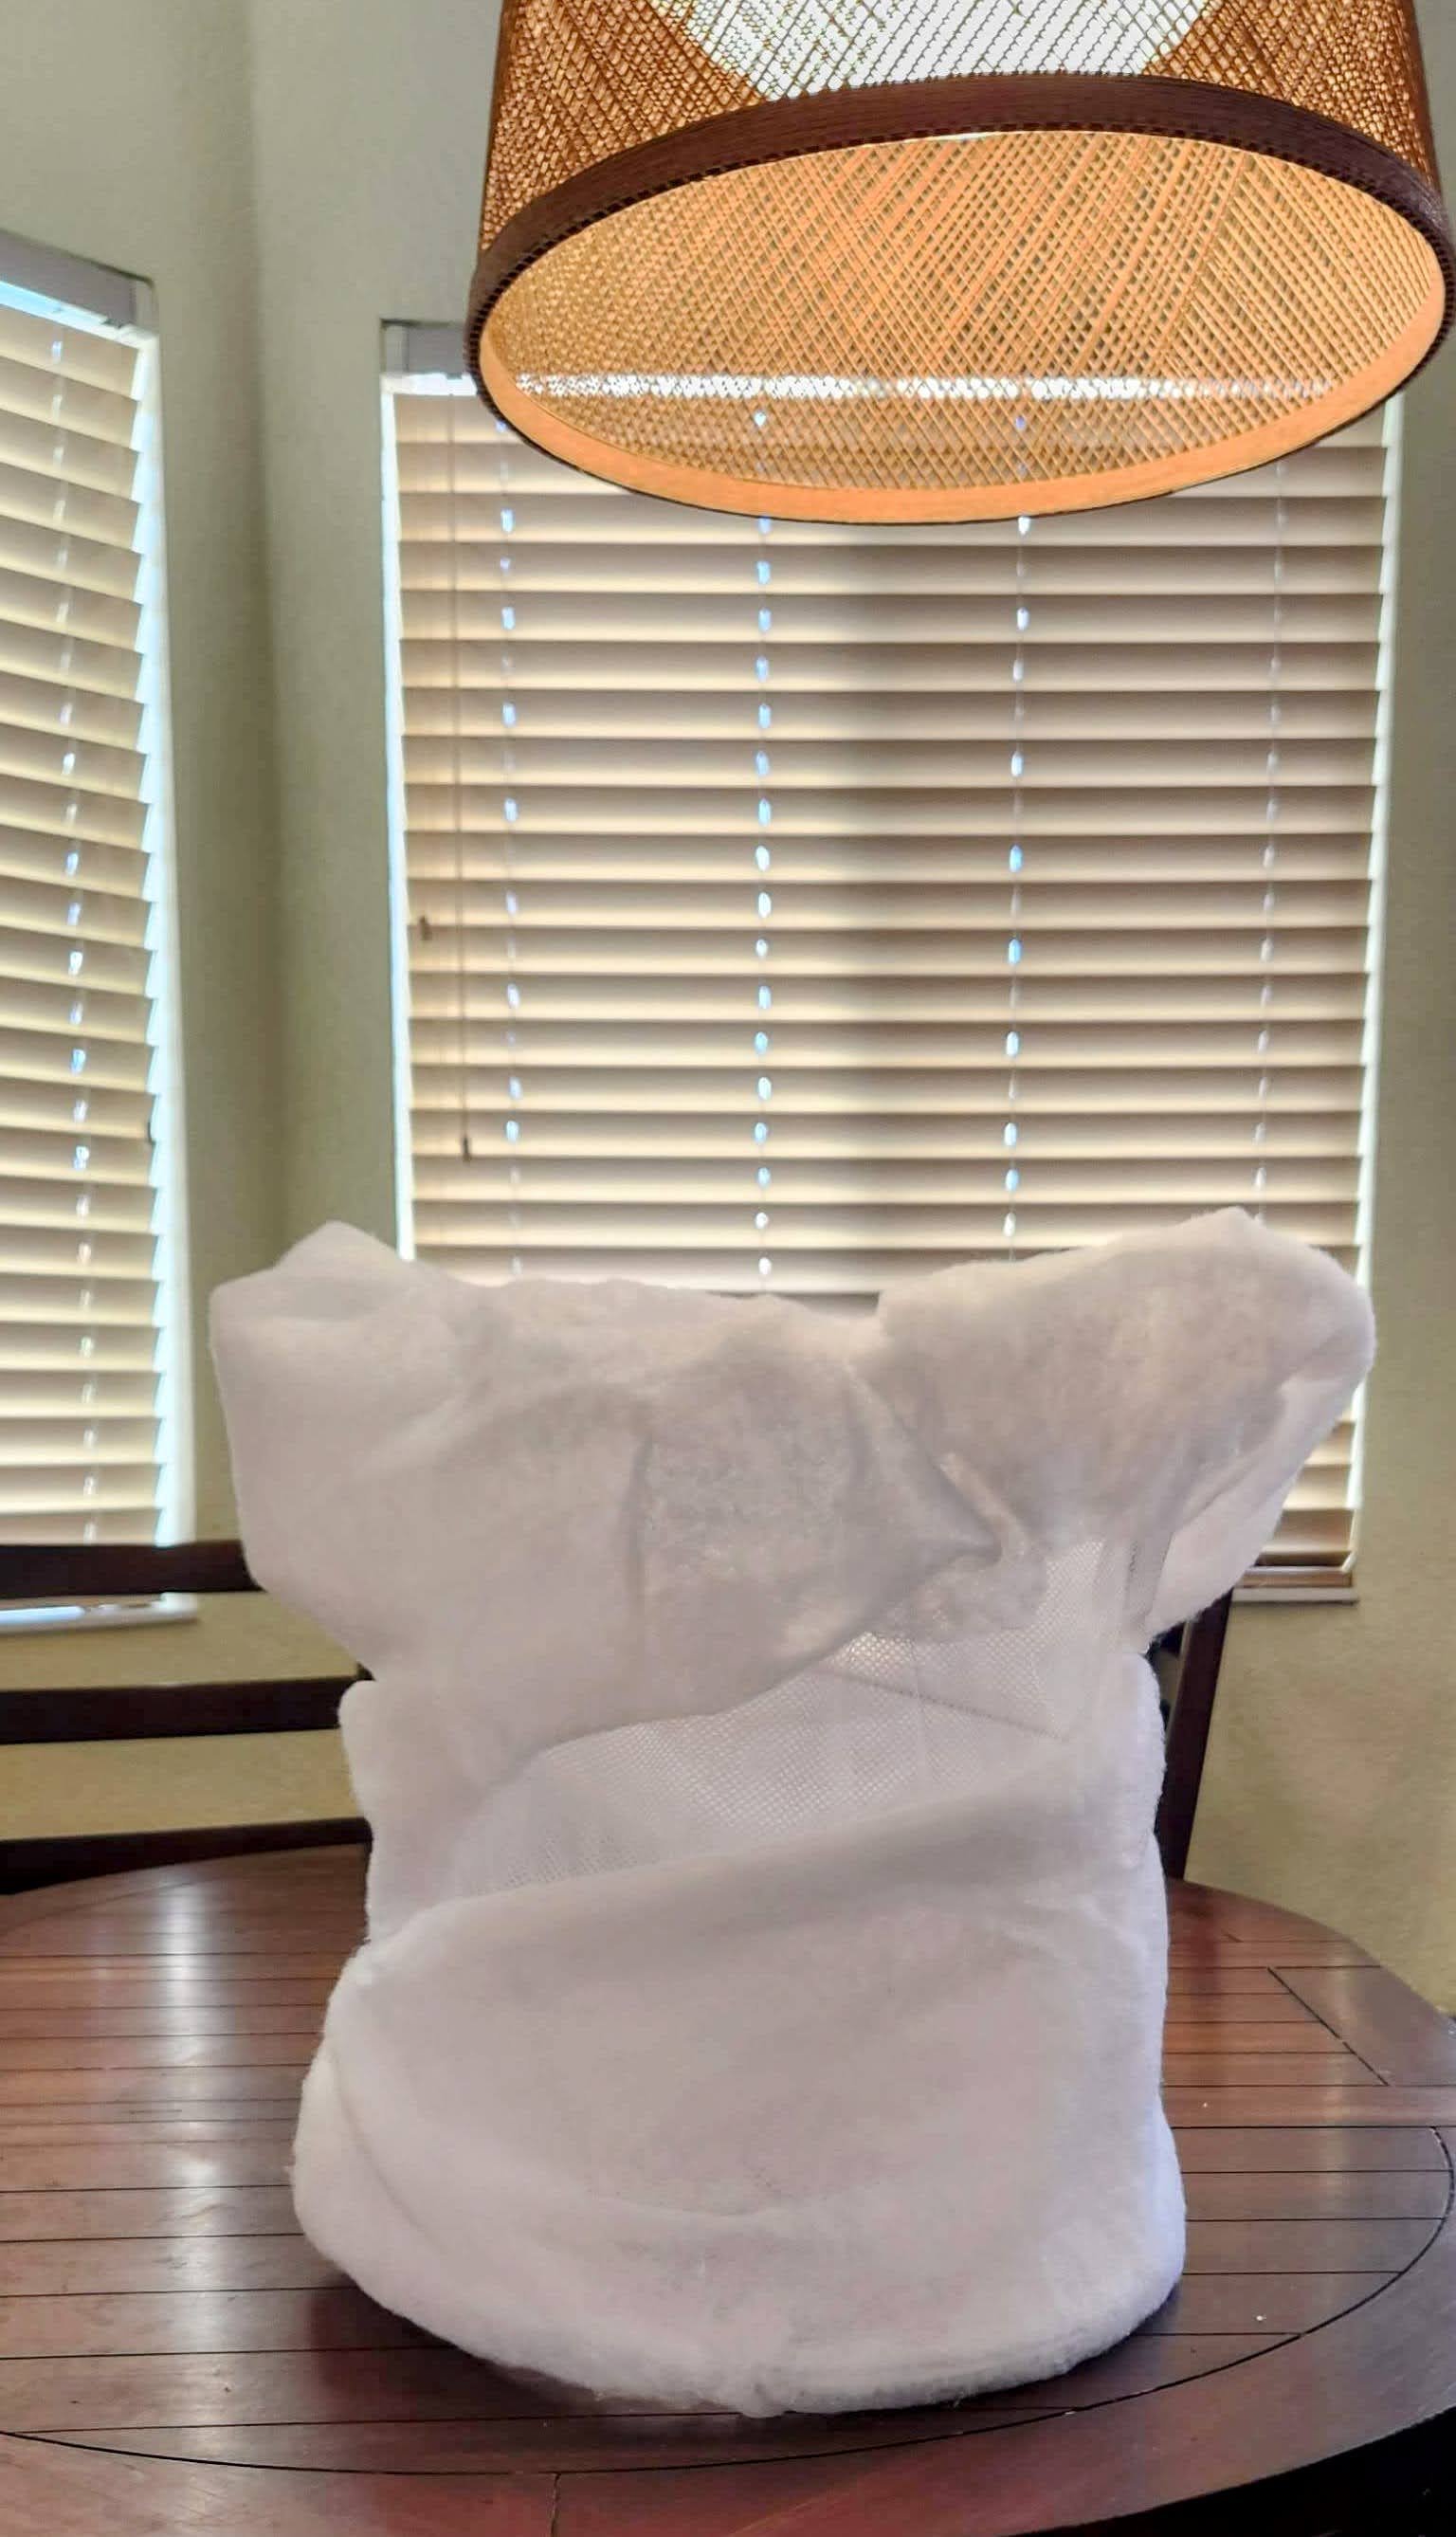
Attach batting to the form. Hot glue for the win! If you are still using standard hot glue sticks, I highly recommend splurging on the the Gorilla Glue brand because that stuff is definitely worth the extra $1 or $2 sticking power. After this stage, I added lighting with chainable NeoPixel LEDs repurposed from a mac-n-cheese costume that left some yellow paint residue. These were mainly hidden underneath stuffing to give off a glowing lightning storm effect.


tornado funnel structure covered in spiraling LED light strip loose batting grey tulle

Embroidery Thread, Grey Tulle, and Stuffing.

Loosely sew (or hot glue) the tulle to the form in a spiral tube shape and fill each layer with stuffing.


And finally, add on your amalgam from your toy box the tornado has picked up by attaching with you guessed it, your trusty hot glue. Tornado Destructor, ready!

Little Miss Mermaid

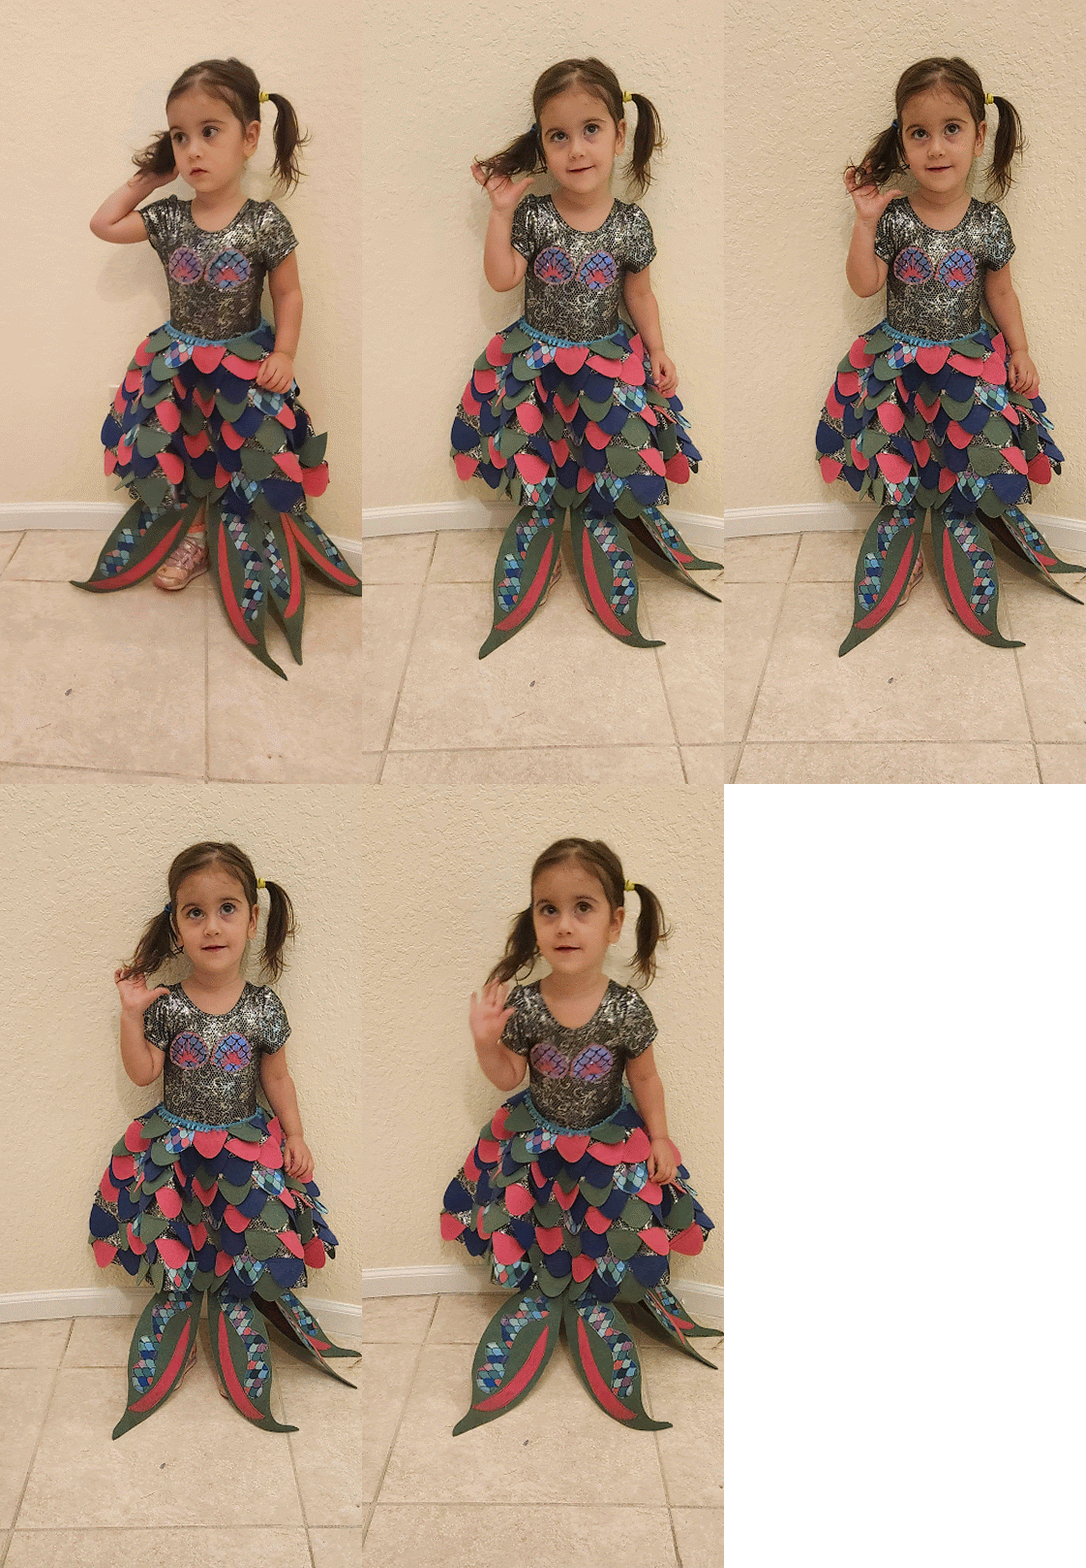
Ariel has been the princess of choice recently for our littlest (and honestly, there is no other choice.) It was also the first time requesting piggies which I really hope will continue.

Supplies needed:

  • base dress

  • Stiff felt in mermaid themed colors

  • Optional fabric with special patterning for the shell top

girl toddler spin pigtail homemade mermaid costume

Creating a base for this from scratch was out of the question for me right now, but I am certainly not above repurposing! Found this mermaidy gem after a quick stop into my local ‘Once Upon a Child’. I was initially searching for something more aquatic, but the patterning on this one felt perfectly scaly to me. Let’s make it happen!

metallic black shiny hexagonal pattern dress

Using a semi-circle, the scale scaled to 2”x3” and cut out on stiff felt (using your personal mermaid color patterning preferences) on the Cricut, or by creating a template and cutting.

Video Block
Double-click here to add a video by URL or embed code. Learn more

elderly dog mettalic black dress scales pin placement

Pin the scales spiraling down the skirt, and sew to attach. Get emotional support for this tedium from your trusty pup.


Shell exterior was cut on the Cricut, but can easily be freehand. Mark your shape by laying the cut outs on the felt and draw the shell shape with a slight trim around the outside edge.

For the Shell interior, I cut the fabric (or use specially patterned felt) on the Cricut, and put the shape over a pop of color in stiff felt to make them extra fancy fun. Place the interior shape onto the felt with fabric glue, or sewn. Sew shells in proper placement on the bodice. (My favorite feature.)

mermaid shells top homemade

girl toddler swishing costume mermaid tail

Tail fin and embellishments templates were created freehand on oversized stiff felt to have enough for both front and back (because you can never have too much tail fin.) Our Little Mermaid definitely appreciated the extra swishability this provided.

What do Miraculous Ladybug, a Mermaid, and Tornado have in common?

Absolutely nothing. Which is why my children chose to design their costumes in such a way as to have me working to each individual’s specifications. Tornado for the eldest, Miraculous Ladybug for Ms. Middle, and Mermaid for the littlest Lovett. Pinterest was a huge help for all of these lofty designs. So if I can pay it forward to any ambitiously creative parents out there, all the better.

Mask Supplies

  • Red thick foam

  • Mesh Fabric

  • Red, Black Fabric Paint

  • Circle Template (Bottle cap upcycle)

  • Hot Glue (partial to Gorilla Glue)

  • Fabric Glue or Modge Podge

  • Wire

  • Red Felt

  • Elastic

Leotard Supplies

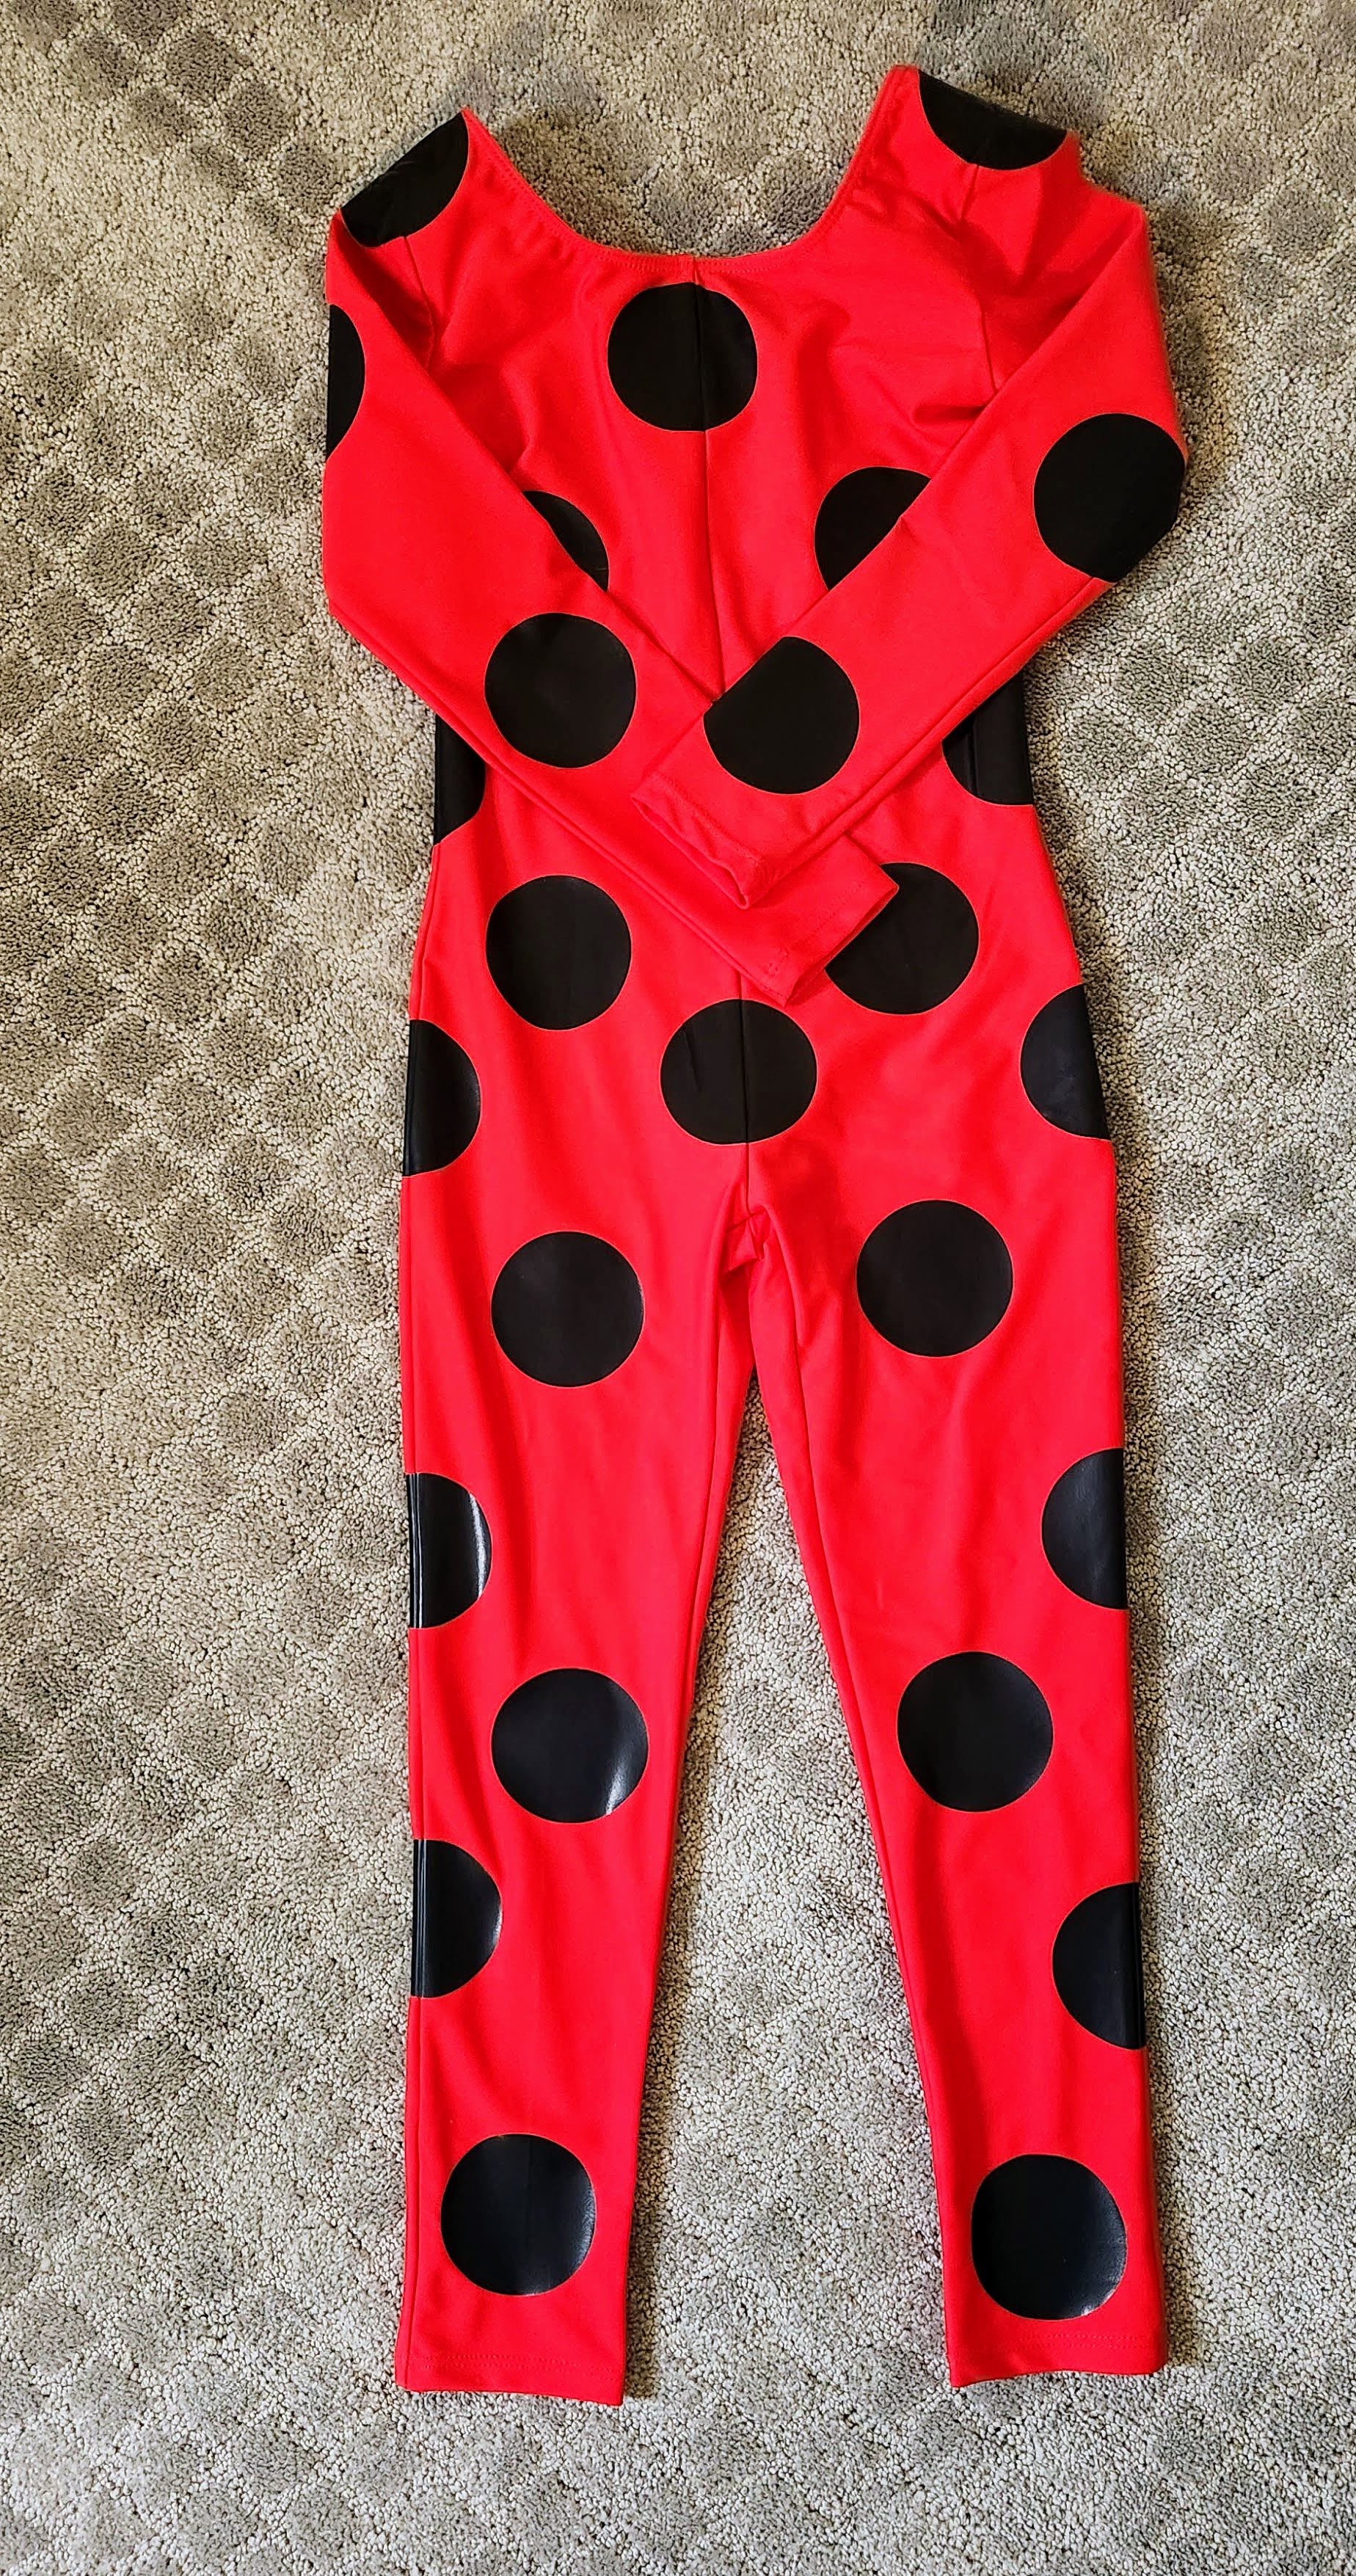
  • Leotard Base

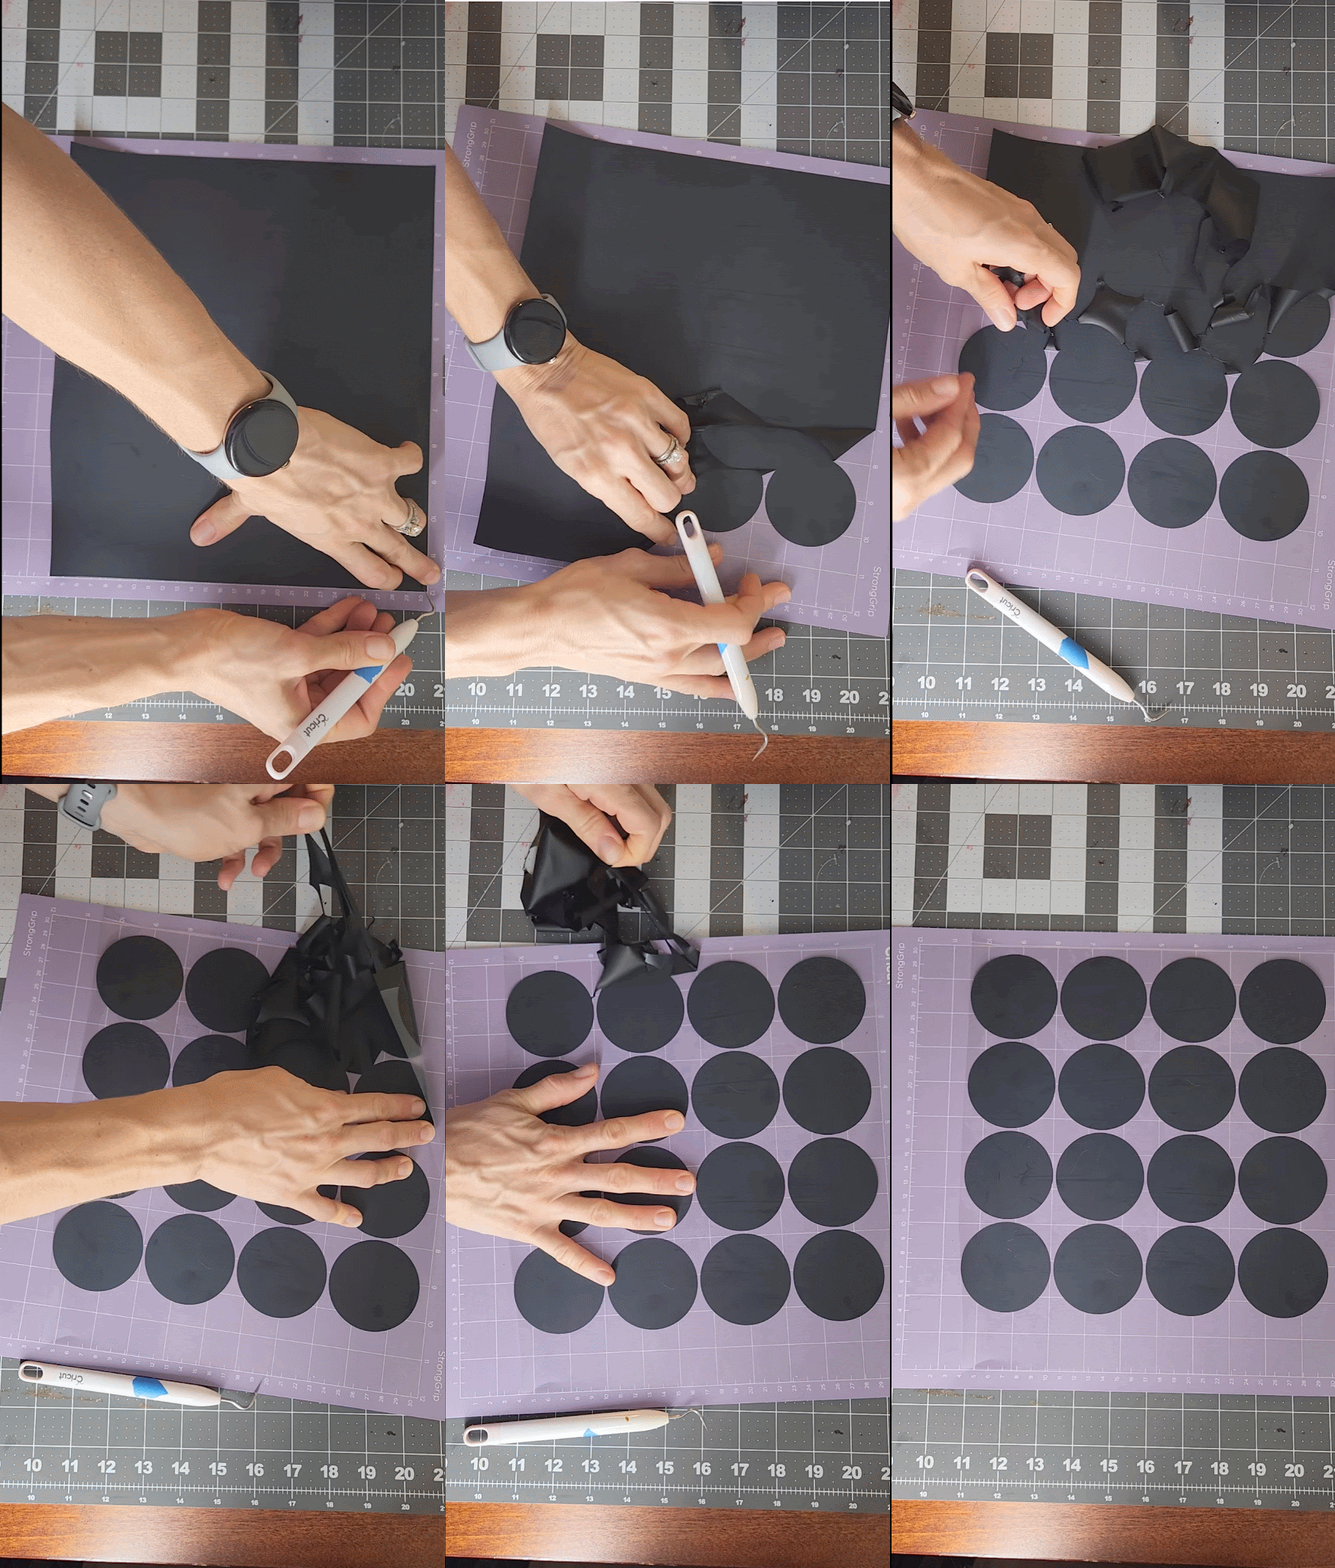
  • Sportflex Black HTV

  • Mesh Fabric

  • Off-White Fabric Paint

Shoes

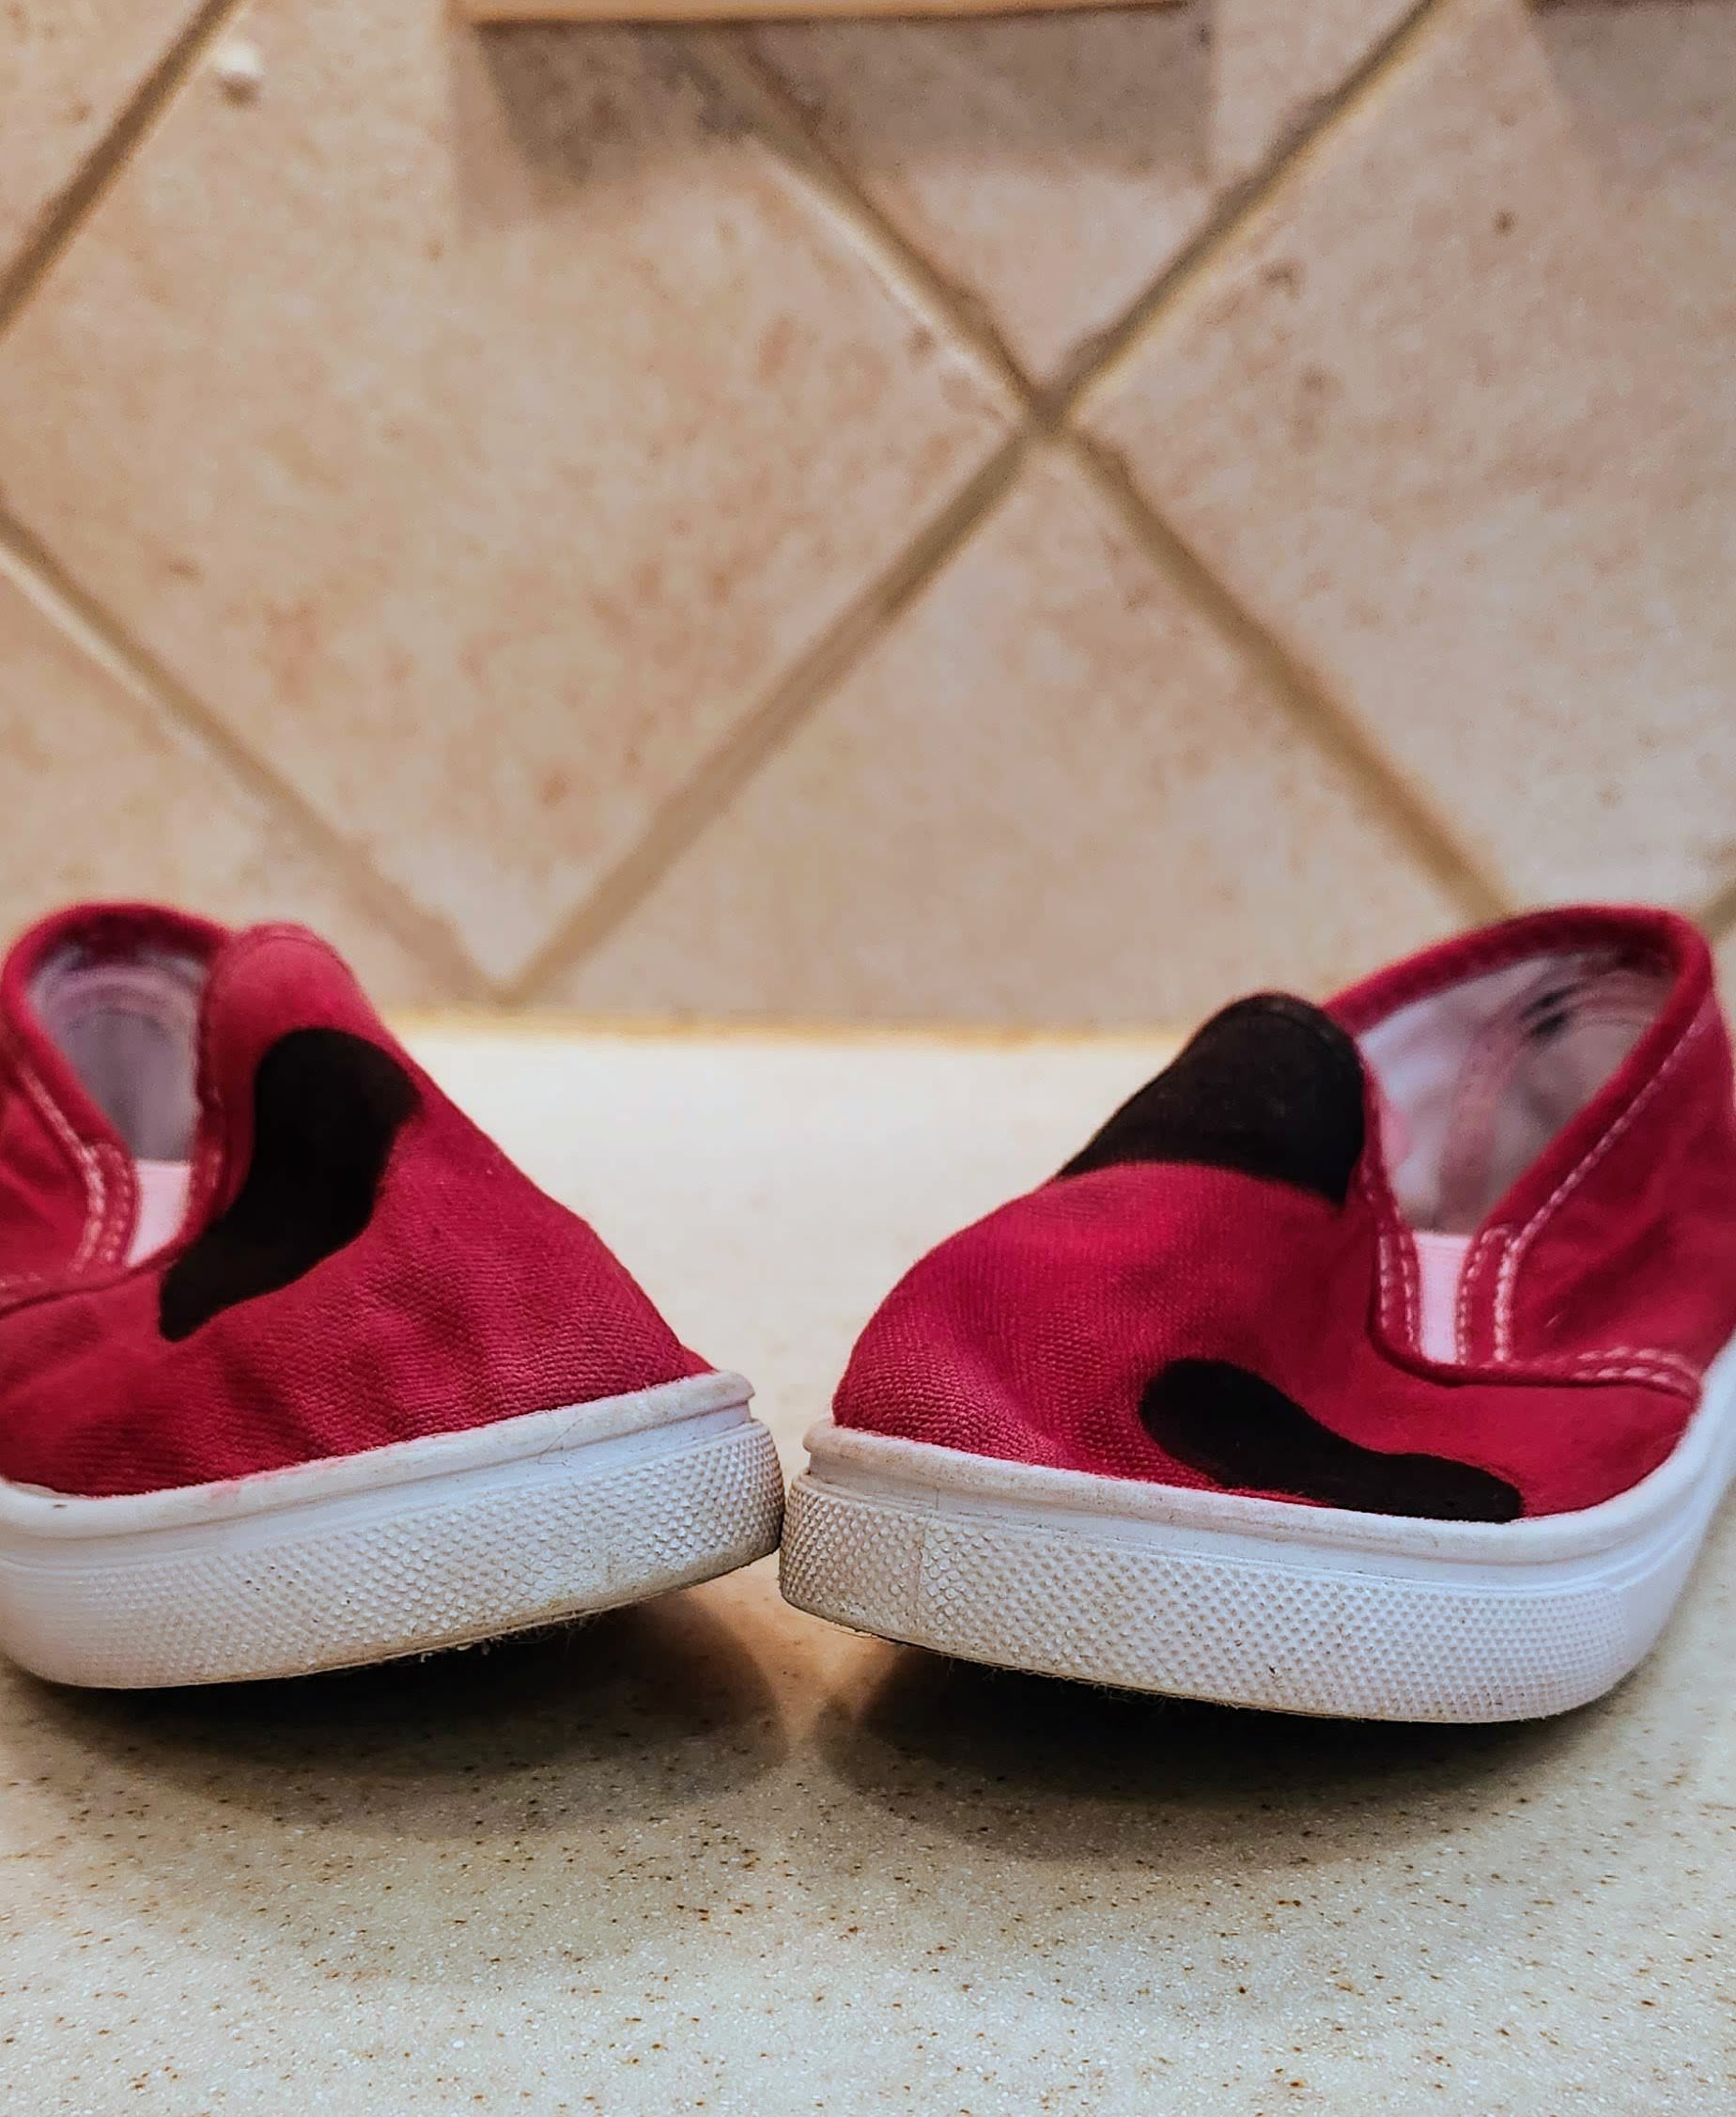
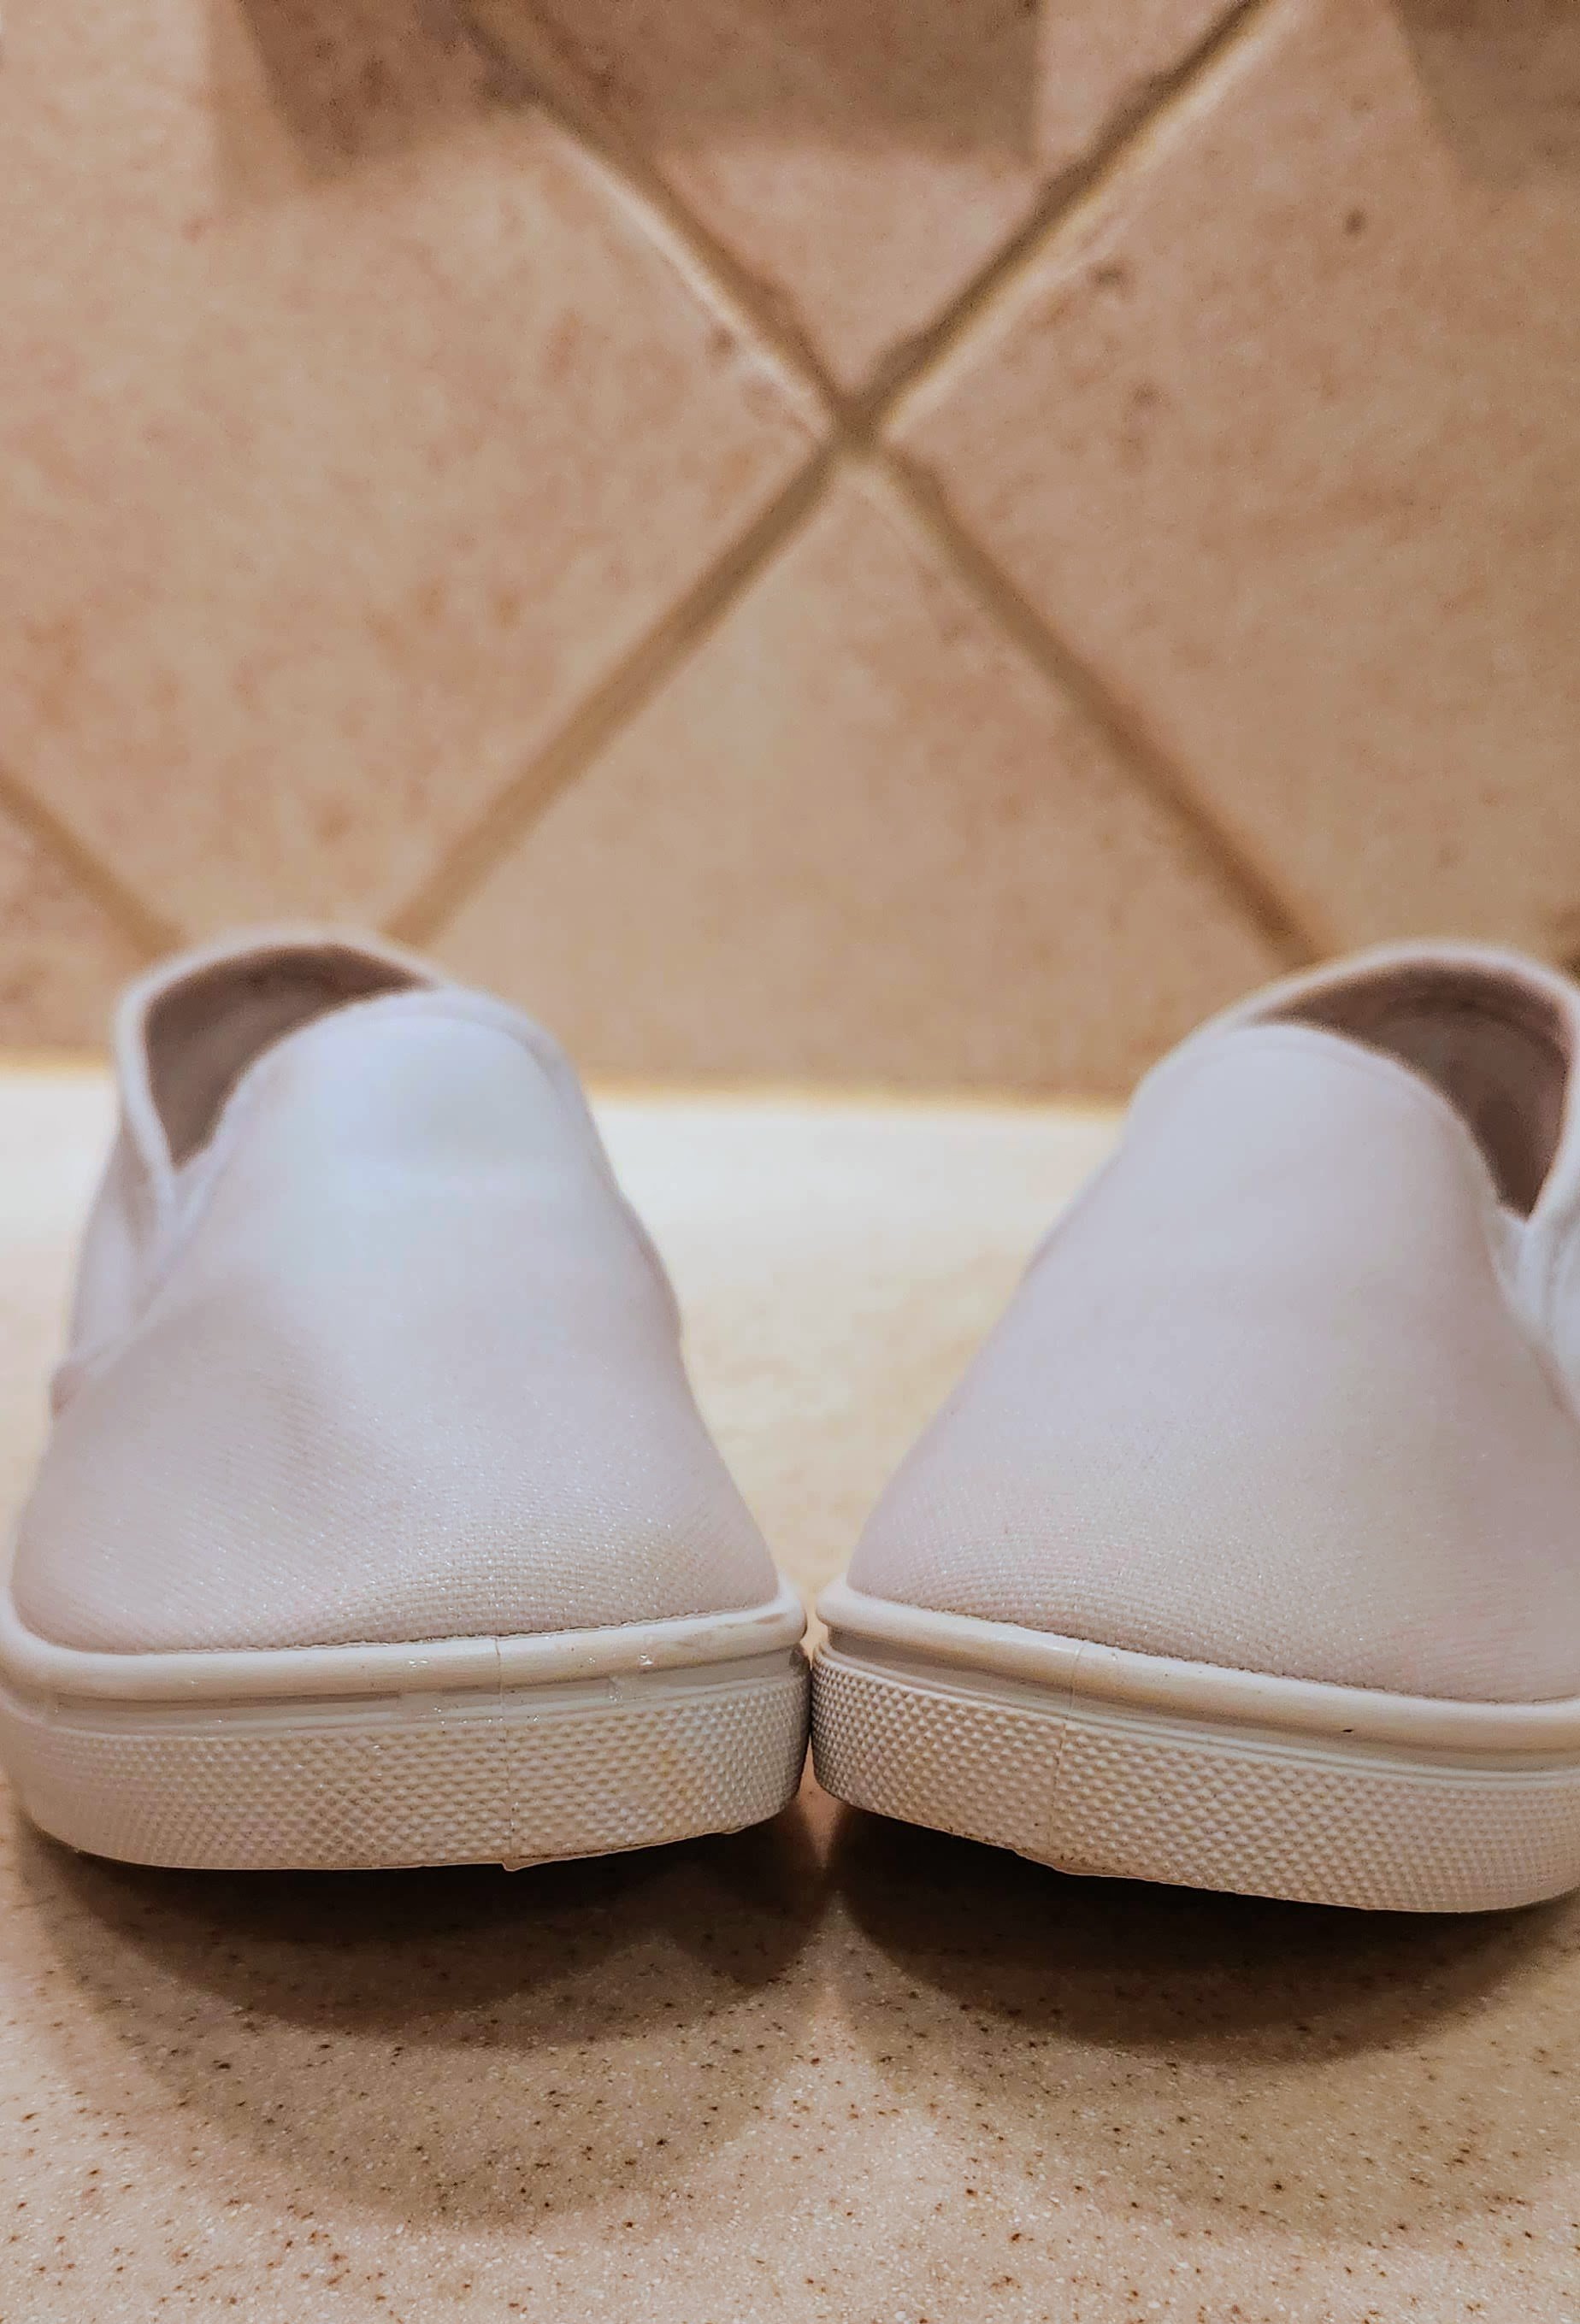
  • Red or White Shoes

  • Circle Template or Bottle Cap

  • Chalk

  • Black Fabric Paint

Ladybug Yo-Yo

Getting Started

Using a super hero mask the kids already had on hand, I outlined the basic Ladybug mask shape on thick foam, and cut it out.

Dots

I traced the outside of a water bottle cap and used an X-acto knife to cut out the shape.

Texture

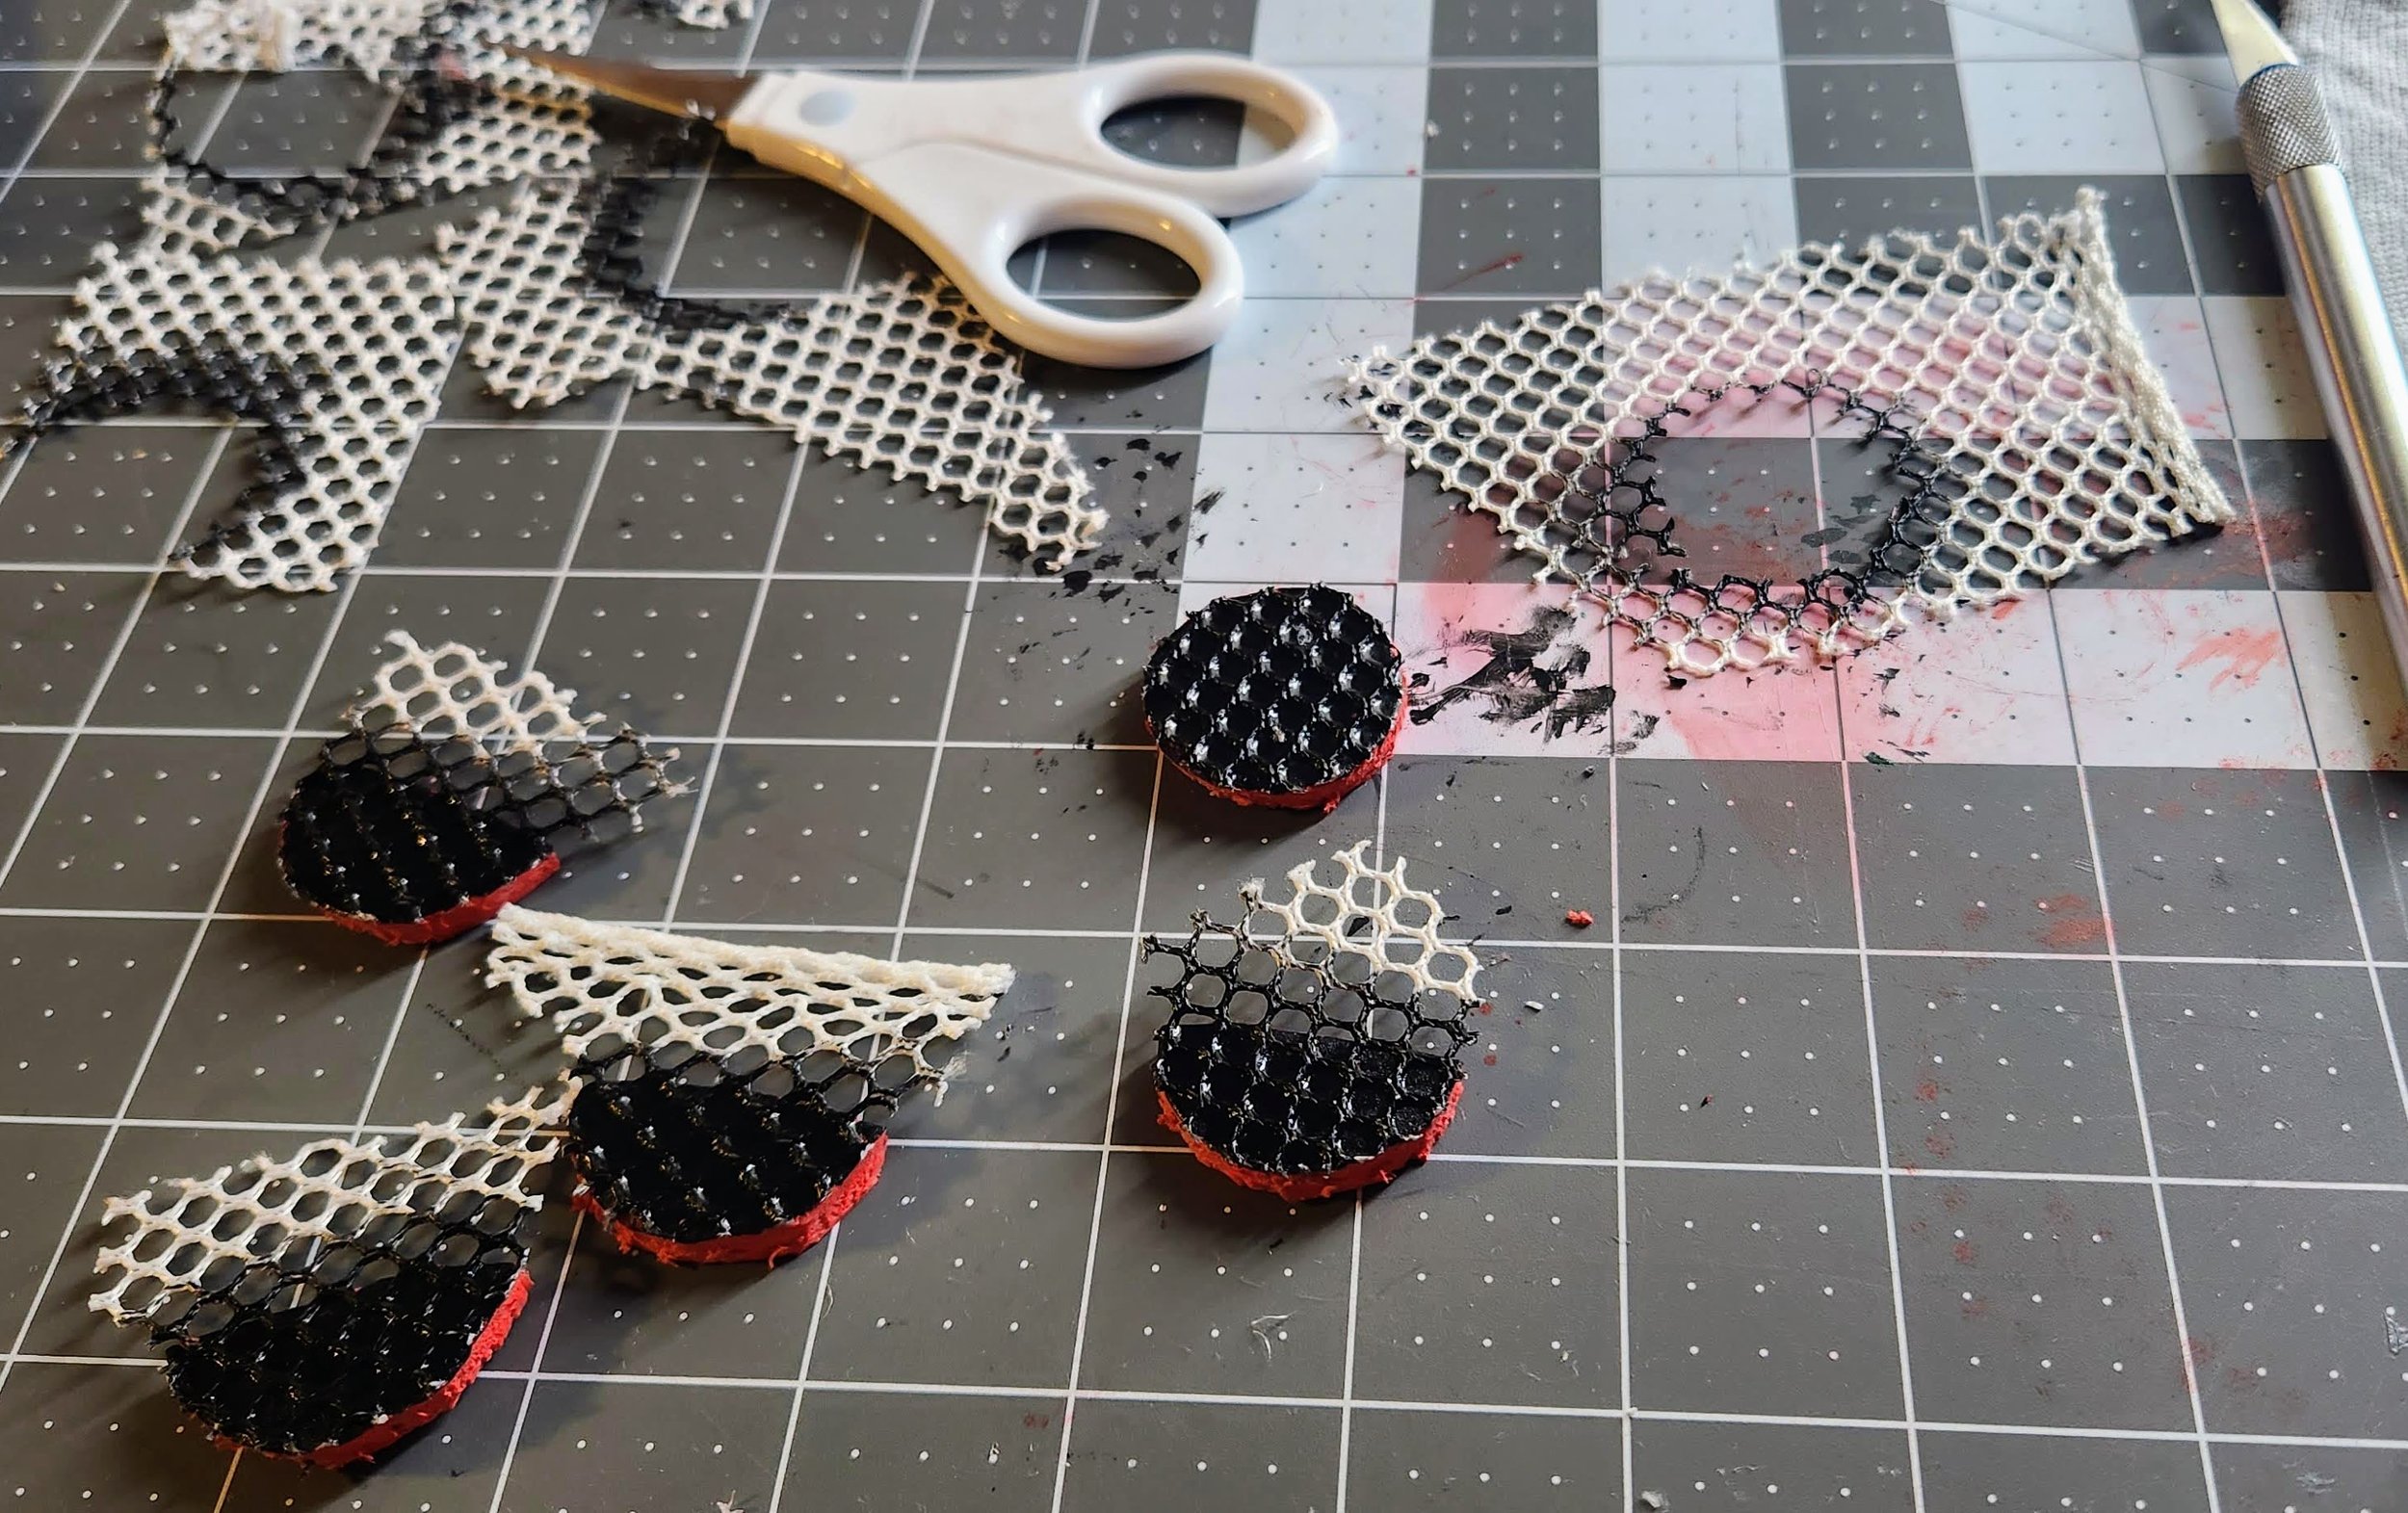
Paint fabric glue/Modge Podge on the mask and circles.

Place mesh fabric over all glued surfaces, and give them another coat of glue.

Paint red fabric paint covering the entire front surface, allowing for excess to be trimmed once dry.

Paint black fabric paint over all circle pieces.

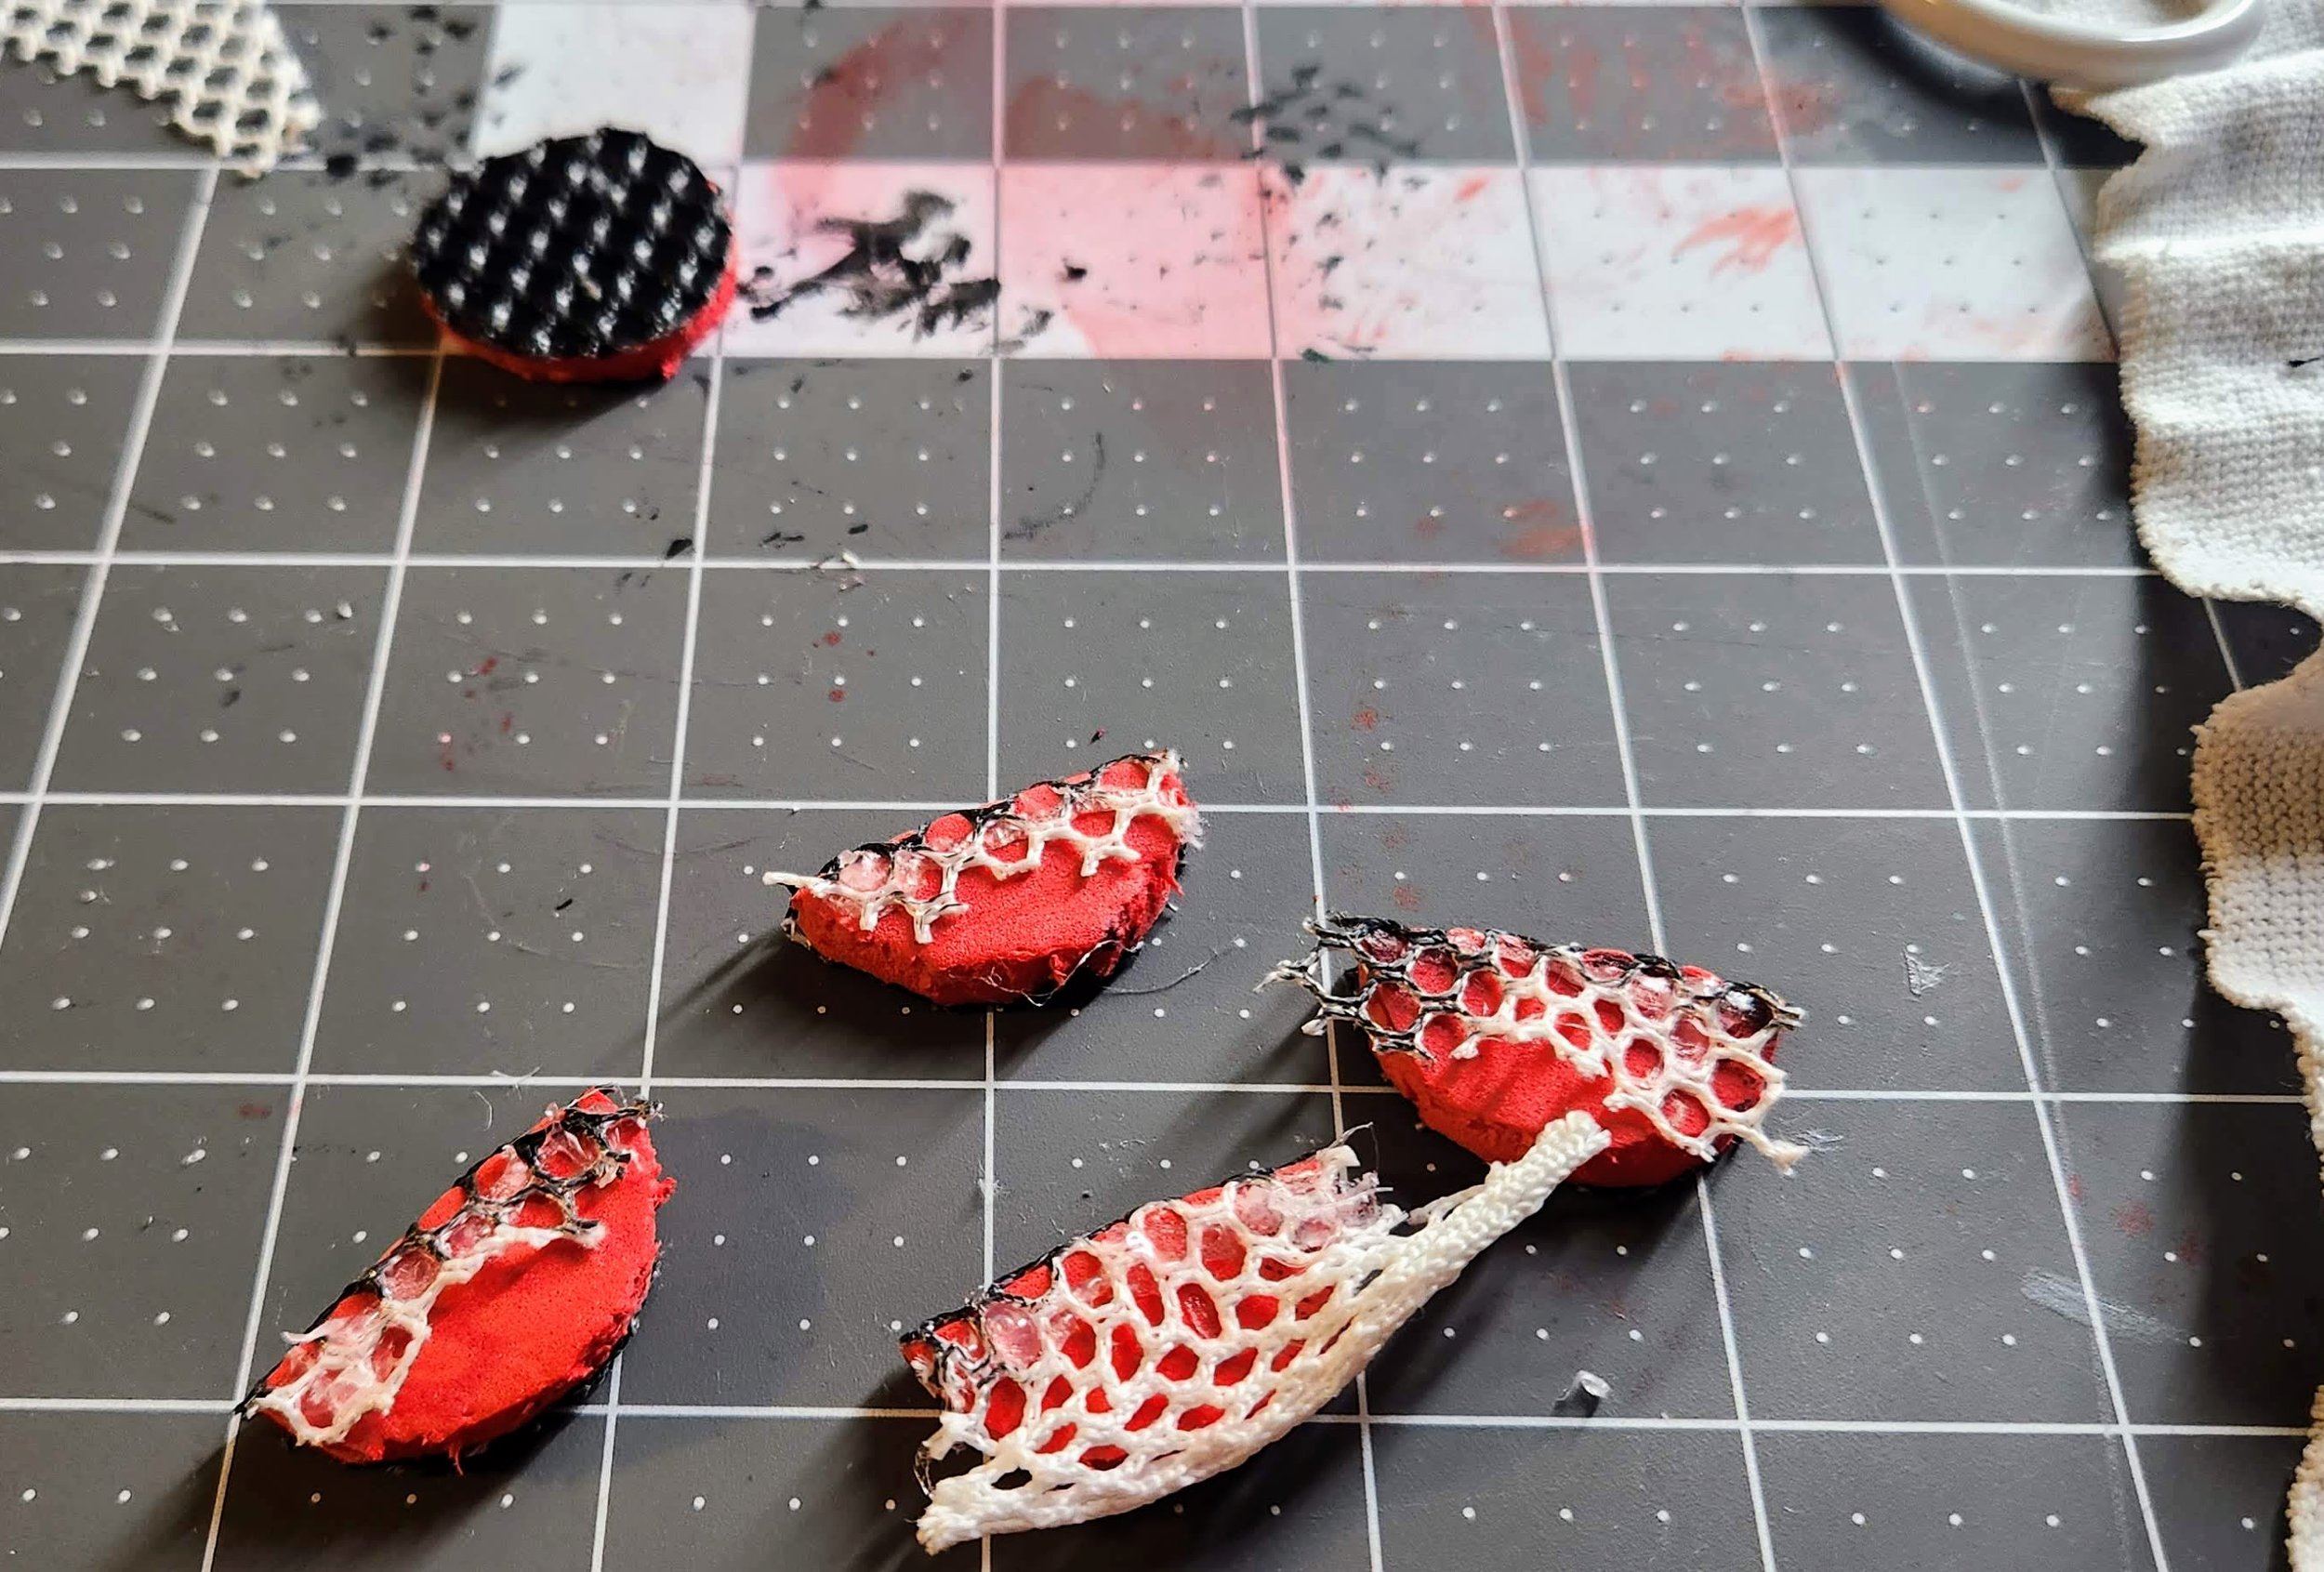
Glue down excess trim on the backside.

I only wrapped the excess on the side of the dots facing out so they could be glued to the mask seamlessly.

Trim excess fabric

Glue three pieces of wire to create a bendable structure that will keep its form.

Skeleton

Not pictured, but I added a vertical wire running along the length of the middle behind the center circle after I glued in the circles.

Almost there!

Glue along the edge of the circles and place in their respective positions. If you over glue, you can melt off the extra bits with the glue gun tip. Measure the elastic strap, and glue to the sides.

Lining

Glue felt lining over back structure.

Bend mask to face form.

Sealant of Modge Podge to wrap things up.

Masked 4 year old.

Ladybug Accessories

What’s a Ladybug without accessories? Well, this little Ladybug certainly cannot work to the best of her ability without the proper equipment.

Ladybug Yo-Yo tool

Ladybug’s accessory helps her fight evil Hawk Moth, and the only way she can properly defeat evil is when she has her backup theme music. For this obstacle, a microcontroller with vibration sensors and audio/light capabilities will do the job just fine. The lighting ended up being unnecessary due to the opaque filament and paint, but in other conditions would have been a neat feature.

Yo-yo top of model

Yo-yo bottom of model

Audio and lighting Code

import time import board import busio import digitalio import pwmio import audioio import audiomp3 from rainbowio import colorwheel import neopixel import adafruit_lis3dh tap_count = 0 first_tap_time = 0 tap_cooldown = 50 # 50 milliseconds last_tap_time = 0 tap_window = 1500 # 1.5 seconds in milliseconds current_duty_cycle = 0 increment = 1024 max_duty_cycle = 65535 min_duty_cycle = 0 i2c = busio.I2C(board.SCL, board.SDA) int1 = digitalio.DigitalInOut(board.D6) accel = adafruit_lis3dh.LIS3DH_I2C(i2c, int1=int1) accel.range = adafruit_lis3dh.RANGE_4_G accel.set_tap(1, 100) button = digitalio.DigitalInOut(board.A1) button.switch_to_input(pull=digitalio.Pull.UP) enable = digitalio.DigitalInOut(board.D10) enable.direction = digitalio.Direction.OUTPUT enable.value = True speaker = audioio.AudioOut(board.A0) red = pwmio.PWMOut(board.D11, duty_cycle=0, frequency=20000) green = pwmio.PWMOut(board.D12, duty_cycle=0, frequency=20000) blue = pwmio.PWMOut(board.D13, duty_cycle=0, frequency=20000) while True: current_duty_cycle += increment print("Current Duty Cycle:", current_duty_cycle) if current_duty_cycle >= max_duty_cycle or current_duty_cycle <= min_duty_cycle: increment = -increment # Reverse the direction current_duty_cycle += 2 * increment # This ensures that we don't get stuck at max/min red.duty_cycle = current_duty_cycle green.duty_cycle = current_duty_cycle blue.duty_cycle = current_duty_cycle time.sleep(0.005) # Slow down the loop for observation now = time.monotonic() * 1000 # Current time in milliseconds if now - first_tap_time > tap_window: if first_tap_time != 0: if tap_count == 2: if not speaker.playing: sample = "beeps.mp3" mp3stream = audiomp3.MP3Decoder(open(sample, "rb")) speaker.play(mp3stream) first_tap_time = 0 tap_count = 0 if accel.tapped: if now - last_tap_time > tap_cooldown: last_tap_time = now if first_tap_time == 0: first_tap_time = now tap_count += 1 if tap_count == 3: if speaker.playing: speaker.stop() else: sample = "song.mp3" mp3stream = audiomp3.MP3Decoder(open(sample, "rb")) speaker.play(mp3stream) tap_count = 0 first_tap_time = 0

Buff out all of the uneven layers and imperfections. I went up to a 220 grain for this.

Precautions

Cover the inside beveled edge with painters tape to avoid any future closure headaches. Always sand and spray outside in a well ventilated area while wearing proper breathing protections.

Trying to get an even spray is difficult when nature gets in the way. Note to self: keep bugs away from wet paint.

Apply black vinyl decals for the spots. I did find some creasing laying them across curved edges. Poking the crease with a pin and pressing it down will help further flatten the vinyl. The layer of sealant helped even some of this out in the end. Another option to avoid this altogether is to bring out your trusty bottle cap once more to trace outlines for the spots and paint in with black acrylic.

Holes

Foamcutter was the perfect solution for releasing the speaker holes, but any kind of sharp pokey tool should do the job cutting through vinyl just fine. Finishing polish with a couple layers of high gloss polyurethane.

The inner workings of Ladybug’s accessory. A microcontroller that can play audio and detect vibrations. Turning it on/off took a few taps which was great fun for Ladybug on our trick-or-treating adventure. The light was unnecessary in the end because of the opaque filament and paint, but the intention was there.

Make It An Accessory

Ladybug just could not be without her tooling. String some elastic thread through the holes on the inside and wrap around your subject in whatever fashion they see fit. (They are Ladybug, after all.) Do not be like me, and tape off the inside bevel Before! painting. My closure was too gunked up to fully fit again. Hot glue for the win!

You Are Ladybug!

Fully equipped and ready for action.

Featuring the musical stylings of Ladybug! Featuring the musical stylings of Ladybug! The device turns on/off through tapping. A feature well exercised on our trick-or-treating adventure.