Absolutely nothing. Which is why my children chose to design their costumes in such a way as to have me working to each individual’s specifications. Tornado for the eldest, Miraculous Ladybug for Ms. Middle, and Mermaid for the littlest Lovett. Pinterest was a huge help for all of these lofty designs. So if I can pay it forward to any ambitiously creative parents out there, all the better.
Mask Supplies
Red thick foam
Mesh Fabric
Red, Black Fabric Paint
Circle Template (Bottle cap upcycle)
Hot Glue (partial to Gorilla Glue)
Fabric Glue or Modge Podge
Wire
Red Felt
Elastic
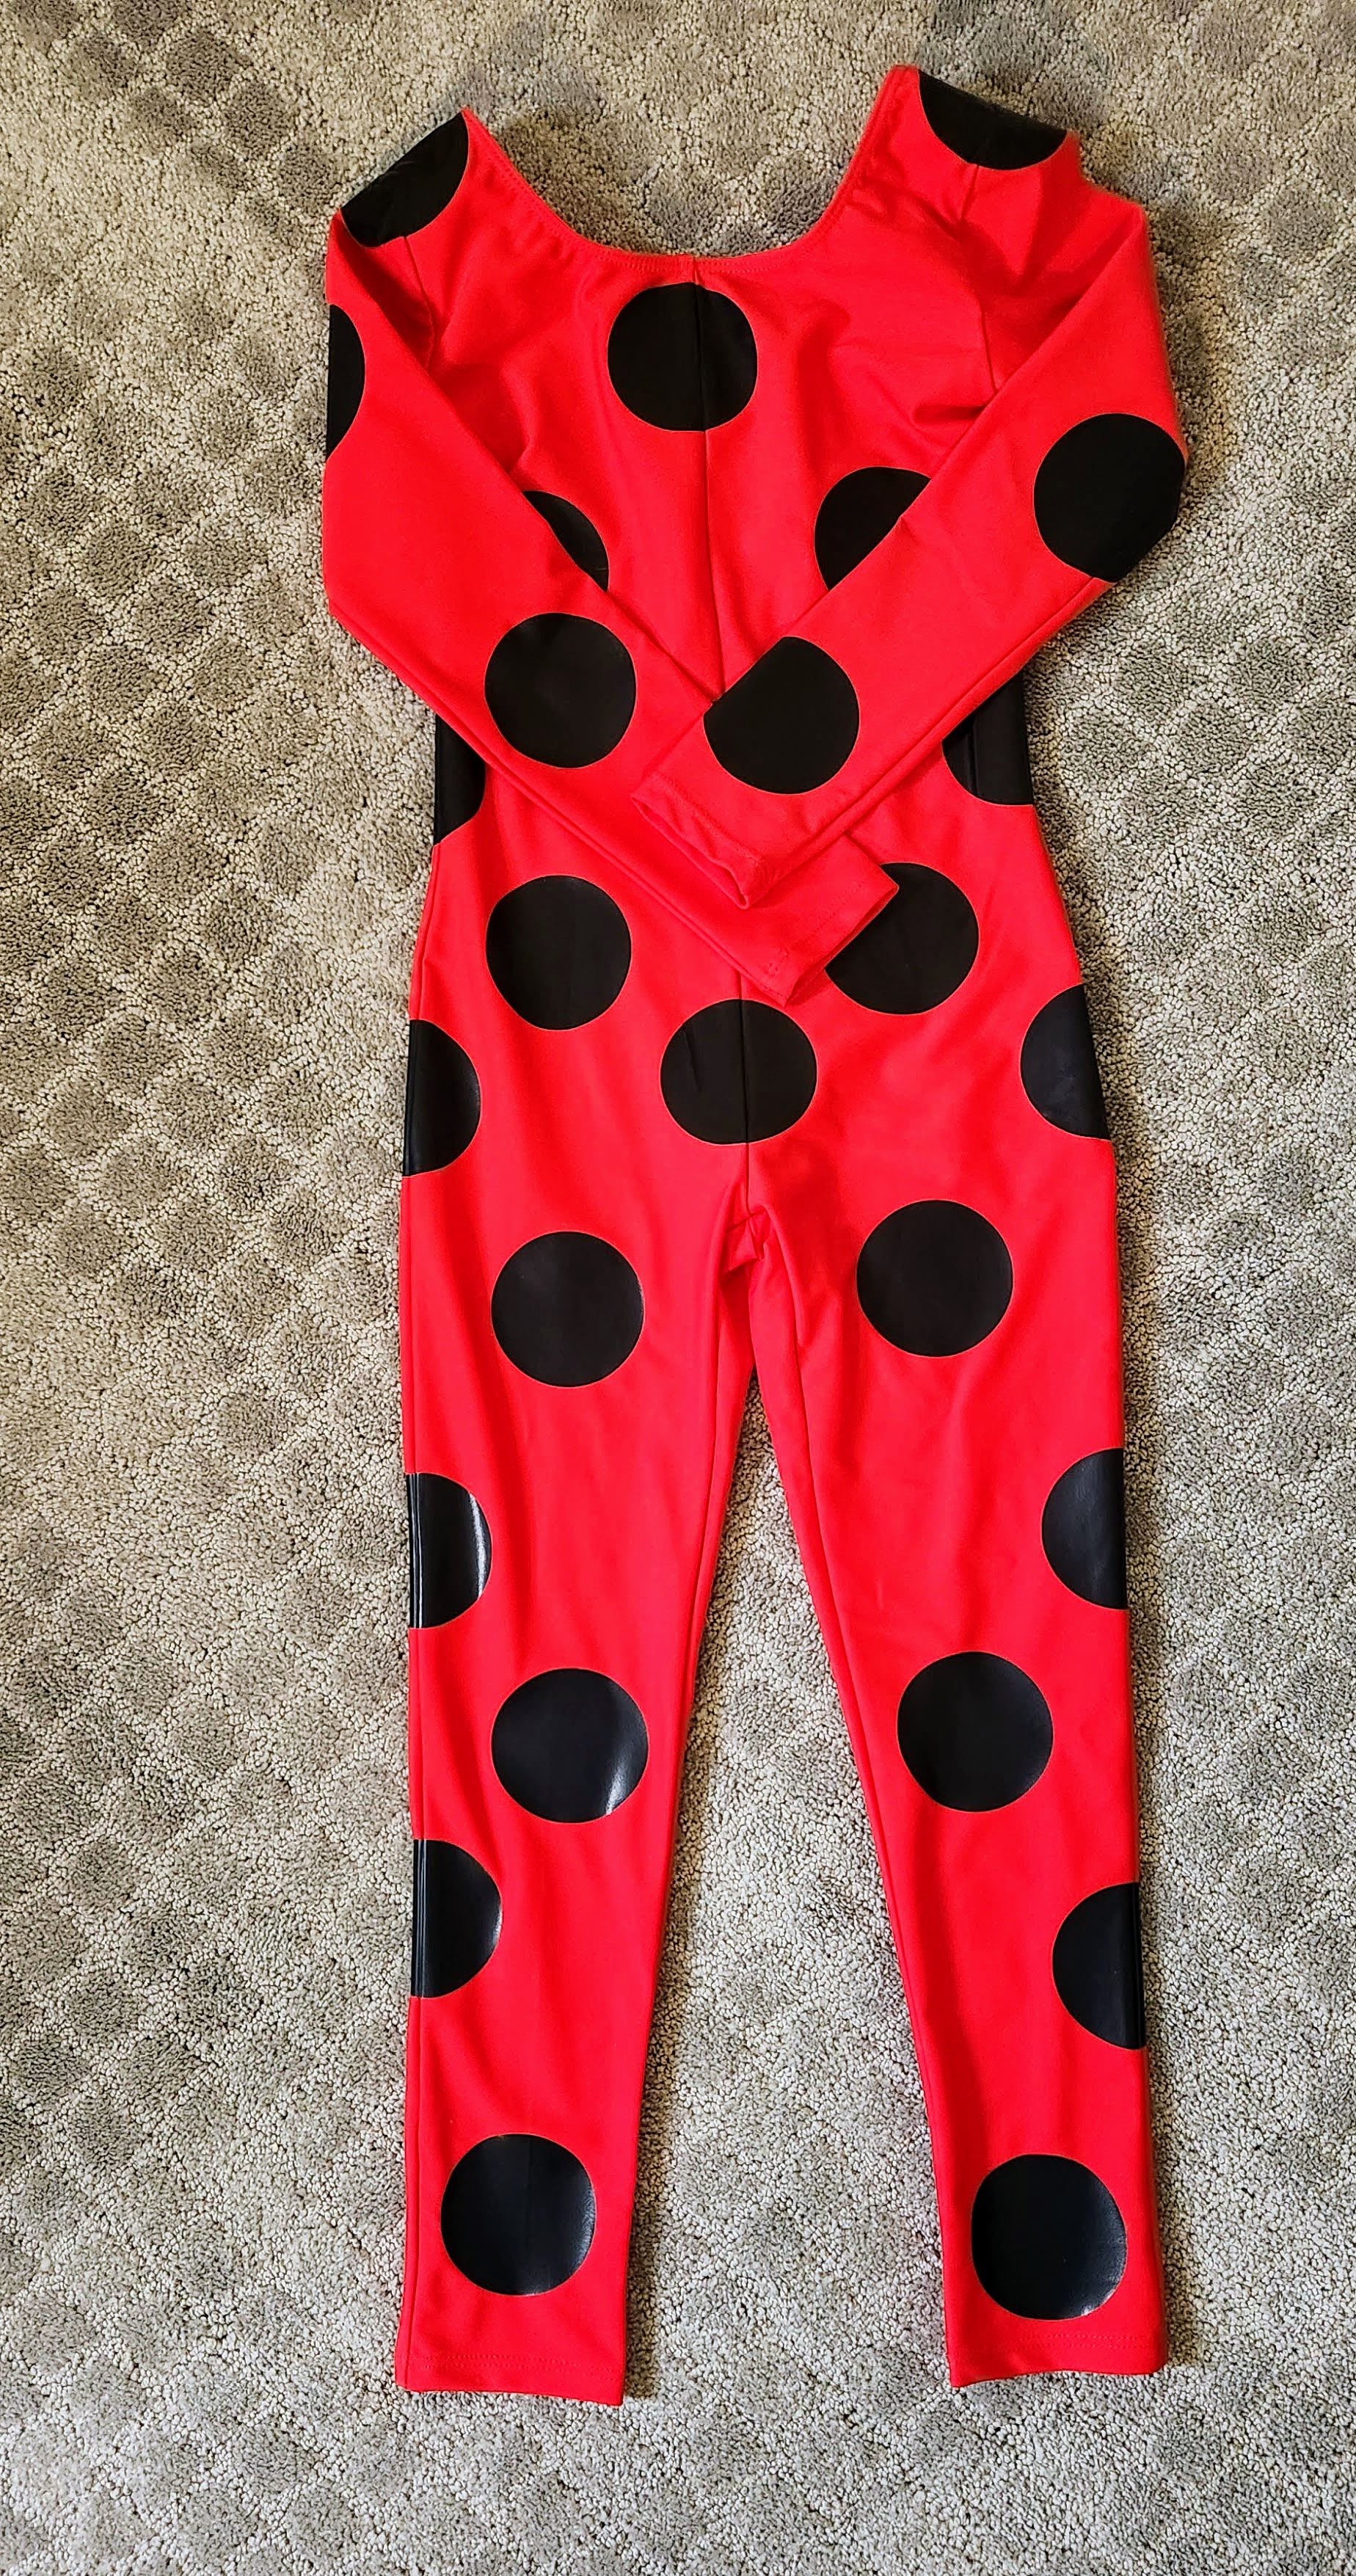
Leotard Supplies
Sportflex Black HTV
Mesh Fabric
Off-White Fabric Paint
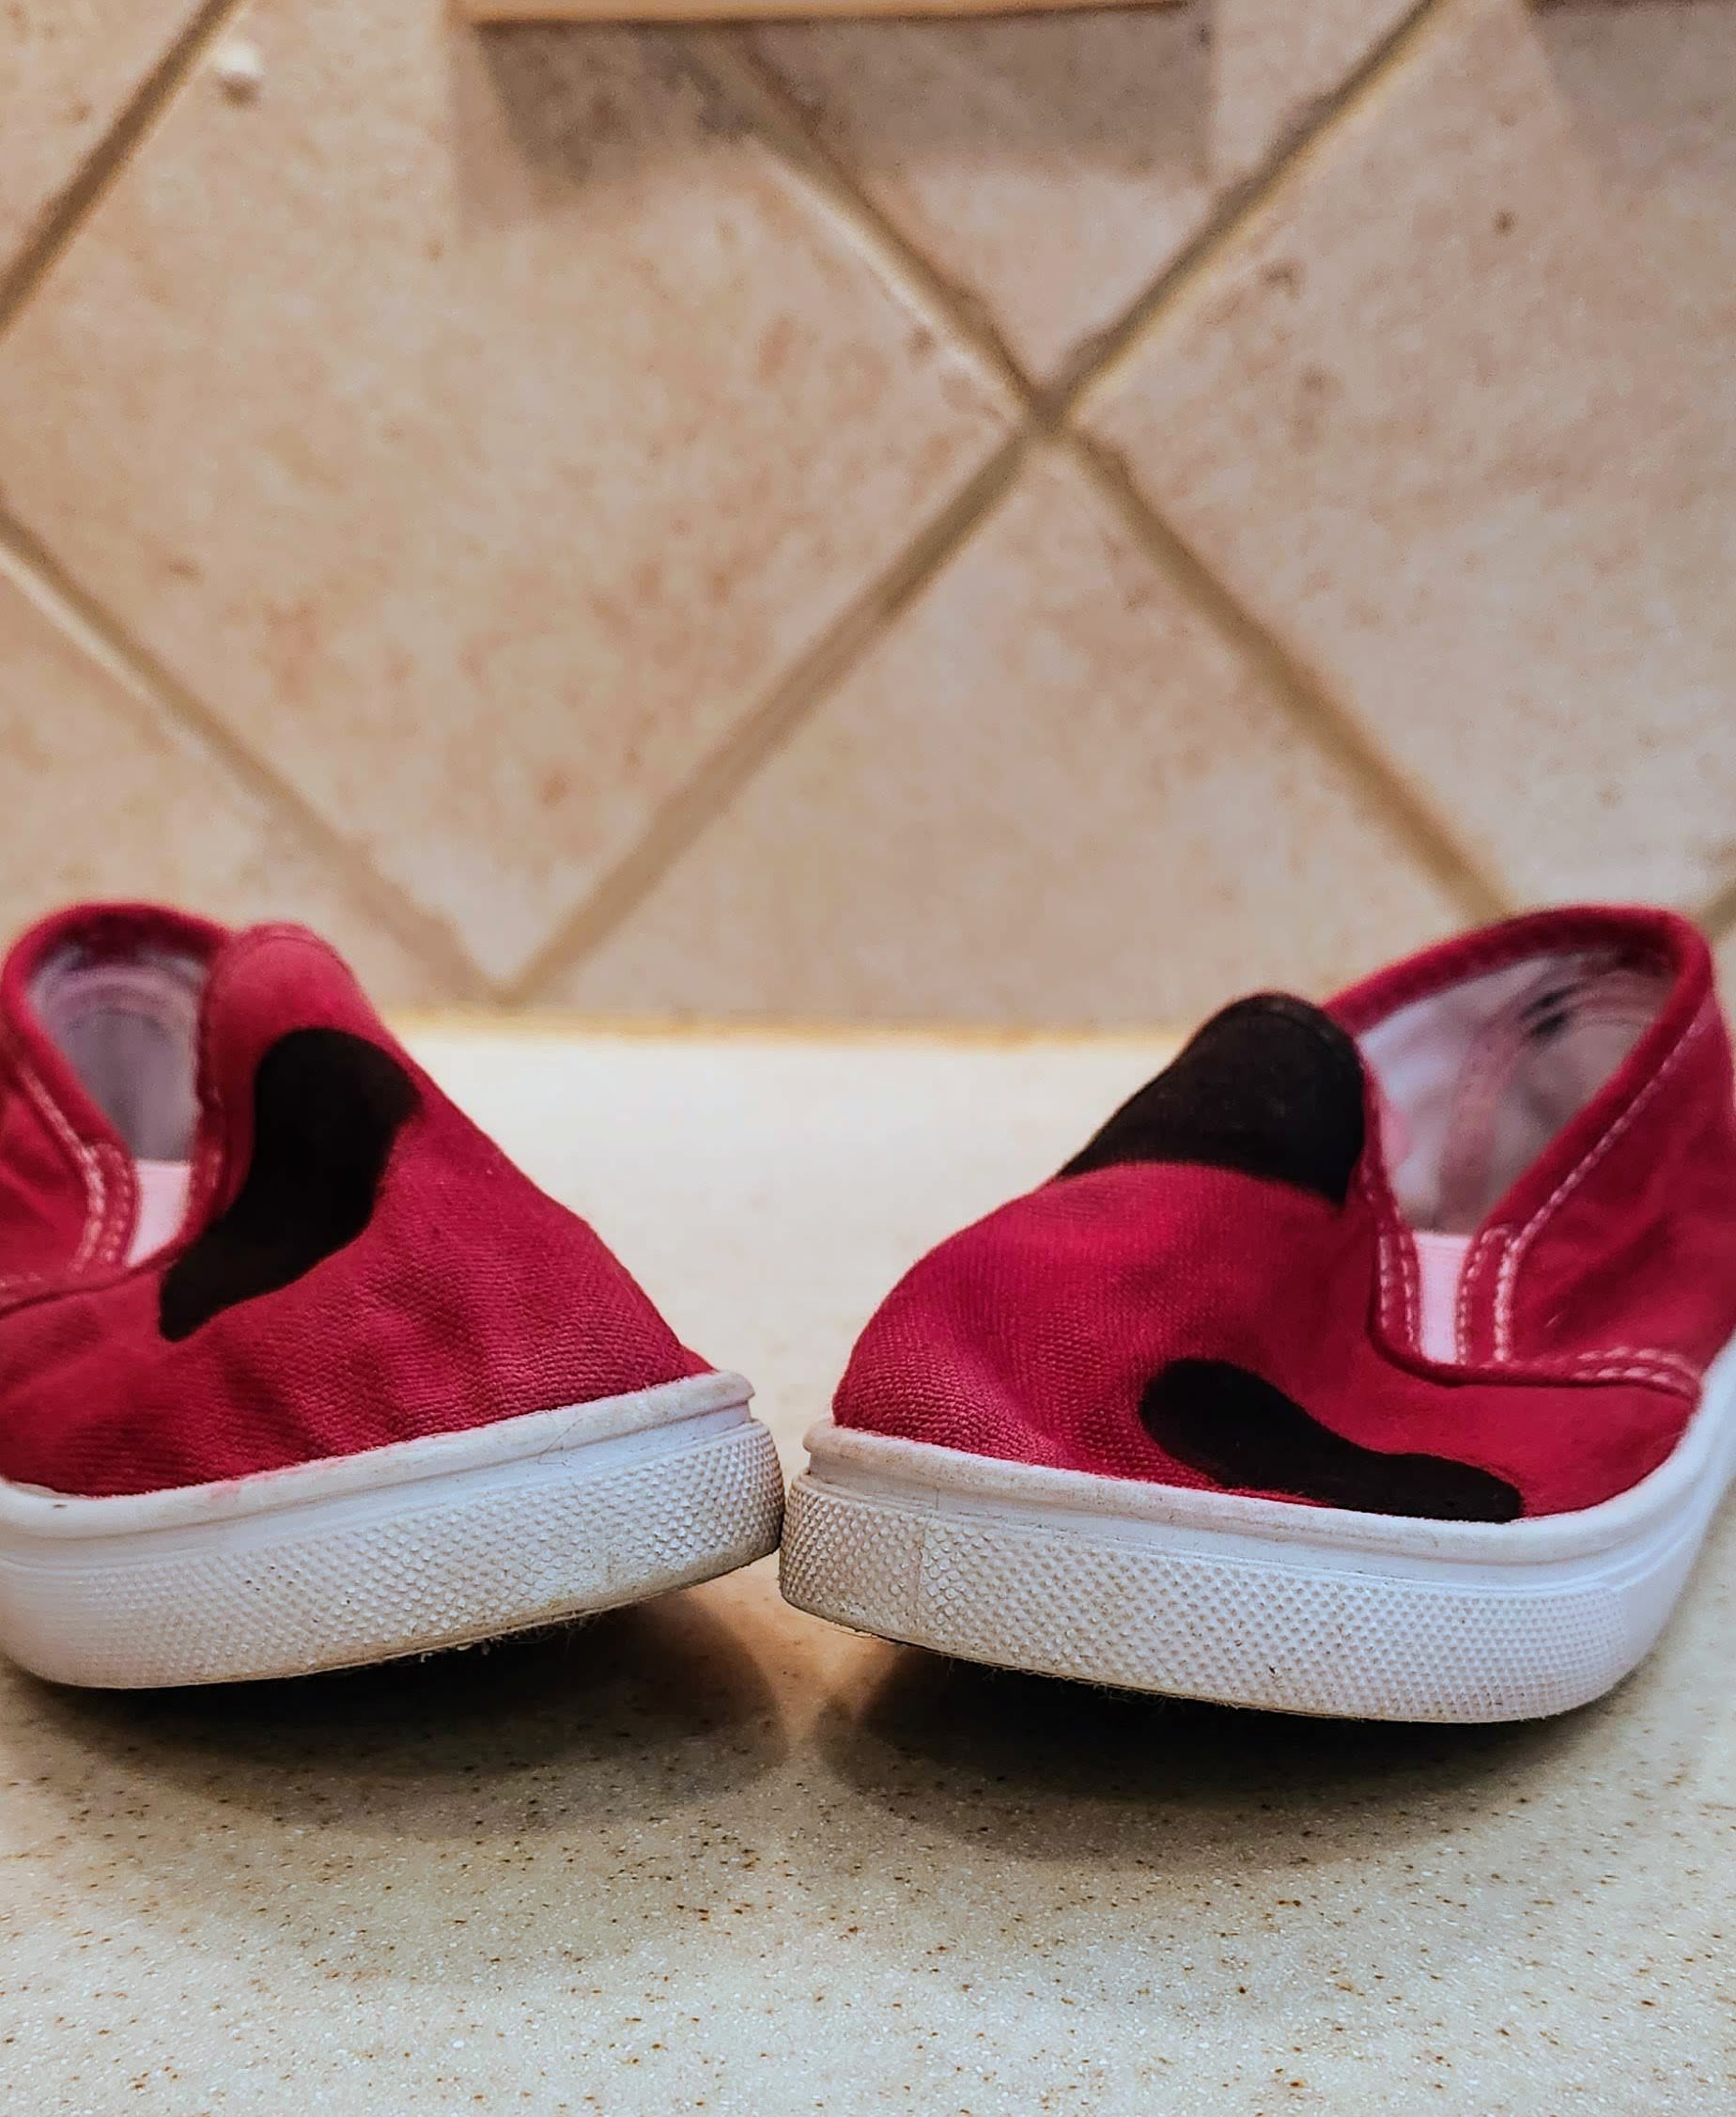
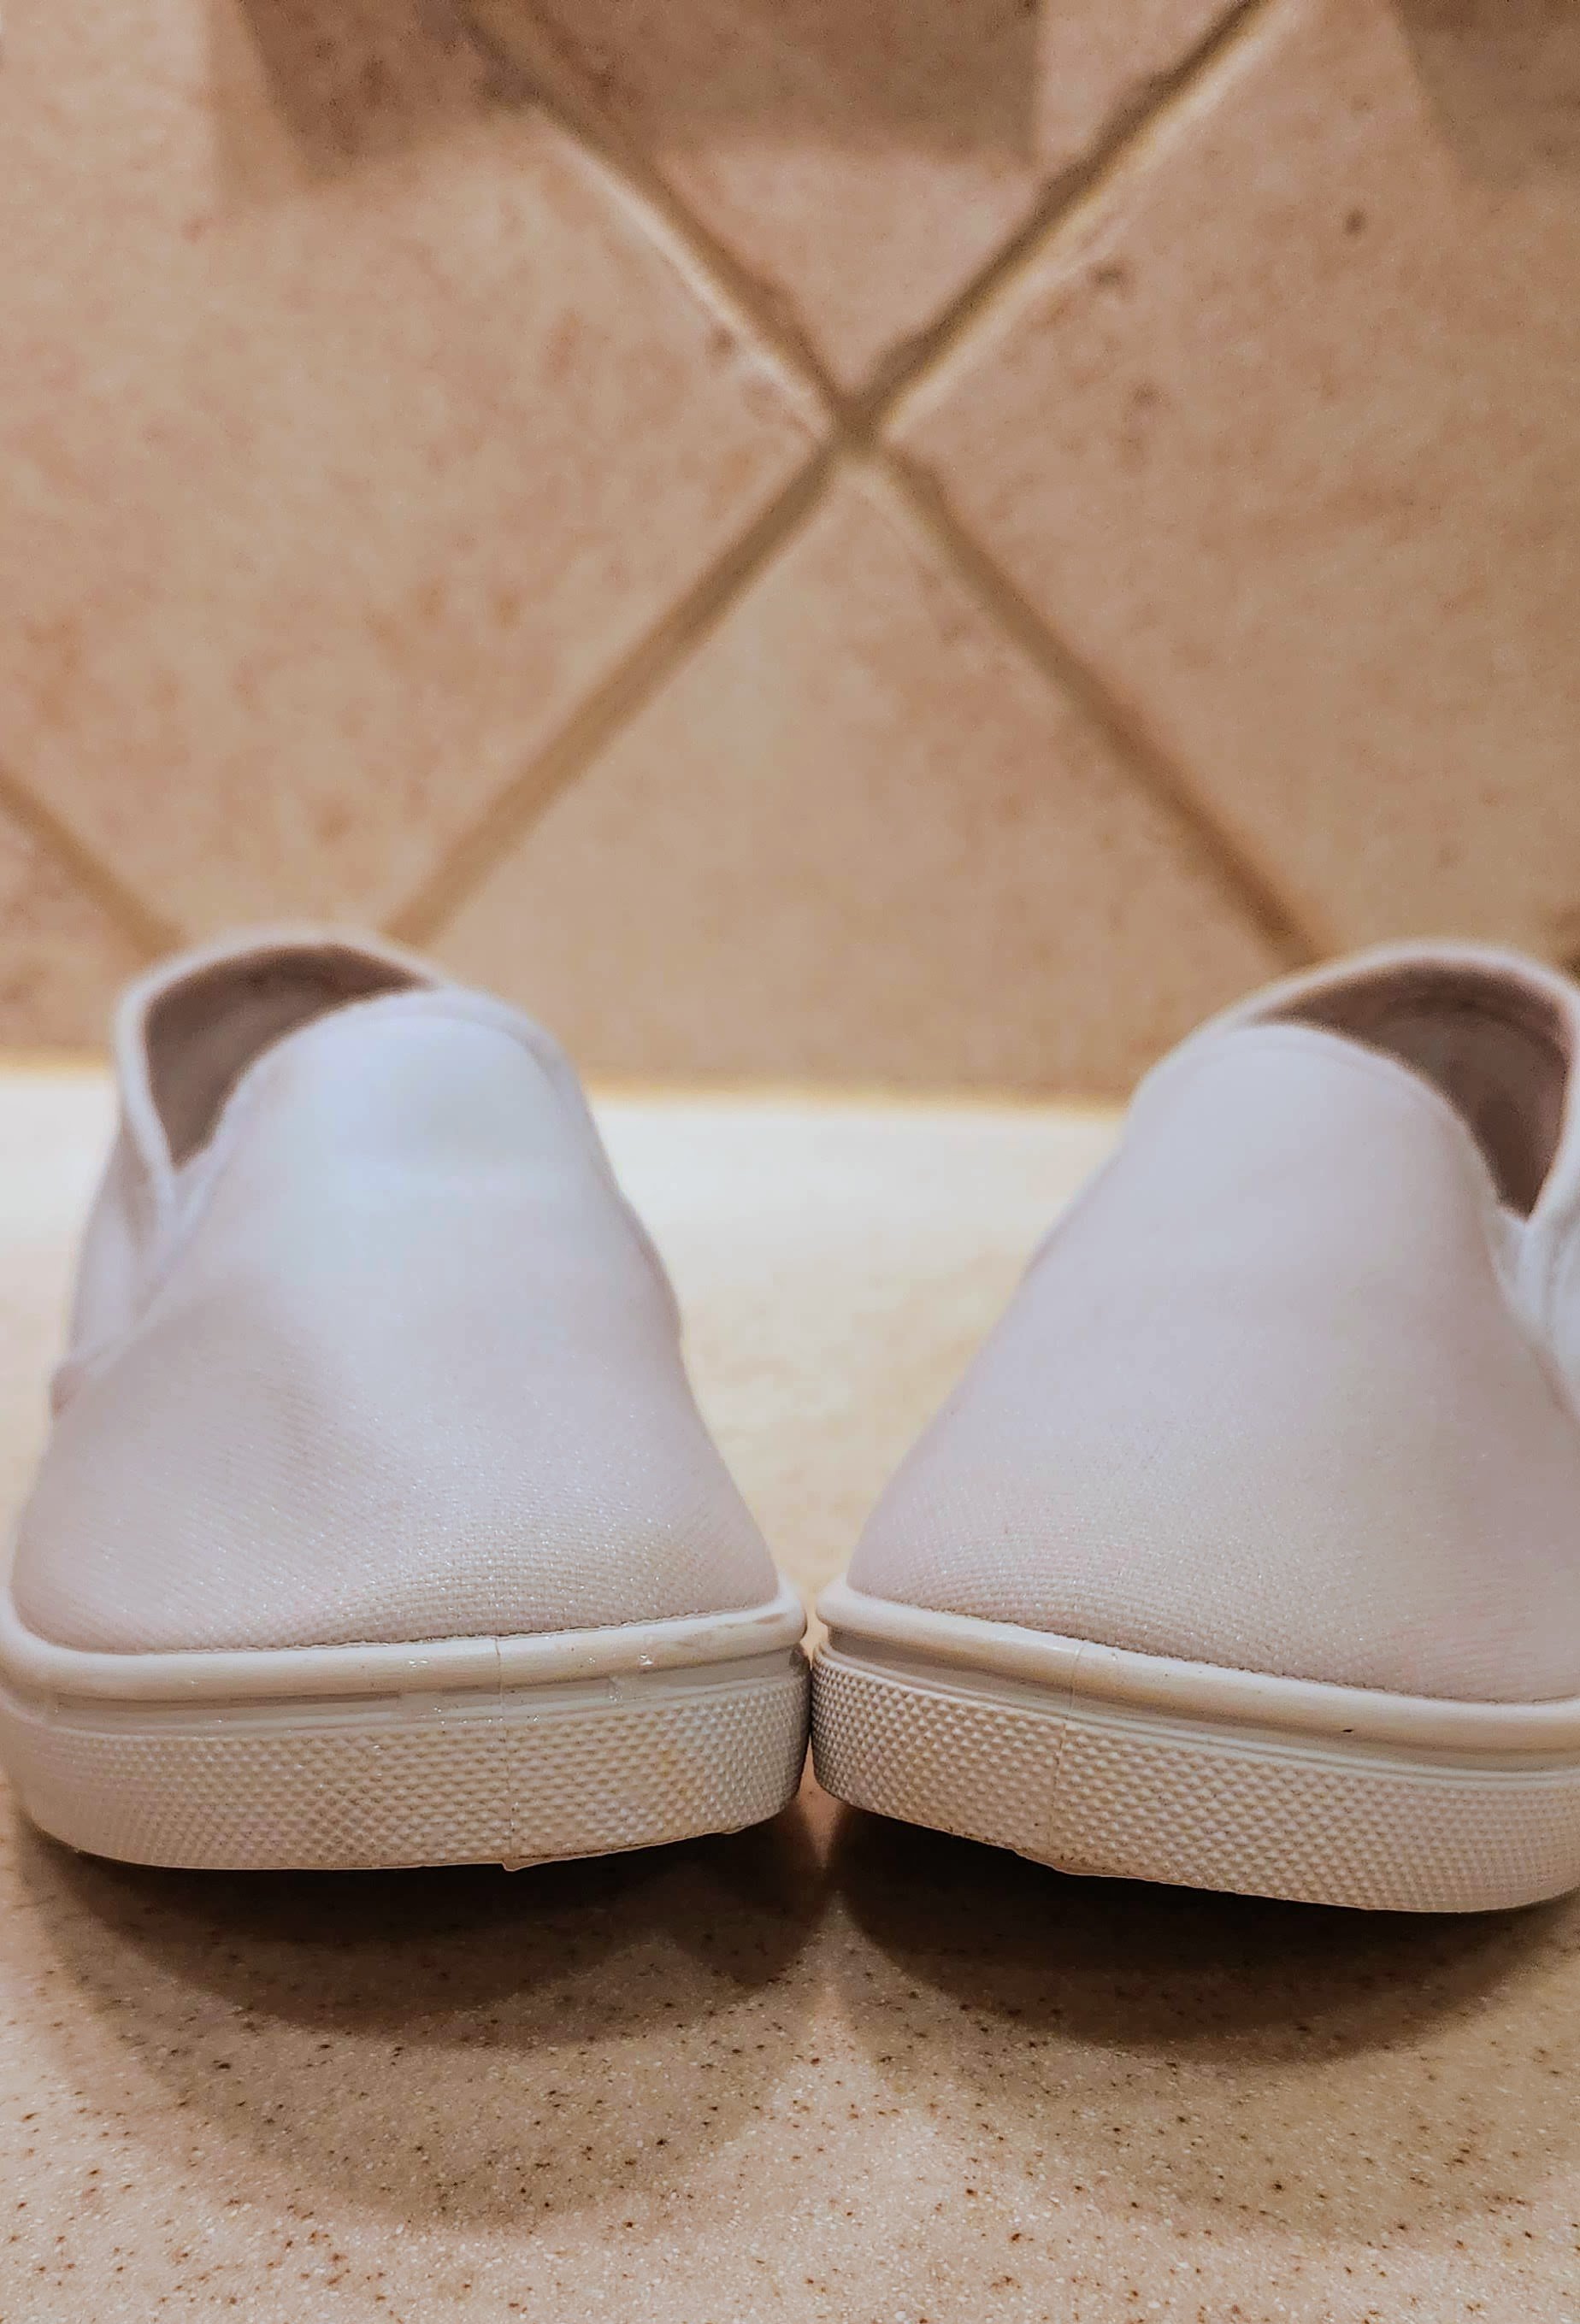
Shoes
Red or White Shoes
Circle Template or Bottle Cap
Chalk
Black Fabric Paint
Ladybug Yo-Yo
Model in PLA
Black Permanent Vinyl
High Gloss Polyeurethane
Red Spray Paint
Sand Paper
Foamcutter or similar poke tool
Elastic Thread

Getting Started
Using a super hero mask the kids already had on hand, I outlined the basic Ladybug mask shape on thick foam, and cut it out.

Dots
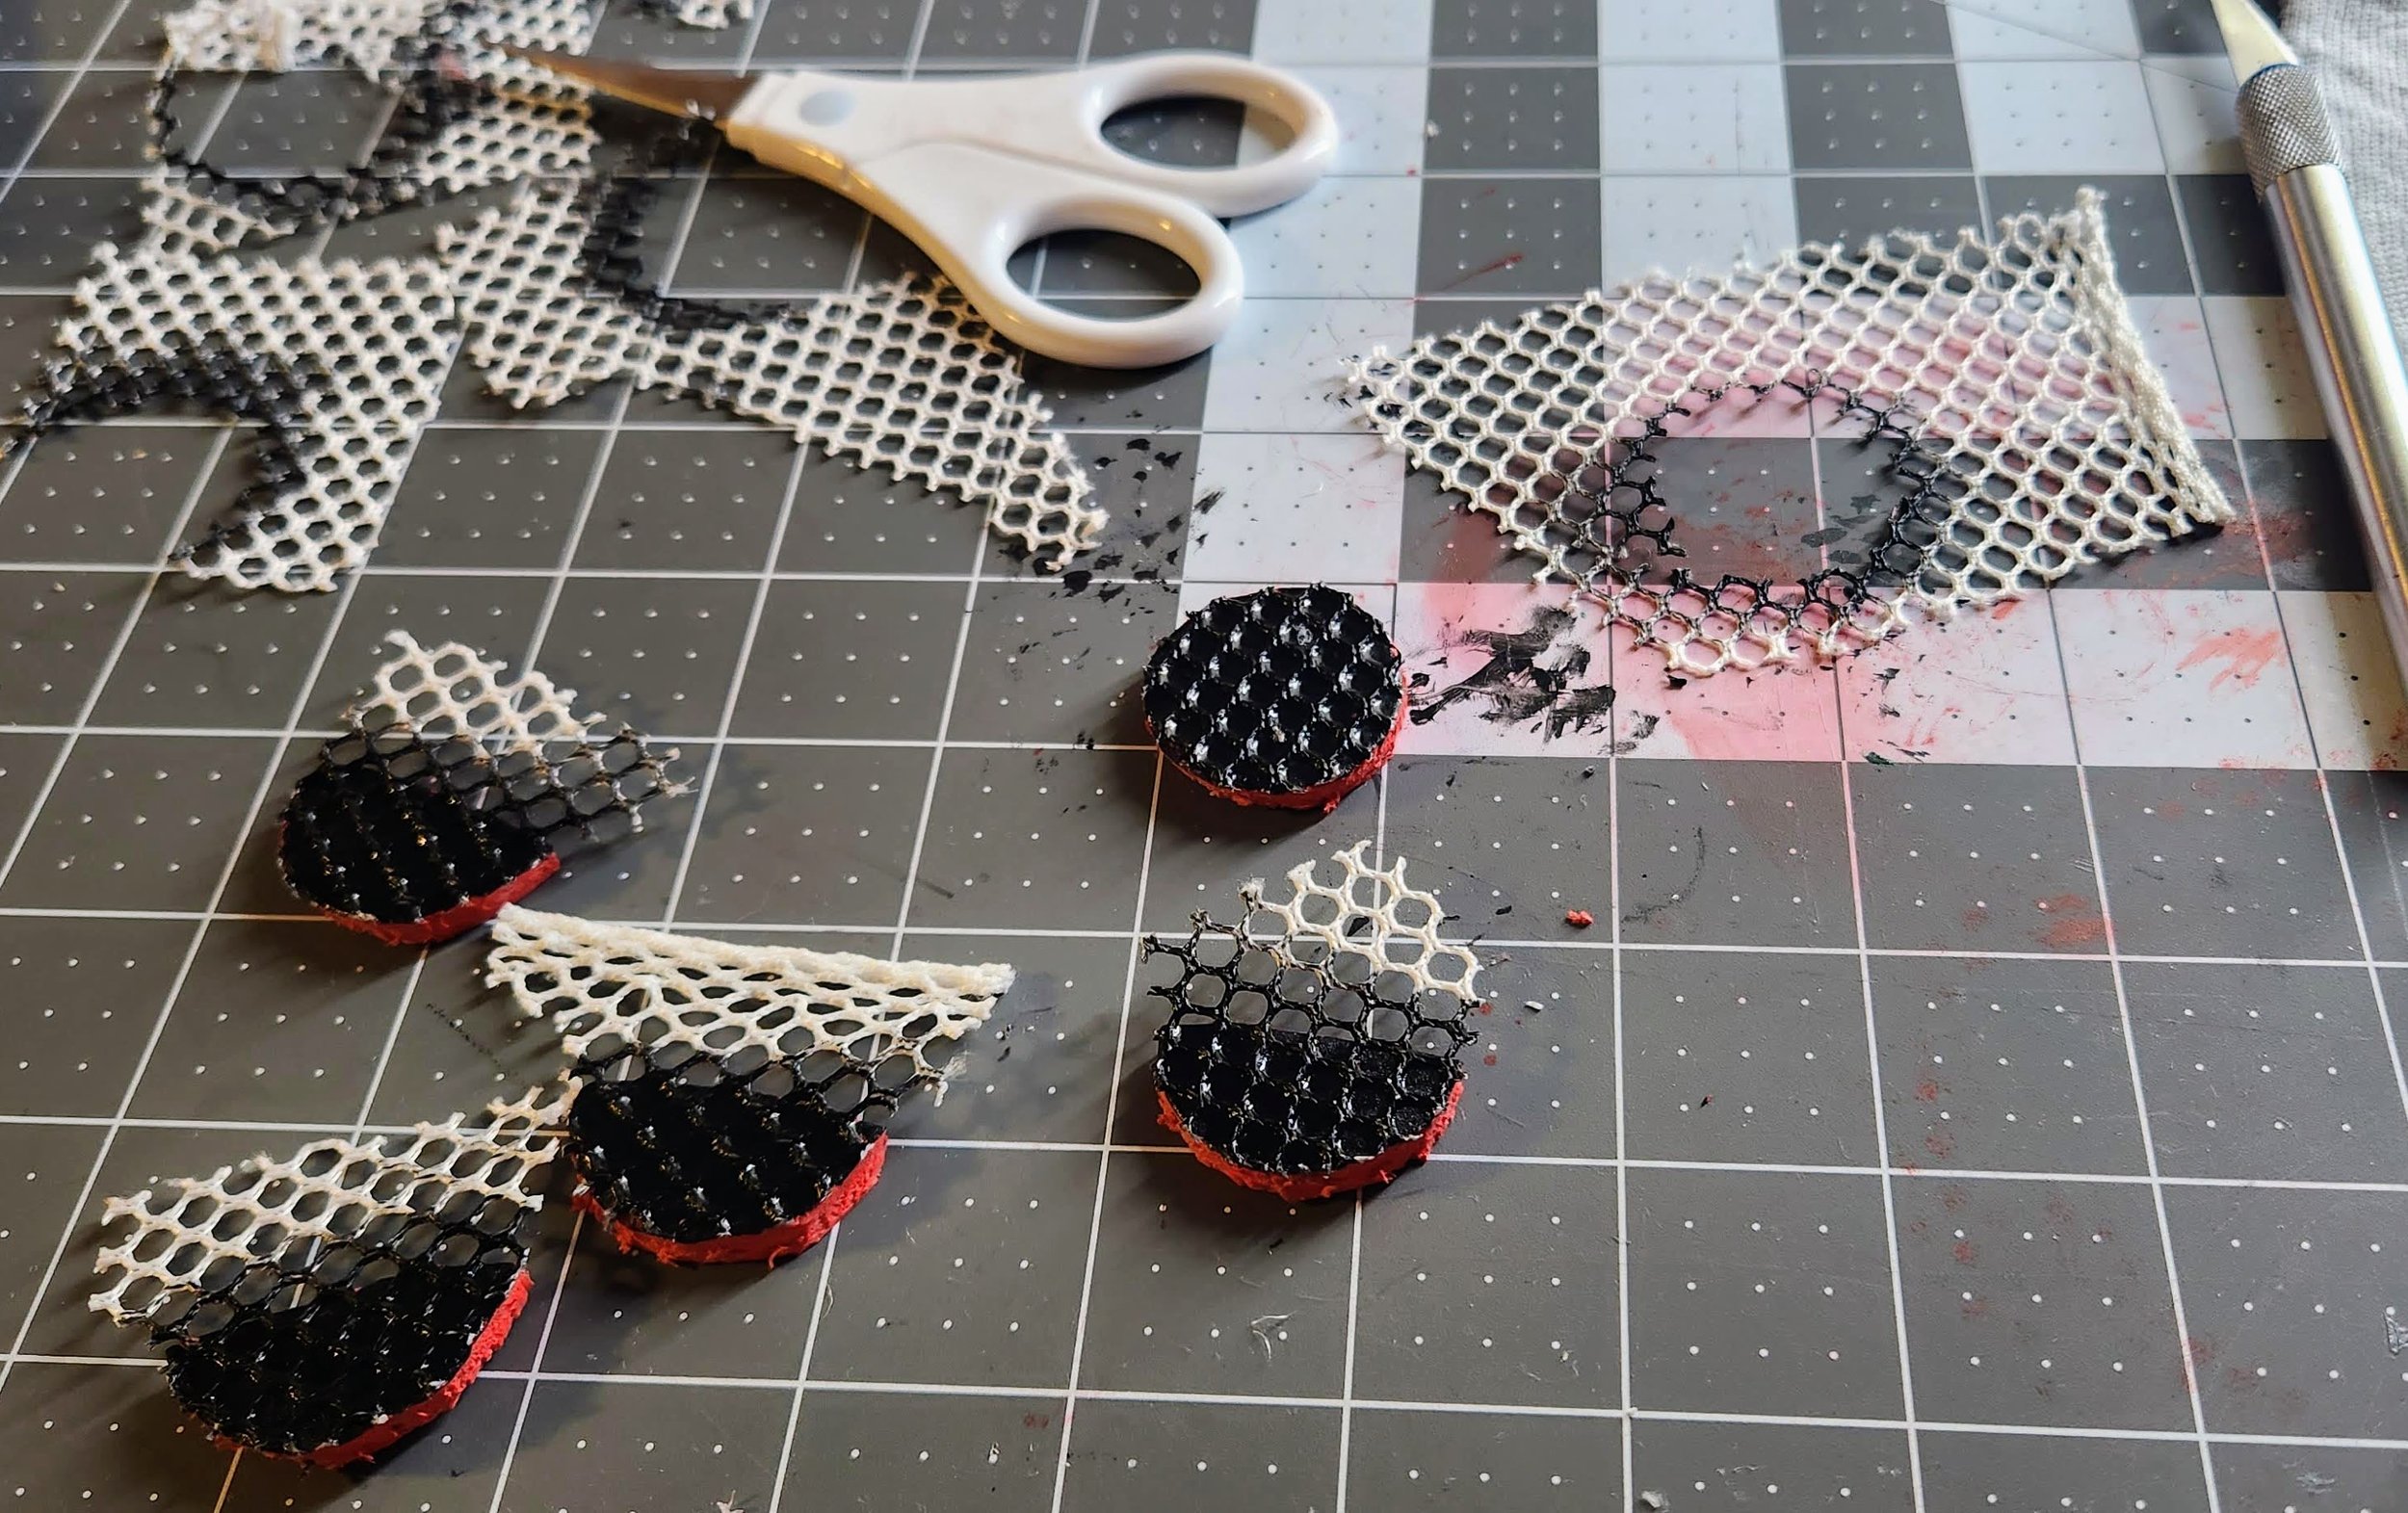
I traced the outside of a water bottle cap and used an X-acto knife to cut out the shape.

Texture
Paint fabric glue/Modge Podge on the mask and circles.

Place mesh fabric over all glued surfaces, and give them another coat of glue.
Paint red fabric paint covering the entire front surface, allowing for excess to be trimmed once dry.
Paint black fabric paint over all circle pieces.
Glue down excess trim on the backside.
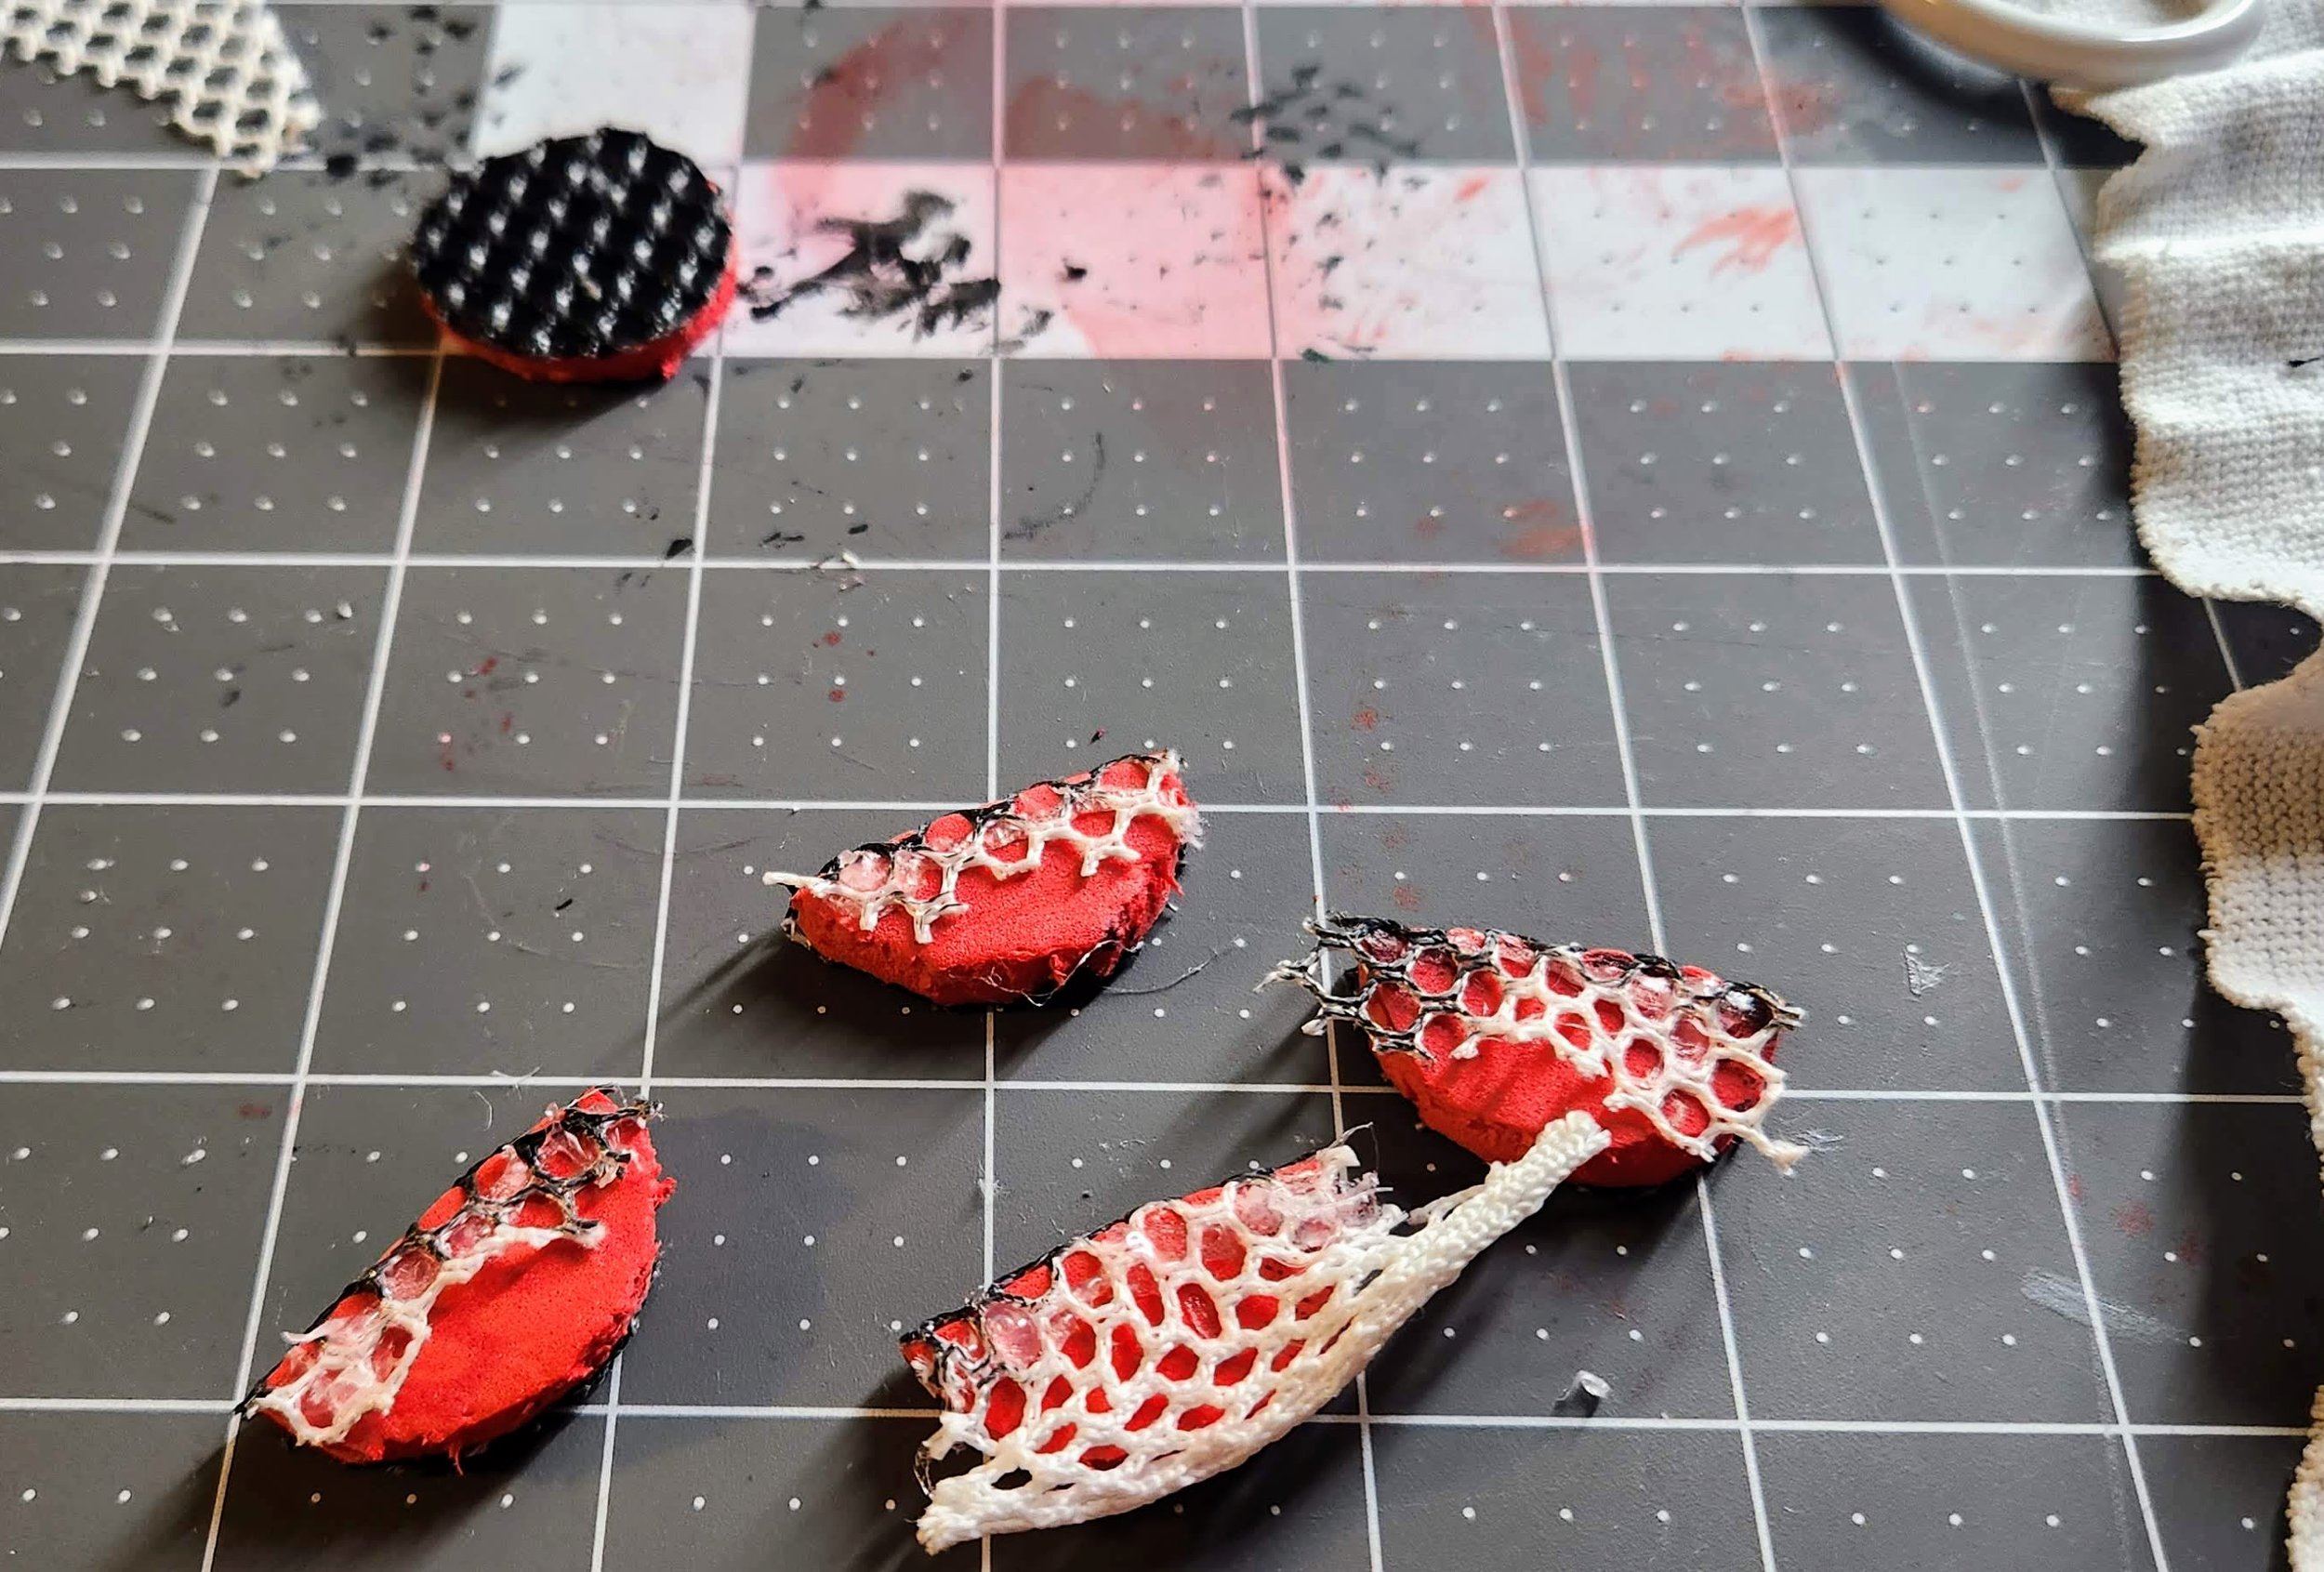
I only wrapped the excess on the side of the dots facing out so they could be glued to the mask seamlessly.

Trim excess fabric
Glue three pieces of wire to create a bendable structure that will keep its form.

Skeleton
Not pictured, but I added a vertical wire running along the length of the middle behind the center circle after I glued in the circles.

Almost there!
Glue along the edge of the circles and place in their respective positions. If you over glue, you can melt off the extra bits with the glue gun tip. Measure the elastic strap, and glue to the sides.

Lining
Glue felt lining over back structure.
Bend mask to face form.
Sealant of Modge Podge to wrap things up.

Masked 4 year old.